Monday, March 12, 2018

Introducing Corner Adorner, Penned Elegance Alphabet, and Dream, Fly, Soar!

Hello, friends! It's Day 3 of the March Papertrey Ink new release countdown and today we're introducing my Corner Adorner: March set, Jennifer Campbell's Penned Elegance Alphabet, and Rebecca Luminarias's Dream, Fly, Soar! set. I have a couple of projects to share, so let's get to them!

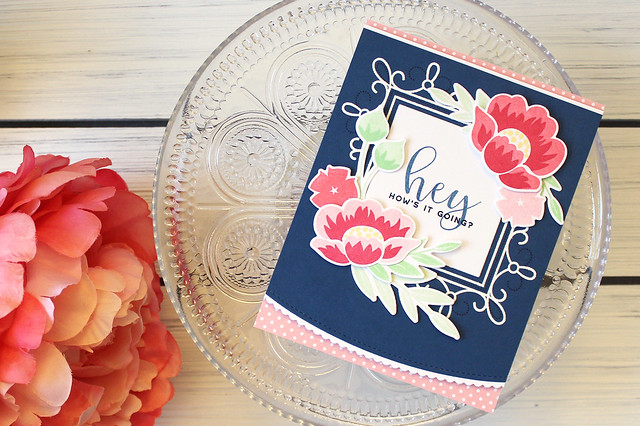
On this first project, I combined my Corner Adorner set with Jennifer's alphabet.

LizzieJones_PapertreyInk_March2018_CornerAdorner_Hey_Card_1

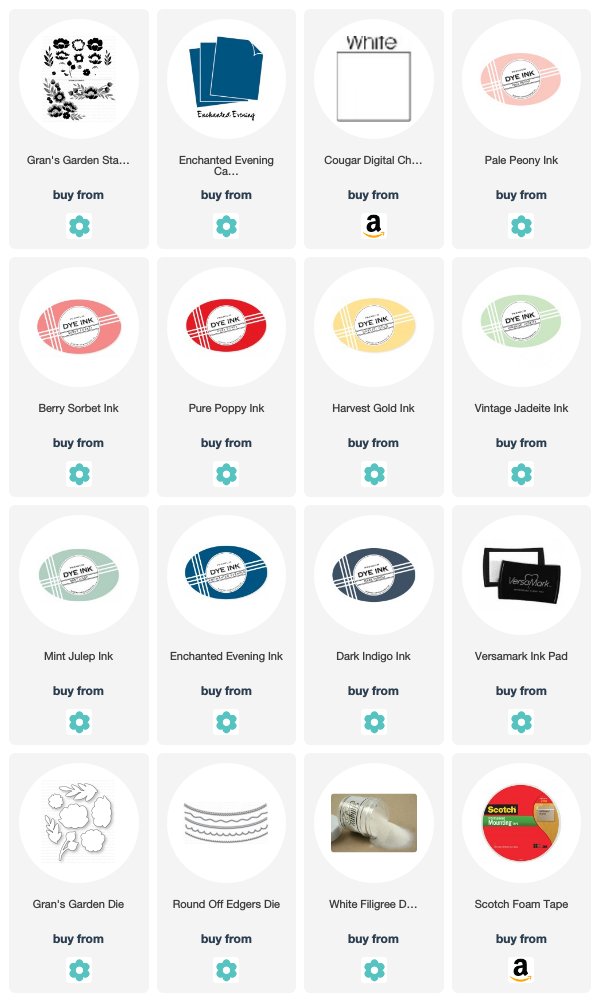
I started by heat embossing the solid Corner Adorner images onto Enchanted Evening cardstock. I followed up by stamping the dotted detail image with Dark Indigo ink. I cut the bottom edge of that panel with the Round Off Edgers and set it aside.

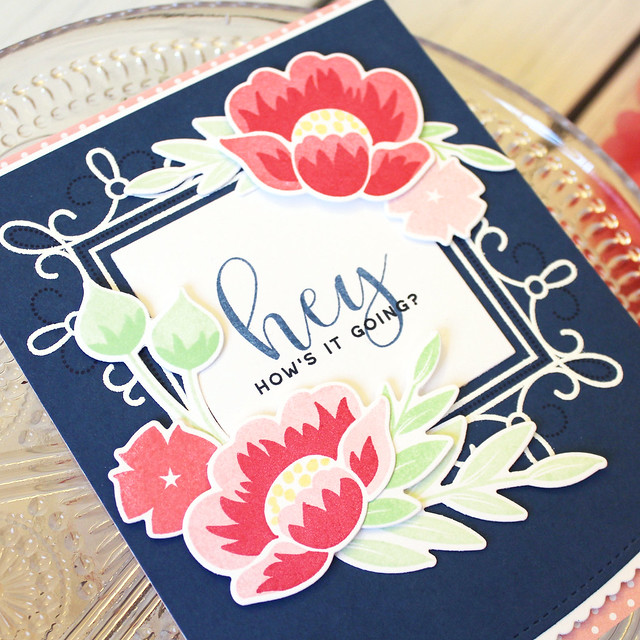
LizzieJones_PapertreyInk_March2018_CornerAdorner_Hey_Card_2

I stamped the "hey" using the Penned Elegance Alphabet onto a Limitless Layers: 2 1/4" Square shape. I followed up with a companion sentiment from Simple Stems in Dark Indigo. I adhered the square on the Dark Indigo panel and then embellished the panel with white trim on the top and bottom edges.

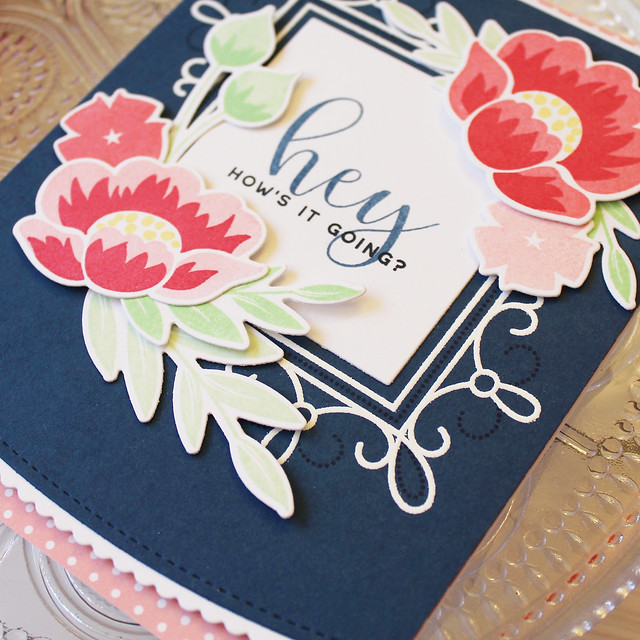
LizzieJones_PapertreyInk_March2018_CornerAdorner_Hey_Card_3

I mounted the Dark Indigo panel onto a card base layered with Bitty Big: Pale Peony patterned paper. Then I stamped and die cut a selection of Gran's Garden flowers and leaves, arranging them around the sentiment with a mix of flat and foam adhesives. I'm head over heels for this color palette and I'm sure I'll be using it again.

Next up, I have a card made with Rebecca's Dream, Fly, Soar! set.

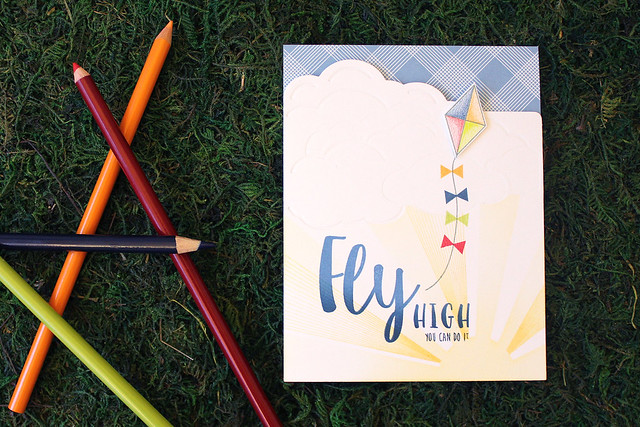
LizzieJones_PapertreyInk_March2018_DreamFlySoar_Fly_High_Card_1

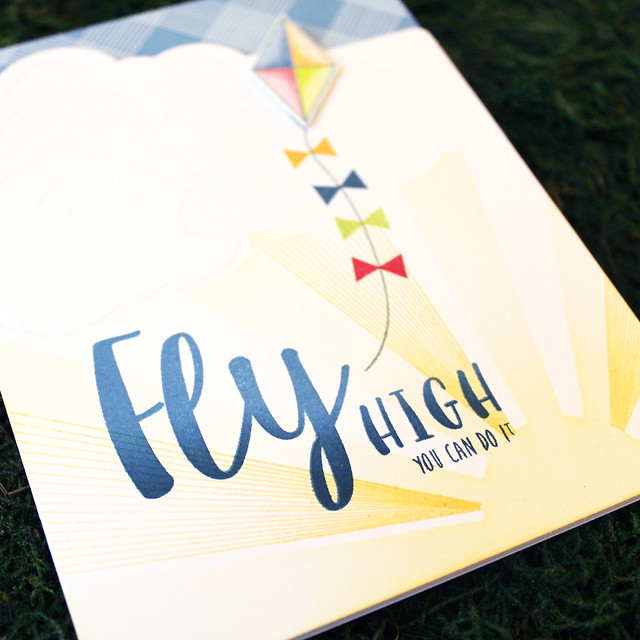
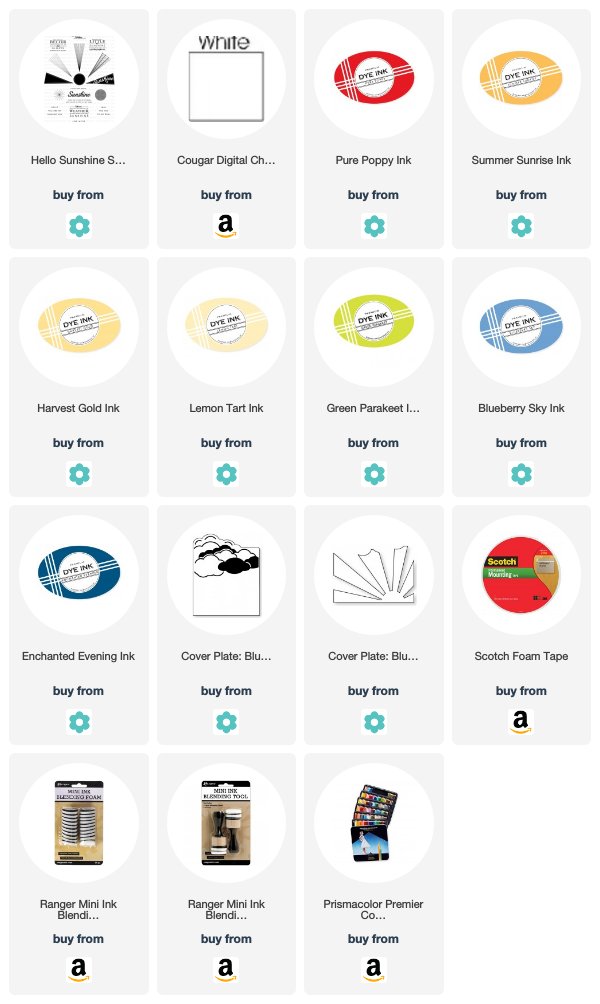
I began by die cutting a cloudy panel using the Cover Plate: Blue Skies Die. I also cut a stencil using the Cover Plate: Blue Skies Rays Die and sponged Lemon Tart ink onto the cloud panel through the openings in the vellum. Then, I used Hello Sunshine to stamp a few additional rays.

LizzieJones_PapertreyInk_March2018_DreamFlySoar_Fly_High_Card_3

Next, I stamped the sentiment from Dream, Fly, Soar! onto the cloud/sun panel using Blueberry Sky and Enchanted Evening inks. I stamped the kite and tails before adhering the panel to a card base that I'd layered with Bitty Big: Blueberry Sky patterned paper.

LizzieJones_PapertreyInk_March2018_DreamFlySoar_Fly_High_Card_2

I stamped an additional kite on white cardstock and colored in the sections using colored pencils. I trimmed out the kite by hand and adhered it to the card front with foam tape.

I hope you've enjoyed today's post! I'll be back tomorrow with more projects featuring this month's new release. In the meantime, Betsy, Heather, KeewayLaurie, Melissa B, Melissa P, Michelle, Stephanie, and Lexi all have cards to share with you today. Have a great day, everyone!

Supplies:
Hey Card


Fly High Card

Sunday, March 11, 2018

Introducing Butterfly Blooms & A Bit More: Butterfly Blooms

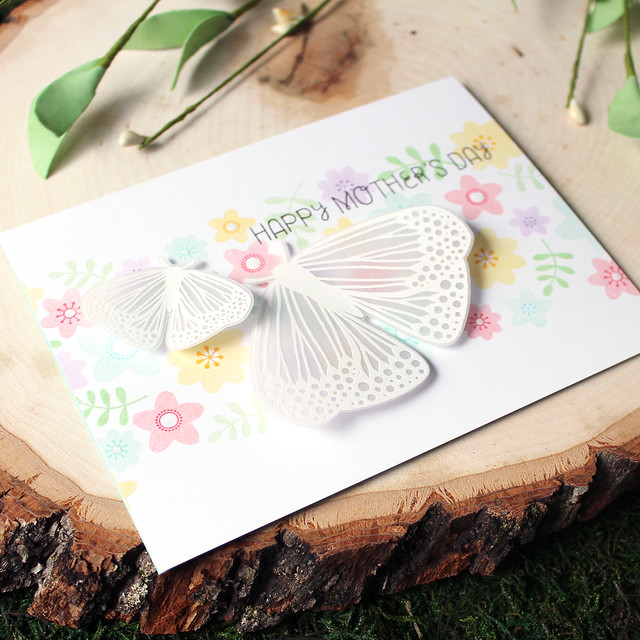
Good morning, friends! It's Day 2 of the Papertrey Ink March countdown and today I'm sharing a project made with Heather's new sets, Butterfly Blooms and A Bit More: Butterfly Blooms. The butterflies in these sets are gorgeously detailed and would look beautiful colored or simply embossed like I have. How about a closer look?

LizzieJones_PapertreyInk_March2018_ButterflyBlooms_Mothers_Day_Card_1

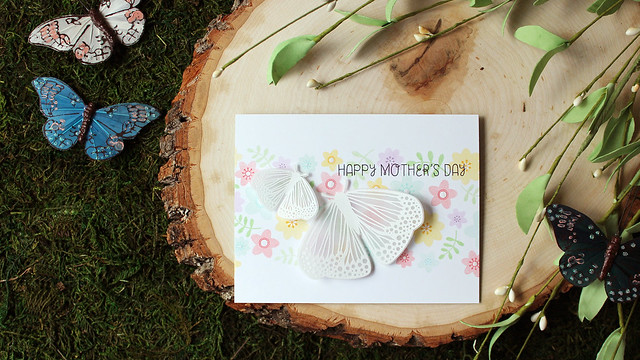
I heat embossed the butterflies from both sets using white powder on vellum. I die cut the larger butterfly and hand cut the smaller butterfly before setting them aside to work on the front panel.

LizzieJones_PapertreyInk_March2018_ButterflyBlooms_Mothers_Day_Card_2

I stamped a collage of flowers and leaves (from both sets) in a strip across a white panel. I stamped my sentiment in Smokey Shadow before adhering that panel to an Aqua Mist card base.

LizzieJones_PapertreyInk_March2018_ButterflyBlooms_Mothers_Day_Card_3

I embellished the centers of the open flowers with clear glitter before adding the butterflies with foam tape. The tape is concealed under the embossing of the butterfly bodies, so I don't have to worry about the adhesive being visible.

Thank you so much for joining me today! Make sure to check in with AmyBetsy, Heather, Laurie, Melissa BMelissa P, MichelleStephanie, and Lexi to see more of this month's release!

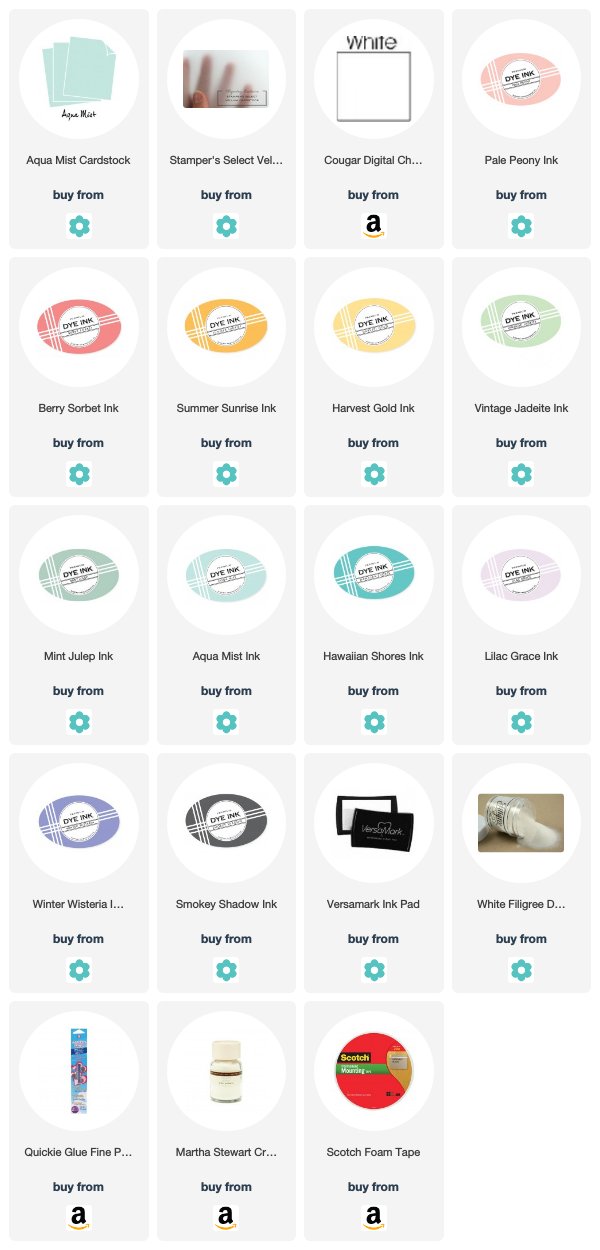
Supplies:
Happy Mother's Day Card

Saturday, March 10, 2018

Introducing Vogue Vases, Simple Stems, and Ink It In

Good morning, friends, and welcome to Papertrey Ink's March new release countdown! We have so many fun things coming your way this month! Today we're kicking things off with my Simple Stems and Vogue Vases sets and Lexi Daly's Ink It In collection. How about we get started?

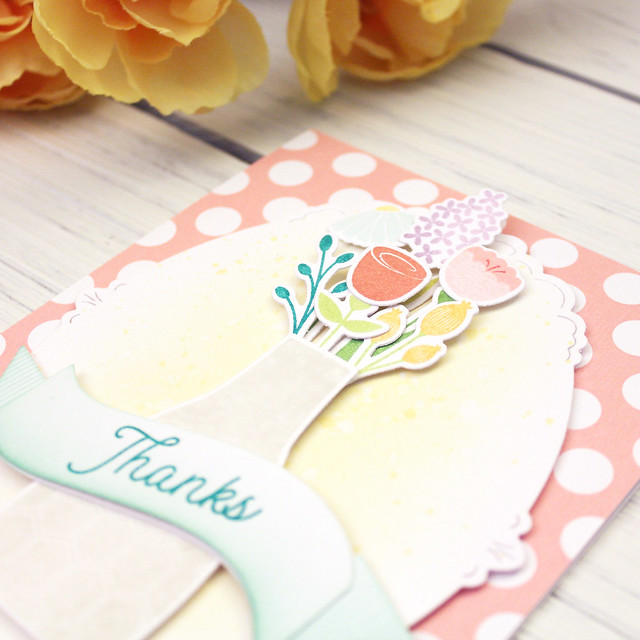
LizzieJones_PapertreyInk_March2018_SimpleStems_VogueVases_Thanks_Card_1

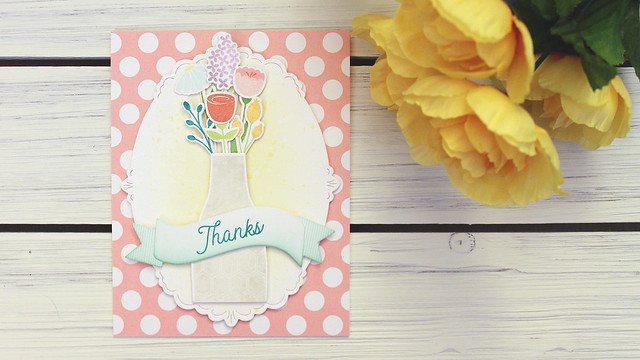
My sets are designed to work together or independently (the vases are sure to be useful with the many flower sets we all have on hand already). I've paired them together today, but I'll be sharing more with both of these sets in the next few days.

LizzieJones_PapertreyInk_March2018_SimpleStems_VogueVases_Thanks_Card_2

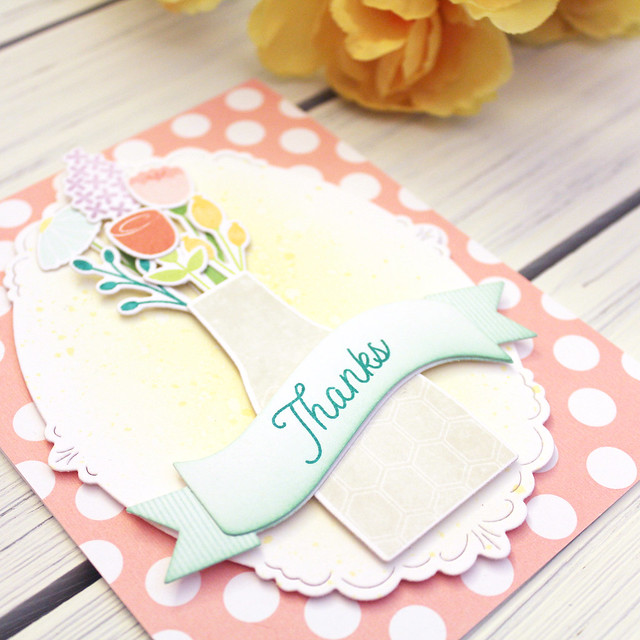
For this card, I arranged a vase full of Simple Stems flowers onto a Shape Shifters: Oval die cut that I'd sponged with Harvest Gold ink. I die cut a banner and sponged it with Aqua Mist ink before stamping it with a sentiment from Simple Stems on the top piece.

LizzieJones_PapertreyInk_March2018_SimpleStems_VogueVases_Thanks_Card_3

I attached the ends of the top banner to the back piece with flat adhesive and then added a bit of foam tape in the center, giving a touch of dimension. I adhered the banner over the vase and that whole focal panel was mounted to a card base that I'd covered with Bitty Big: Pale Peony paper. I love the warm glow I achieved with the background blending. Ink blending is one of my absolute favorite techniques!

Next up, I have a card to share featuring Lexi's new Ink It In collection. There is one main set and two minis in this collection. All have a hand-drawn elements feel that is so charming.

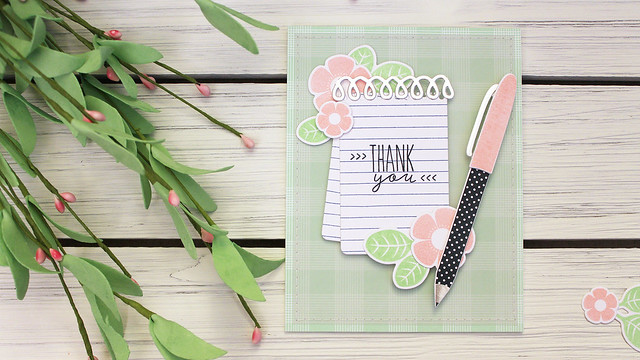
LizzieJones_PapertreyInk_March2018_InkItIn_Thank_You_Card_1

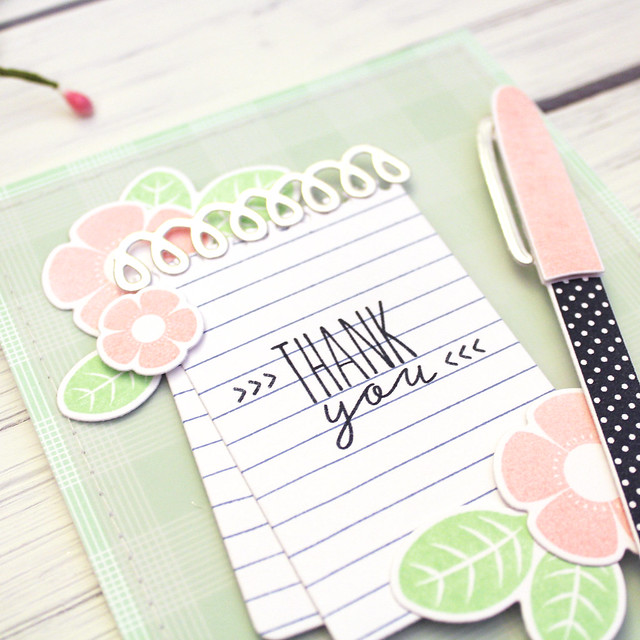
I created a little notebook using the Ink It In: Notebook mini and stamped it with a sentiment from Ink It In and the little arrows from Ink It In: Quoted.

LizzieJones_PapertreyInk_March2018_InkItIn_Thank_You_Card_2

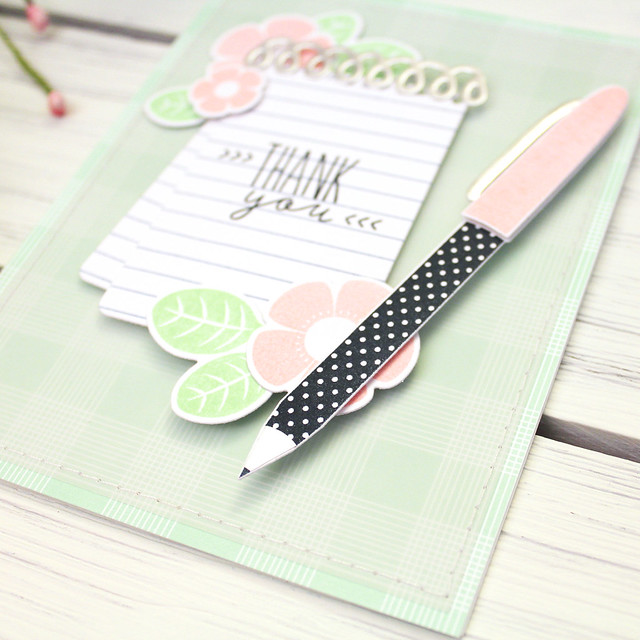
I embellished the notebook with flowers from last month's Corner Adorner and a silver coil die cut using the Loop De Loop Border Die. The pen, from Ink It In, was stamped in Dark Indigo and Pale Peony inks. I used the Luxe Silver Adhesive sheets to give the clip and nib a little extra metallic flair.

LizzieJones_PapertreyInk_March2018_InkItIn_Thank_You_Card_3

I stitched a panel of vellum over a Bitty Big: Mint Julep card front to soften the pattern before adhering all of my elements into place. I used flat and foam adhesives to make sure there was plenty of dimension.

Thank you so much for joining me today! Make sure to check in on Betsy (who will be showcasing Vogue Vases and Simple Stems), Heather, Laurie, Melissa B, Melissa P, Michelle, Stephanie, and Lexi to see more inspiration using today's features! I'll see you again tomorrow!

Supplies:
Thanks Card


Thank You Card

Monday, March 5, 2018

March Papertrey Ink Stitching Focus


Good morning, friends, and welcome to this month's Stitching Focus! I'm Lizzie Jones, your Stitching Ambassador. Thank you so much for joining me today! Easter is coming up quickly, so this month I'm sharing a couple of mini treat baskets that I'm going to give to the kiddos in my life. I have both a felt version and a quicker cardstock version to share, but first, let's take a peek at this month's featured product.


I wanted to make Easter treats for my nieces and nephew, so I started looking through my dies to see what I could could use to create a mini basket. After a brief search, I came upon the Stitched Tray: Square and the coordinating Trim Dies. I knew right away that I was on to something!


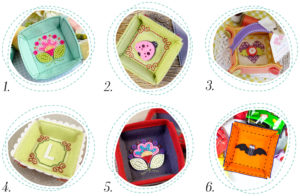
Kay paired the Stitched Tray: Square Die with the Stitched Folk Flower Die to create her mini tray. Her sunny color choices make her project so bright and cheerful!

Erin used the Stitched Monogram Frame: Square Die to add a pretty border around her Seasonal Stitching: Ladybug. It's such a sweet and pretty way to embellish the bottom of her tray.

Melissa created an adorable sewing notions basket using the Stitched Tray: Square Die. She embellished her corners with buttons and added a stitched heart from the Phone Case Details Die Collection to the bottom of her tray. She even used Saddle Stitched Ribbon to add a handle to her basket. So cute!

I added scalloped trim to my tray using the Small Scallop Border Die. I decorated the bottom of my tray with the Stitched Monogram Frame: Square Die and the Sew Stylish Alphabet. I still love this little tray and use it all the time!

Erin added contrasting trim to her Folk Flower tray using the Stitched Tray: Square Trim Die. The bright Pure Poppy piping is so bold and it finishes the edges beautifully.

Ashley used the Stitched Bat Die to add some playfully spooky flair to her adorable Halloween treat tray. The google eyes she added really put the cute factor over the top!


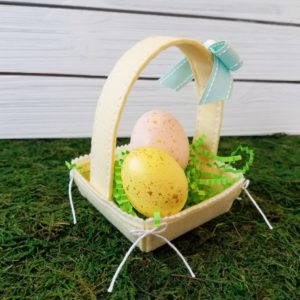
I love giving our nieces and nephew little gifts at the holidays, so I thought mini Easter baskets would be just the ticket! It turns out the square tray is the perfect base for these itty bitty baskets.


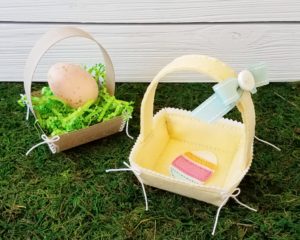
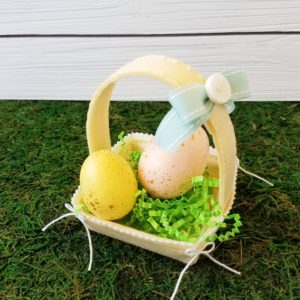
I began with the felt basket. I cut the tray from Lemon Tart felt. I also cut strips of Vintage Cream felt with the Pinking Shears Border Die to create the ric rac trim along the edge. I used White Tag Stock in between the layers of felt to give everything a sturdier, more reinforced feel.


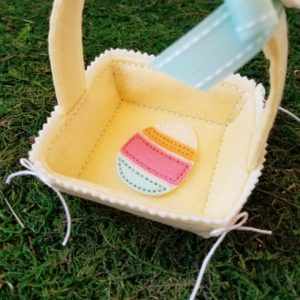
I decorated the inside bottom of the basket with the Seasonal Stitching: Eggs Die using Vintage Cream, Summer Sunrise, Berry Sorbet, and Aqua Mist felt.


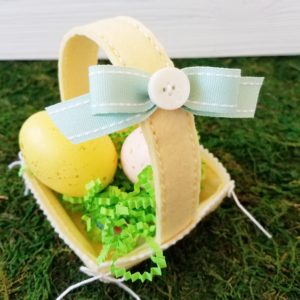
I used the Stitched Tray: Rectangle Trim to create the basket handle. It's one and a half of the long pieces stitched together for a little extra length. You could probably get a similar length with two of the longer pieces in the Square Trim set.


I covered the seam in the handle with a bow made from Aqua Mist Saddle Stitch Ribbon and a Vintage Cream Button. I simply hot glued the bow to the handle (rather than stitch it on).


I absolutely love this thing! It turned out so cute and it's just the right size for a little treat.


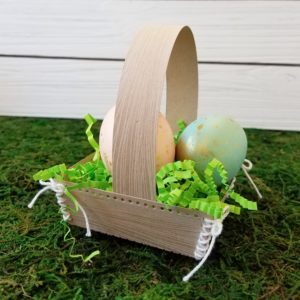
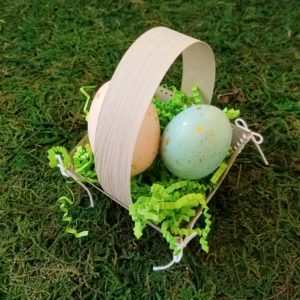
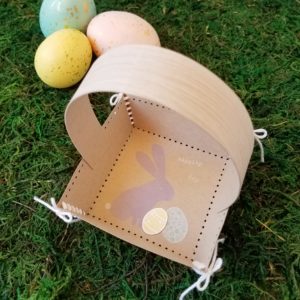
Just for fun, I decided to try a little basket made from cardstock instead of felt. I figured it might come together a bit more quickly, which is sometimes a necessity when time is at a premium (like at the holidays). I die cut the tray from Classic Kraft cardstock and just scored along the bottom holes to create a crease. Then, I stamped the sides with Background Basics: Woodgrain using Fresh Snow ink.


Then, I stamped the bottom of the tray with the sweet little bunny from Bunny Blessings. I stamped the bunny in Fresh Snow first and Winter Wisteria second to make the Winter Wisteria stand out better against the Classic Kraft background.


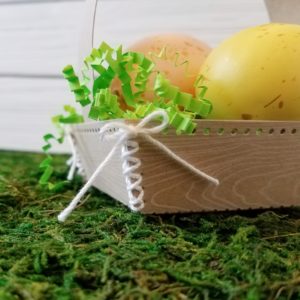
I stitched up the sides with white crochet thread and tied each side in a bow to add a charming detail to the corners. It's not only cute, but functional too!


The handle is just a strip of cardstock stamped with the same woodgrain pattern. I adhered the handle to the inside of the tray with Scor-Tape to get a secure hold. I'm not worried about the handle coming loose because the basket isn't really large enough to carry something heavy enough to cause a problem.

I'm giddy over these little baskets. I might just have to make them for the bigs I know in addition to the littles! Thank you so much for joining me this month. Enjoy the rest of the countdown!

Supplies:


Felt Egg Basket
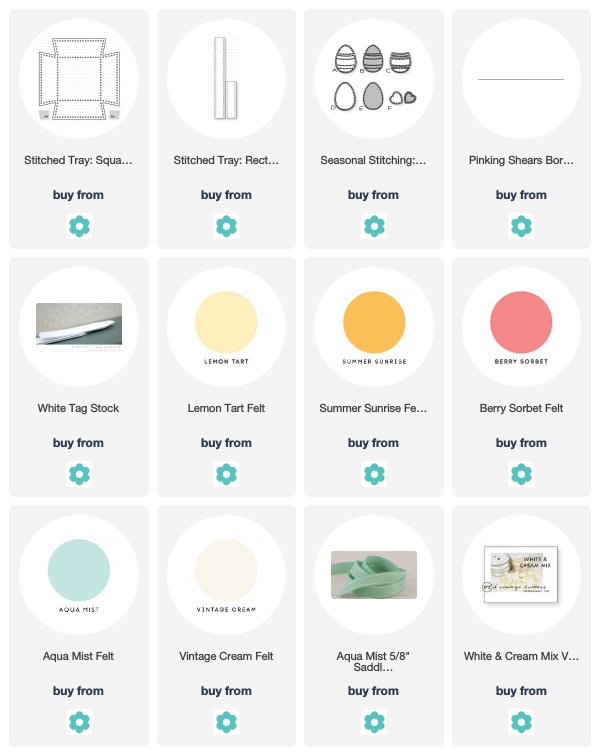

Woodgrain Bunny Basket
Friday, March 2, 2018

Papertrey Ink Design Team Tips: Organizing Stencils

Good morning, friends! It's my turn to share a Papertrey Ink Design Team Tip and I have a good ol' organizational post for you today!

I love my stencils, but they were starting to get unruly. Flipping through a basket just wasn't working anymore. So I recently buckled down and figured out how to organize them in a way that is both easy to set up and easy to maintain. Since my Blending Sponge Organization worked out for so many of you, I thought this might be worth sharing too!
Stencil Binder

The fact that using a binder for my sponges worked so well meant that I was already fairly committed to the idea of using a binder for stencils, too. The only problem with using the same Kraft binder is that many of the stencils in the Papertrey line are too wide to fit into the half-size page protectors (though some are not, so you could use the smaller binder depending on your needs). Luckily, there are plenty of quality binder options on the market so I knew I wouldn't have any trouble finding an alternative.

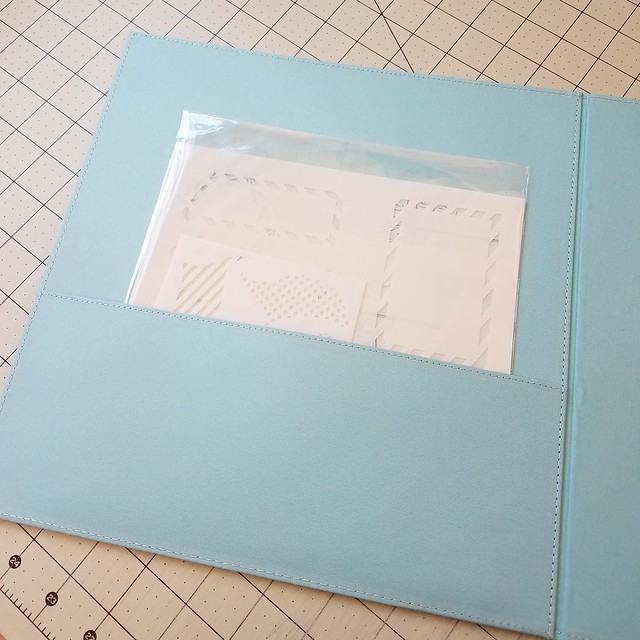
Stencil Binder Pocket

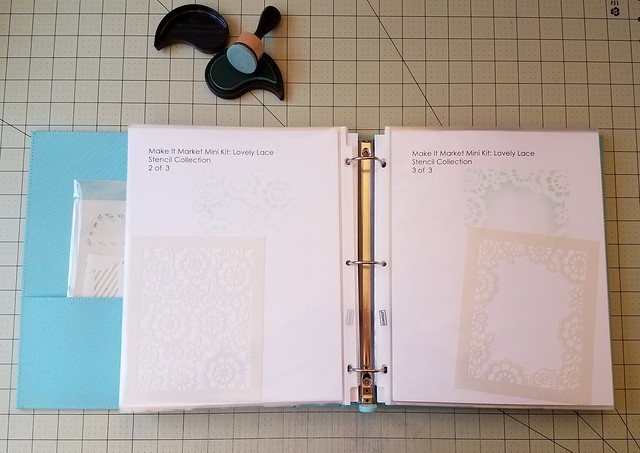
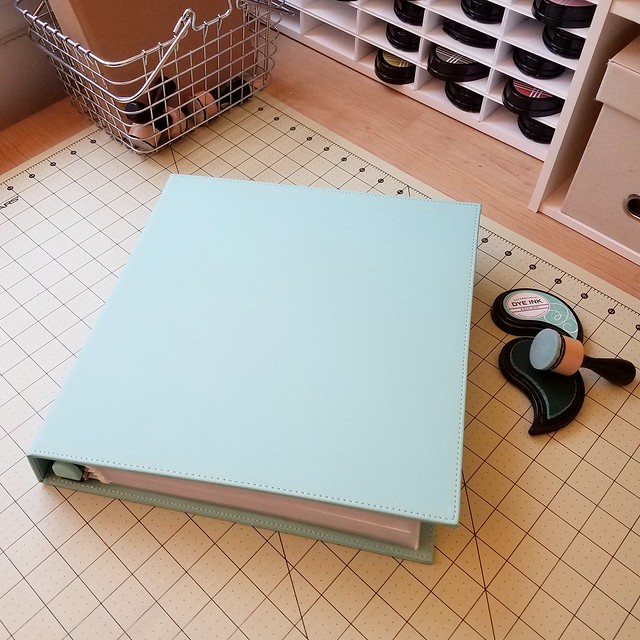
I ended up choosing a blue Martha Stewart binder. The faux-leather and fabric construction makes it nice and sturdy and will hopefully hold up to plenty of use. Inside the binder are pockets that I'm using to hold the stencils I haven't gotten around to making pages for yet. It's a really quick process though, so I'm sure the pocket will be emptied before long. 

Stencil Sheet

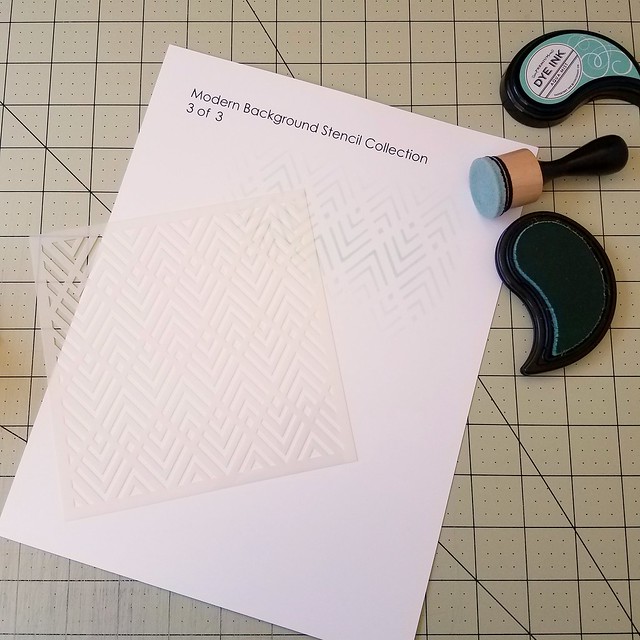
The pages themselves are fairly straightforward. I simply printed the name of each stencil along with the number of stencils in each collection at the top of an 8 1/2" x 11" piece of white cardstock (that font is Century Gothic for any of you who might be wondering).

Stencil Binder Pages

Each stencil got its own page rather than an entire collection on one sheet. I chose to do it that way so I could sponge a bit of each pattern on the page to have a reference for what the design really looks like when stenciled. It also helps keep the stencils from getting caught and tangled on one another. No one likes a tangled (and potentially damaged) stencil.

Open Stencil Binder

I printed out all of the pages first and just used one ink color (Aqua Mist) for the whole book to help streamline the process. Then I tucked the sheet and stencil into a page protector. There are two sheets and stencils in most page protectors. The sets with three stencils just span two pages in the binder. 

Stencil Binder Tab

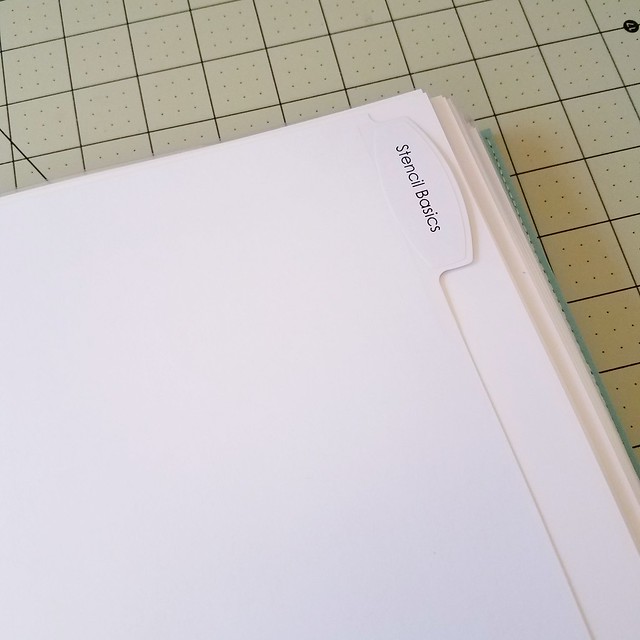
I divided the stencils into five groups and then alphabetized each group. The categories are Stencil Basics, Stand-Alone Collections, Make It Market Mini Kits, Make It Market Large Kits, and Color Pop Kits (which, yes, are Make It Market Minis, but there are enough of them that I thought they deserved their own section).

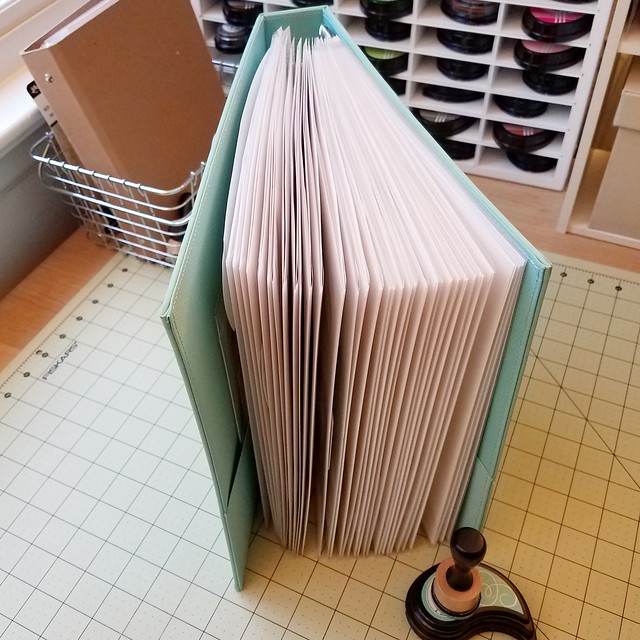
Standing Binder

This project was such a no-brainer for me. It's so much quicker to find what I need now! And it's so easy to pop out the page I need and slip the stencil in and out of the sleeve. Like I said, I had been storing everything in a basket on my workbench, but this has proven to be a far superior solution. I'm really glad I bit the bullet and finally put this binder together. I truly hope you have found this helpful. Happy organizing and happy crafting! Have a wonderful weekend!
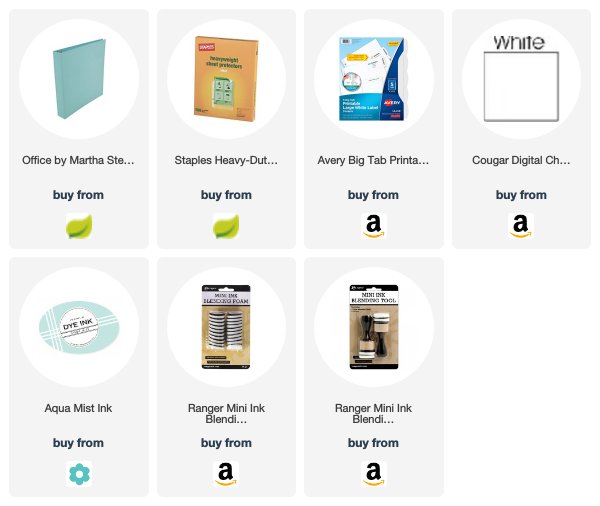
Supplies: