Good morning, all, and welcome back for the last official day of Papertrey Ink October release inspiration! I'm back today with projects featuring Betsy's new
Cloche Quarters: Winter Fillers and
Cloche Quarters: Sentiments sets as well as Nichole's
Pen & Ink: Christmas. Let's get to it!
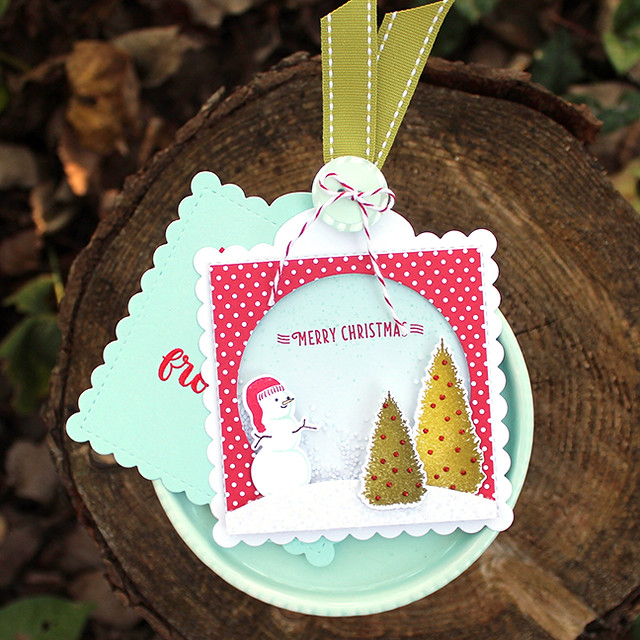
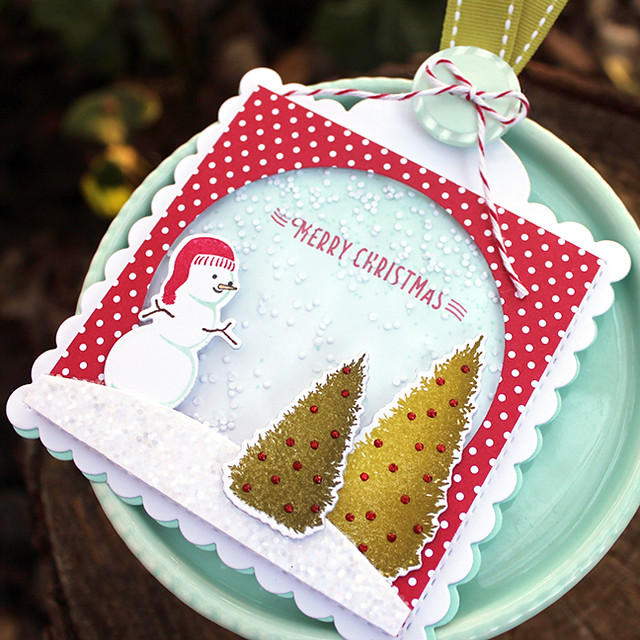
I was itching to make a few tags, so that's what I decided to get into for today's post. I started by creating this shaker tag with Betsy's Cloche Quarters set.
I began by die cutting two Tag Sale Quilted shapes, one from White and one from Aqua Mist. I heat embossed the Keep It Simple "To:" and "From:" greetings in red powder on the Aqua Mist tag and set it aside. Next, I masked off the edges of the white tag and sponged Aqua Mist ink onto the center of the tag. Leaving the masks in place, I stamped the falling snow from Dash Away All, also in Aqua Mist ink. Then, I stamped the Cloche Quarters Sentiments greeting in Pure Poppy.
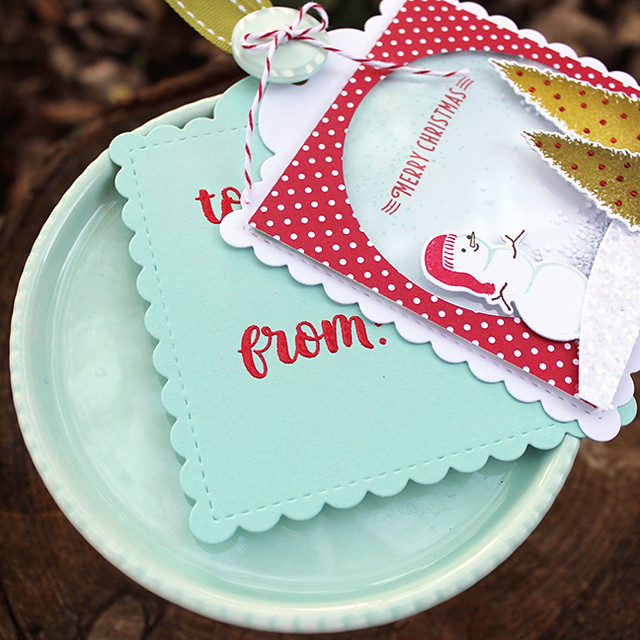
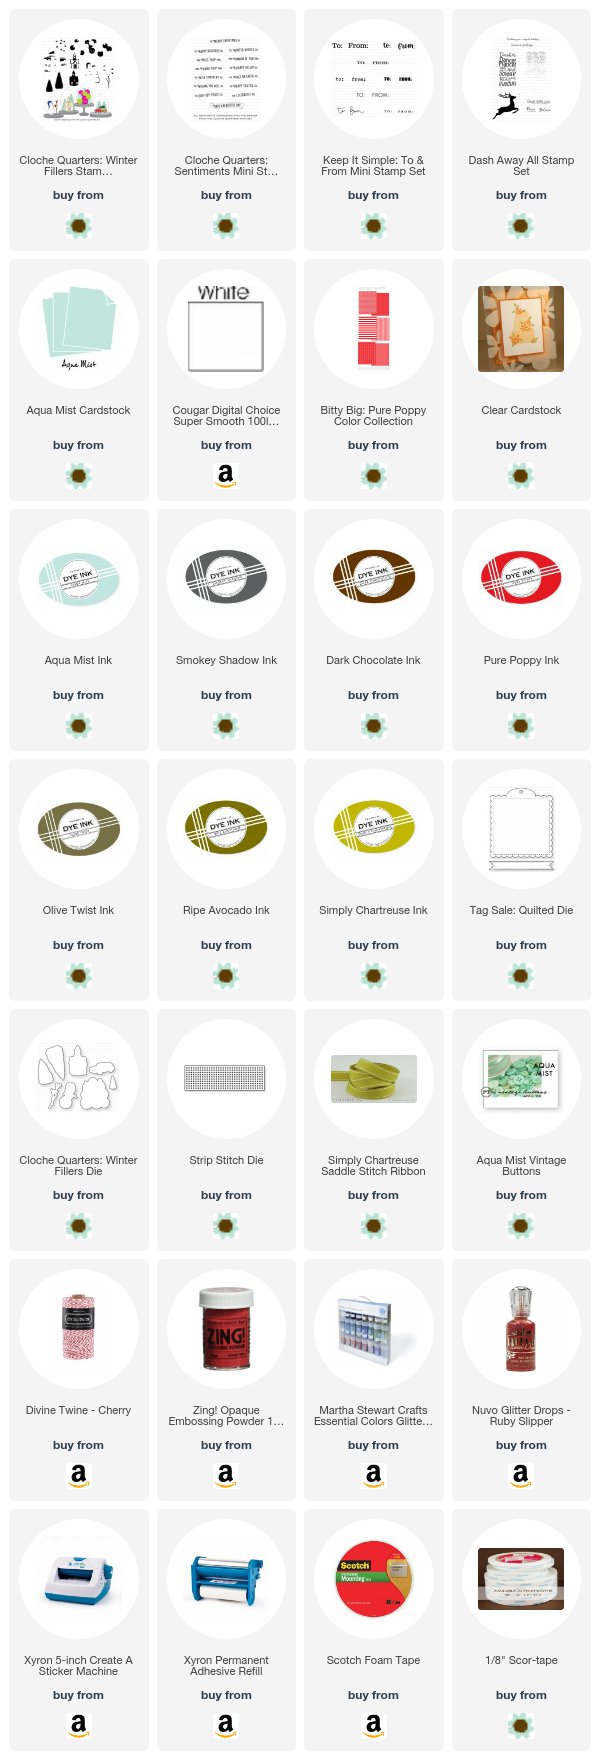
Next, I cut a square of Bitty Big: Pure Poppy paper and die cut a window from the center using the circle die from the Noted: Scalloped Square Die Collection. I adhered a piece of clear cardstock to the back of the Pure Poppy paper and added strips of foam tape around the outside edge. Then, I used the Strip Stitch Die to create "snow" to fill my shaker. I just die cut it a few times from white cardstock and piled up the tiny dots. Once I had enough "snow" I adhered the clear/Pure Poppy square into place on the white tag.
Next, I die cut and stamped the snowman and trees from the Cloche Quarters set. I also die cut a snowbank using the Cover Plate: Waves and some xyroned, white cardstock. I adhered the snowbank to the tag with foam tape, glittered it, and then tucked the trees and snowman around it. To finish the tag, I stacked the two Tag Sale shapes and strung them together with Simply Chartreuse ribbon. An Aqua Mist button and a bit of Baker's Twine round out the look.
Supplies:
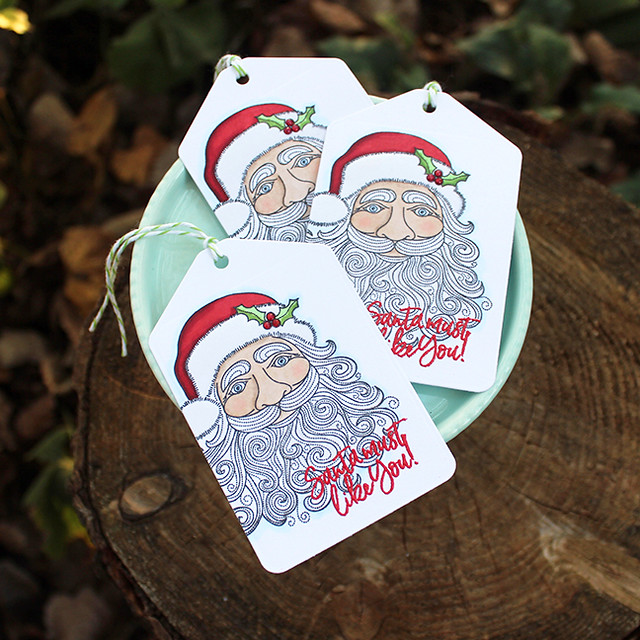
Next up, I have a set of Santa Claus tags I made by pairing Santa Stationery with the new
Pen & Ink: Christmas.
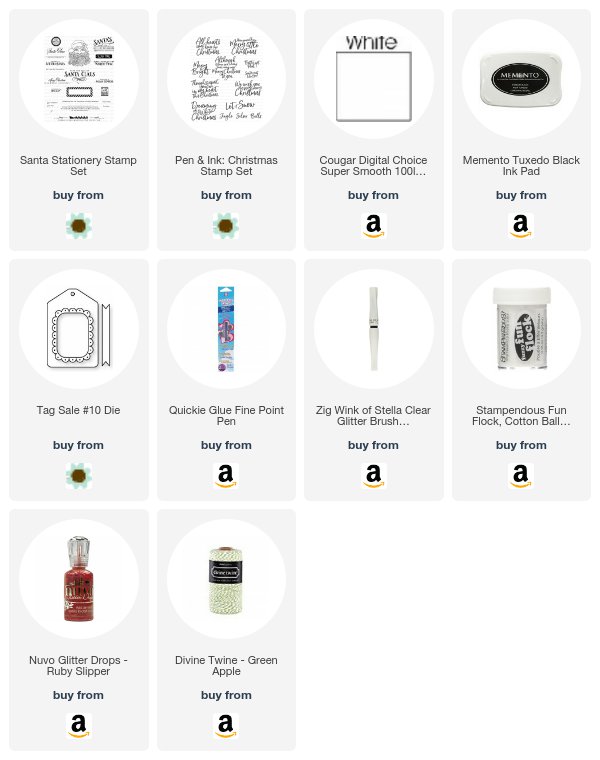
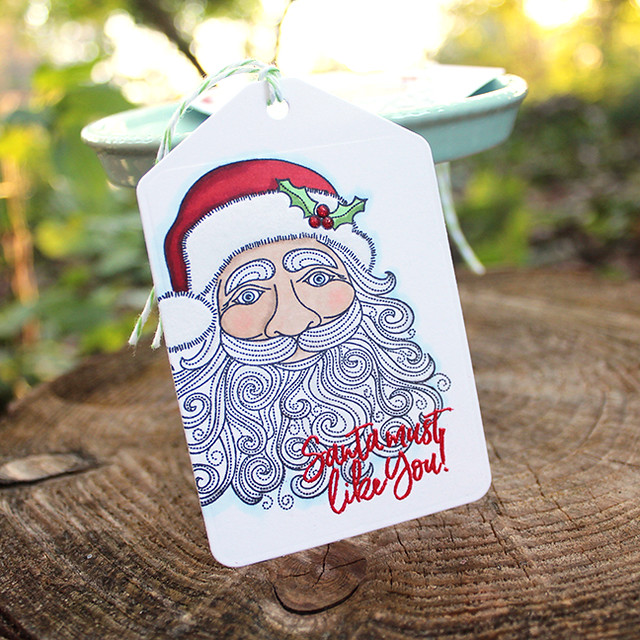
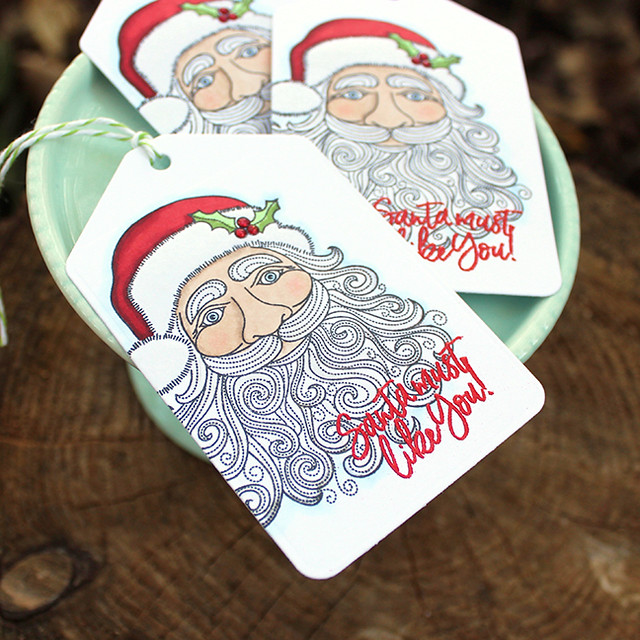
I began by die cutting three Tag Sale #10 shapes from white cardstock. I stamped them with the Santa from Santa Stationery and colored them with Copic markers.
Then, I used red powder to heat emboss the greeting from Pen & Ink: Christmas onto each tag. Once they had cooled, I used a clear Wink Of Stella pen to add glittery wisps through Santa's beard.
I also used flocking to embellish Santa's cap and Nuvo Ruby Slippers glitter drops to accent the holly berries. To finish things off, I tied green baker's twine to each tag for easy hanging.
Supplies:
Thank you so much for joining me today! I hope you've enjoyed today's post (and don't miss my Design Team Tips post HERE). Make sure to check in with
Betsy,
Dawn,
Heather,
Keeway,
Laurie,
Melissa,
Michelle,
Stephanie, and
Wanda to see even more inspiration. Have a great day, everybody!



Hi Lizzie! Thank you, thank you for taking the time to share your step by step tutorials! You've helped so much! What a WONDERFUL post!!! Thx again! :)
ReplyDeleteThis is so cute and your instructions so clear! Thanks so much! (Can I use the word "so" again in a sentence? Why, so I did! Twice!)
ReplyDelete