Good morning and welcome back for another day of
Papertrey Ink October release inspiration! We're showcasing Betsy's newest
Year Of Psalms and Dawn's second
To The Point Edgers collection today. Let's take a closer look!
How about the
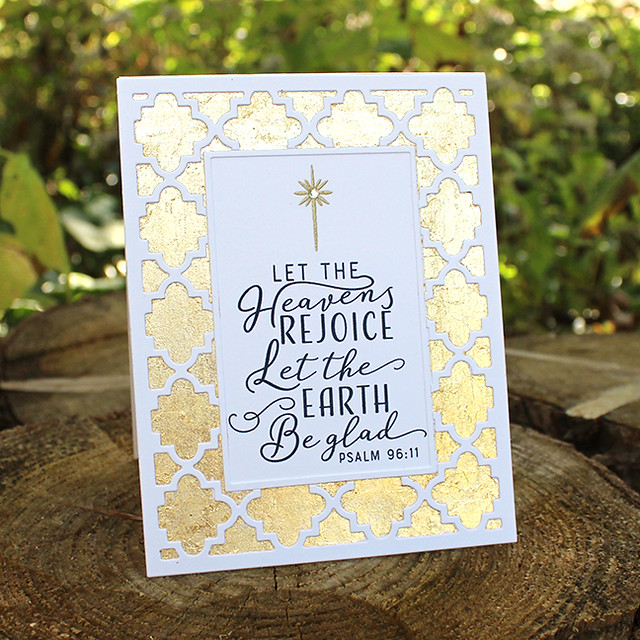
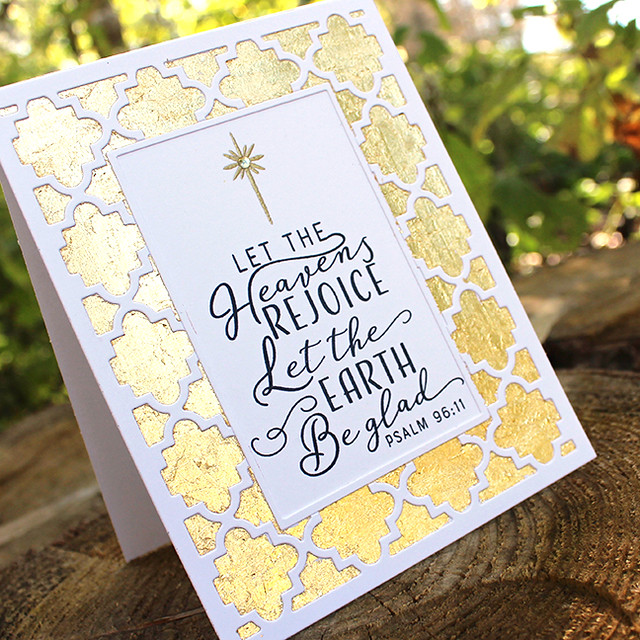
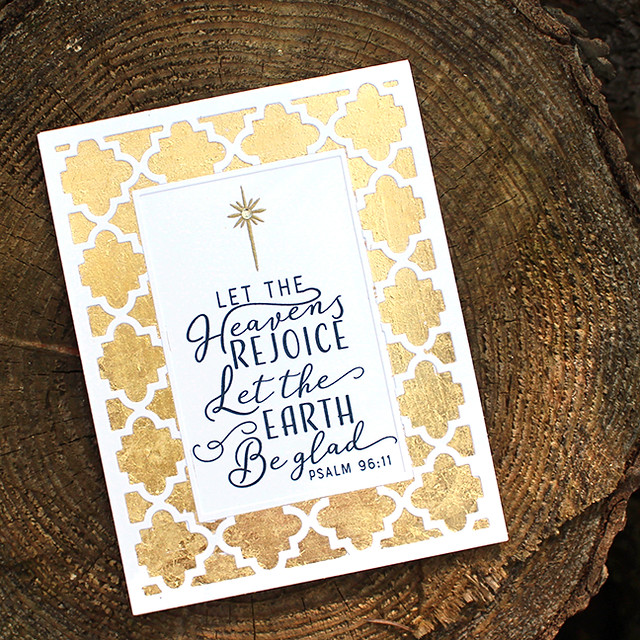
Year Of Psalms: October card to start things off? This card is very simple, but the gilding makes it a real stunner.
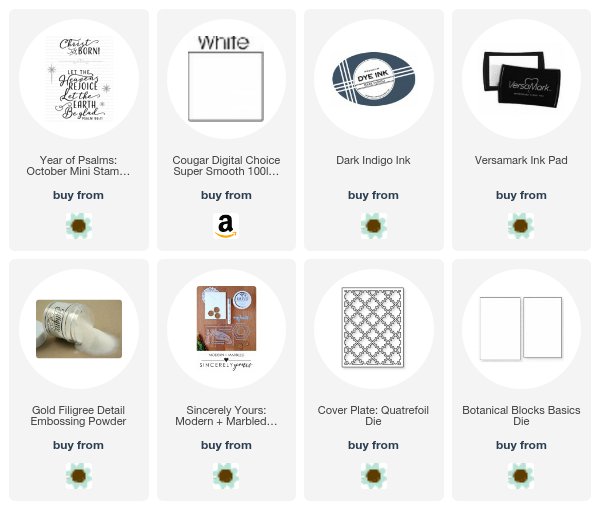
I began by die cutting a Cover Plate: Quatrefoil panel from white cardstock. Then, I cut a rectangle from the center using the Botanical Blocks Basics Die. I used the two rectangles together to cut a frame that would fit into the space left behind. I placed the frame on a white card base and stamped my sentiment in the center using Dark Indigo ink. I followed up with one of the stars from the Year Of Psalms set heat embossed in gold powder.
Then, I die cut a post it note and used it to cover the center of the card front (where the opening in the cover plate is). I then used the glue pen from the Sincerely Yours: Modern + Marbled Kit to cover the entire card front with adhesive. I removed the post it note and placed the quatrefoil panel over the card front, allowing it to stick to the adhesive areas.
Then, I followed the instructions for applying the gold leaf (also in the Modern + Marbled kit). After I had burnished and removed the excess gold leaf, I applied a small rhinestone to the star for a little added sparkle. Clean and simple, but hardly plain.
Supplies:
Next up, I used Dawn's
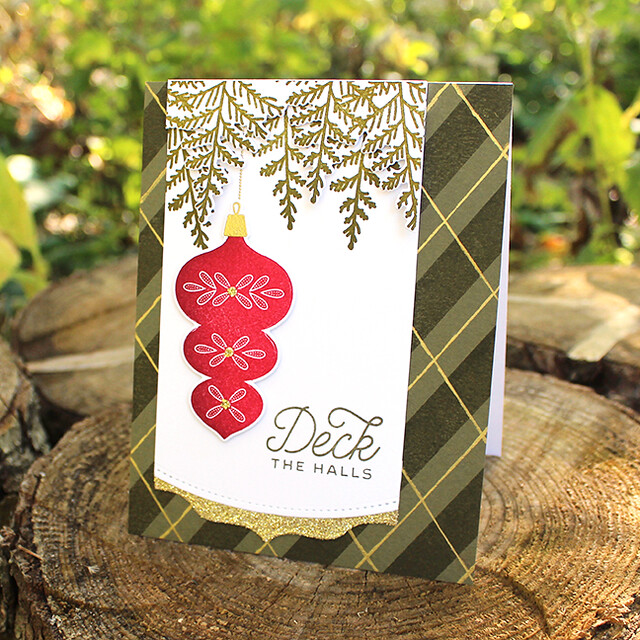
To The Point Edgers II set to create a decorative panel and glitter mat for my Christmas card (I've been on a glitter mat kick lately - you may see it again soon).
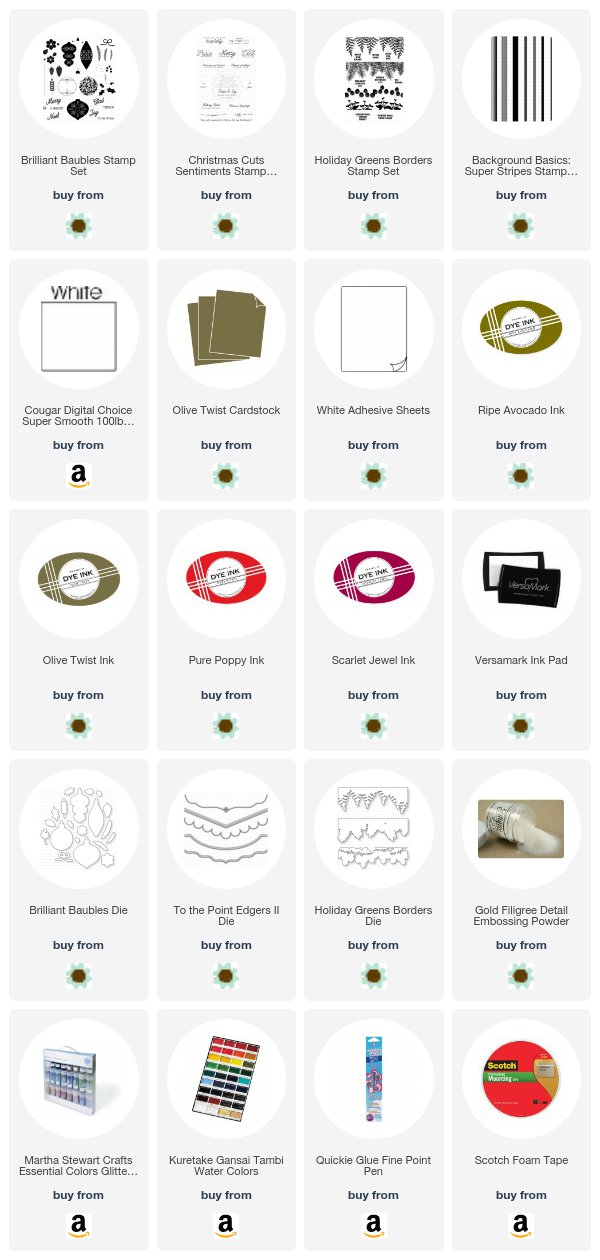
First, I die cut my focal panel using the rounded edge die. I stamped the Holiday Greens Borders along the top in Ripe Avocado and Olive Twist inks before heat embossing the ornament hanger with gold powder. Then I added the sentiment from Christmas Cuts Sentiments in Olive Twist. Next, I die cut the Holiday Greens Borders shape and stamped it with the same image in the same colors. I layered it over the first set of greens and trimmed off the edges.
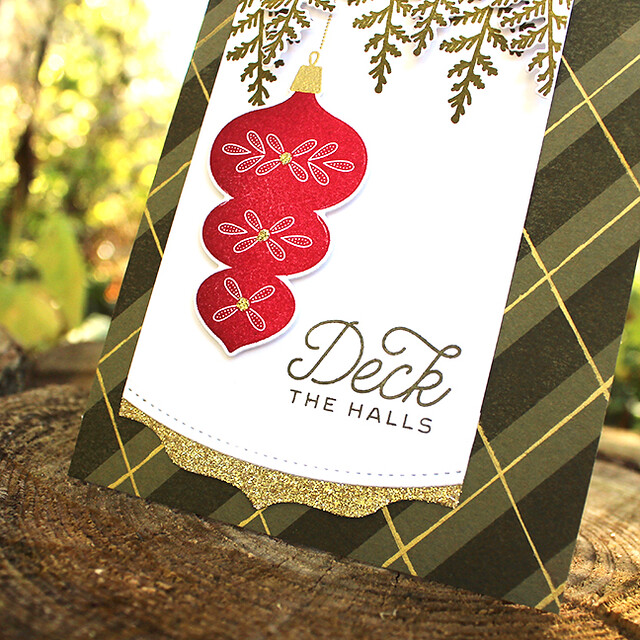
Next, I die cut the Brilliant Baubles ornament and stamped it with Pure Poppy and Scarlet Jewel inks. The topper was heat embossed with gold powder and the details were embellished with gold glitter. I wanted that extra touch of glittery gold, so I die cut an additional To The Point Edgers II shape from Adhesive Sheet (sticky side up). I removed the adhesive backing and adhered that piece to the back side of the focal panel, allowing just a bit to peek past the edge. Then, I sprinkled gold glitter over the sticky surface. It's an easy, fast way to achieve a glitter mat and I love it!
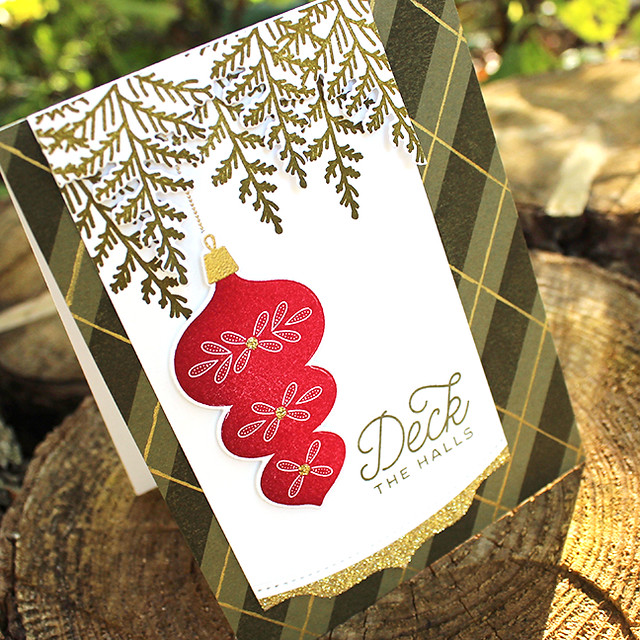
Next, stamped a panel of Olive Twist with stripes using the matching ink. I painted gold pinstripes using a tiny detail brush and gold watercolor to pull that metallic element in one more time. I like the perfectly imperfect feeling it gives. When that was dry, I adhered it to a white card base and adhered the focal panel into place. The ornament and branches were popped on in no time thanks to a bit of foam tape.
Supplies:
Thank you so much for joining me today! I hope you've enjoyed today's post. Make sure to check in with
Betsy,
Dawn,
Heather,
Keeway,
Laurie,
Melissa,
Michelle,
Stephanie, and
Wanda to see even more inspiration. I'll see you again tomorrow!




Love both of your cards, but the first one takes my breath away. Absolutely gorgeous.
ReplyDeleteHi Lizzie! First, your "imperfect" striping looks perfect to me. Your cards are just gorgeous!! May I ask you a quick question, please? Does the adhesive sheet hold the glitter without using a fixative? When you do use a fixative, may I ask which brand you use? Btw, I've tried the Xyron sticker maker, but the adhesive stretches. Any suggestions? Was that 3 questions? Sorry. I could sure use your professional advice. Awesome post!!
ReplyDeleteWow, wow, wow! Love both these cards, Lizzie!
ReplyDelete