Good morning, friends, and welcome back! Today the
Papertrey Ink team is sharing a few more projects using the new products from our January release. There were so many wonderful things to create with this month that they couldn't all fit into one post! Let's get on to the projects!
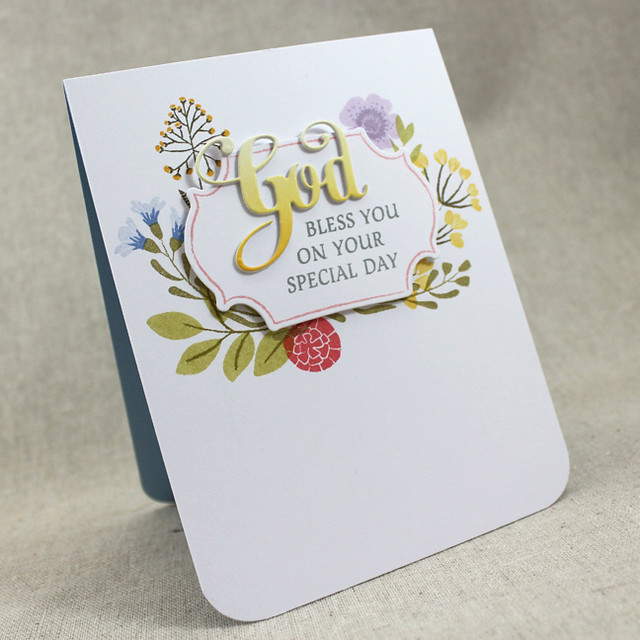
My first card today pairs Nichole's
Gathered Garden set with Betsy's
Inspired: God set.
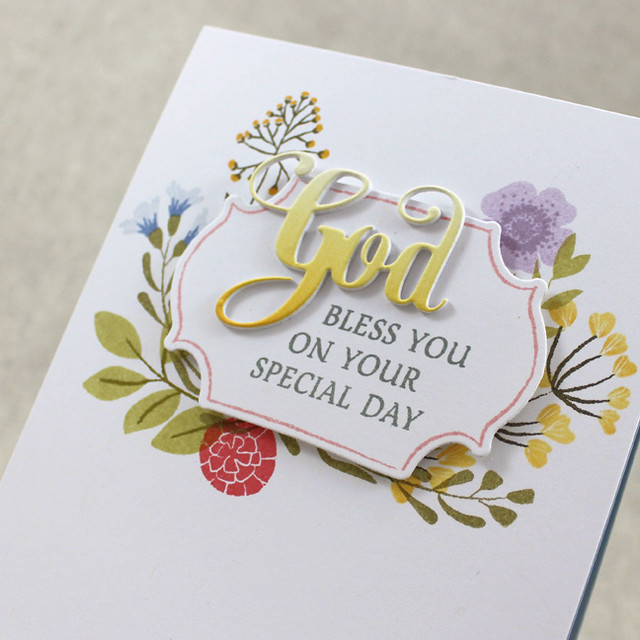
I used a variety of stems and flowers to create the bed of blooms around the central frame shape. I adhered that panel to a Spring Rain card base and rounded the bottom corners. I die cut the frame, stamped it with the sentiment from Betsy's set, and then adhered it to the card front with foam tape.
Then I sponged Lemon Tart, Harvest Gold, and Summer Sunrise inks onto a scrap of white cardstock before die cutting it with the
Inspired: God Die. I stacked that die cut shape with two others for a bit of depth and then adhered it to the frame. Clean and simple, just the way I like them.
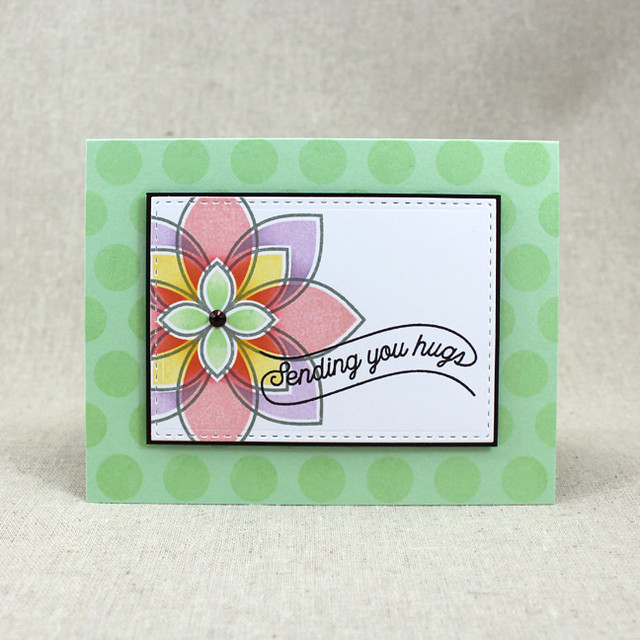
Next, I have a card pairing Nichole's
Medallion Trio and
Banner Style sets.
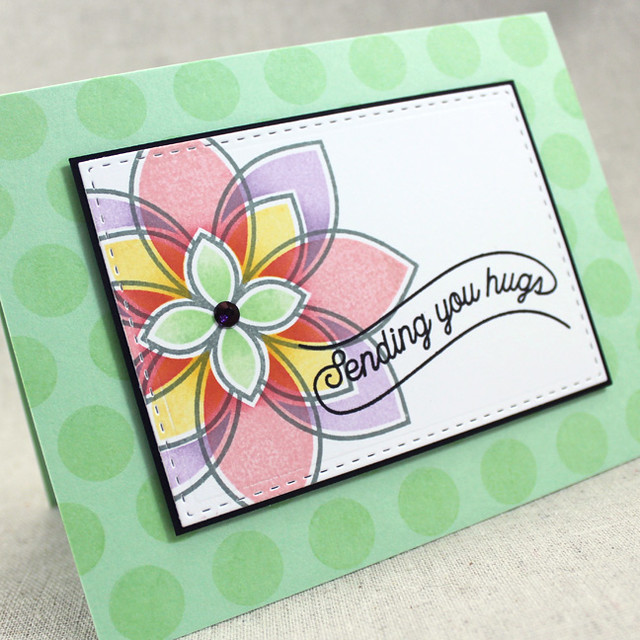
I began by stamping the largest medallion onto a
Noted A1 panel using Stormy Sea ink. I filled it in with the smaller images in the set using Mint Julep, Vintage Jadeite, Harvest Gold, Summer Sunrise, Pale Peony, Berry Sorbet, Lilac Grace, and Winter Wisteria. I used the darker of each pair of colors to sponge a bit of depth onto each section.
Then I stamped the Banner Style sentiment onto the panel and matted it with a piece of True Black cardstock. I mounted that to a Mint Julep card base that I'd stamped with polka dots using the matching ink. I finished it off with a rhinestone that I'd colored black to coordinate.
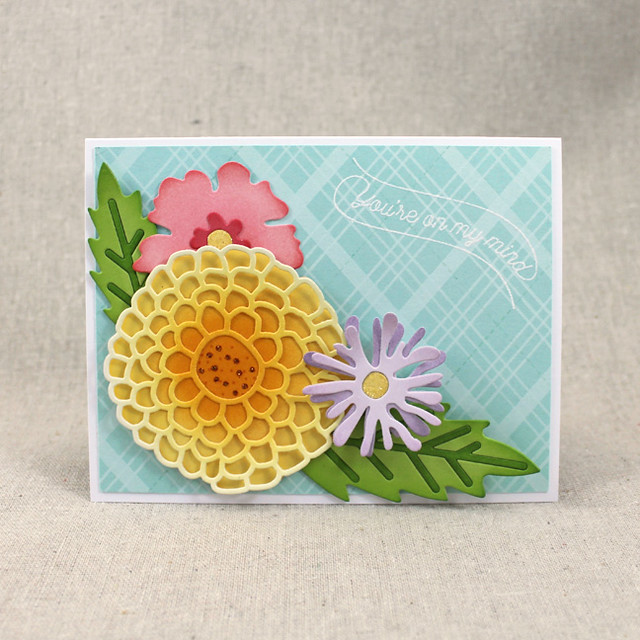
Up next is a card also featuring
Banner Style, but this time with the new
Grand Botanicals die collection.
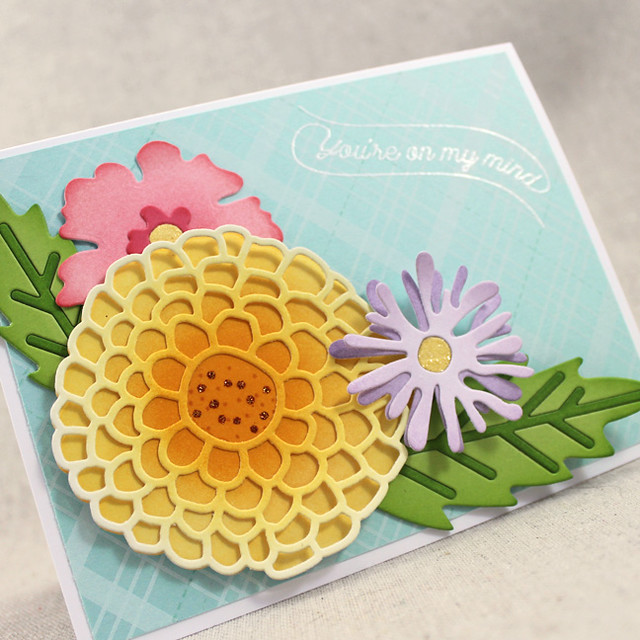
I used sponging to create depth on each of the flowers and leaves. I added speckles from the
Gathered Garden set to the center of the largest flower and embellished the bigger dots with glitter. I also embellished the other two flower centers with a bit of glitter to add a touch of sparkle.
Next, I stamped a plaid pattern on to a panel of Aqua Mist cardstock using Fresh Snow and Aqua Mist inks. Then, I heat embossed the Banner Style sentiment onto the plaid panel using
white powder and then adhered it to a white card base. I added the leaves and flowers to the front of the card using a mix of flat and foam adhesives. Isn't it cheerful?!
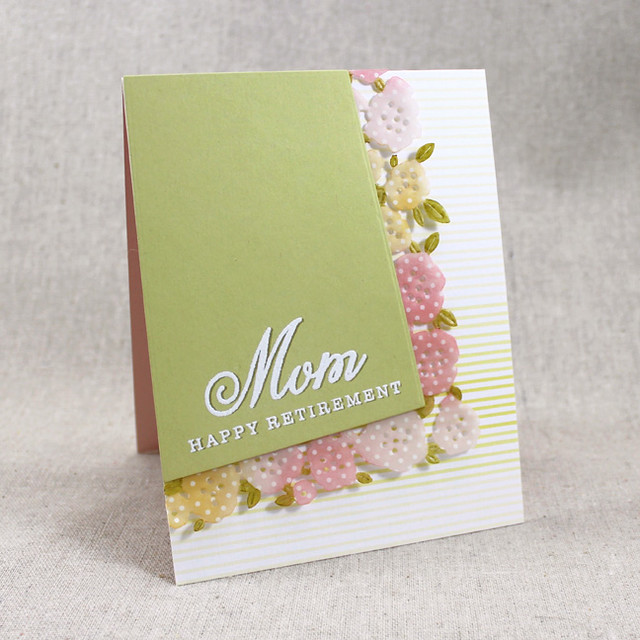
And last but not least, I have a card pairing Nichole's
Keep It Simple: Retirement set with the
Floribunda Frame die and Dawn's
Family Ties set.
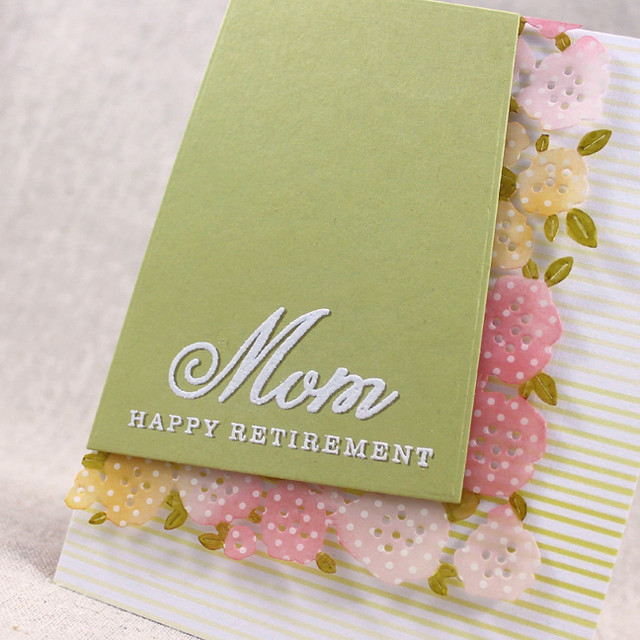
I began by die cutting the Floribunda frame from swiss dot vellum (from the
Sheer Basics paper pack). I sponged the frame with Pale Peony, Berry Sorbet, and Summer Sunrise inks and then used a Copic marker to color the leaves.
Then, I die cut a Spring Moss panel with the smallest
Tipped Tops shape and stamped it first with the sentiment in Prairie Grass and then heat embossed over it with
white powder. The effect looks like a shadow. I adhered the vellum floral frame to the back of that panel and then attached both to a Sweet Blush card base that I'd layered with a piece of Ombre Stripes patterned paper.
That's all for me today! Thank you for joining me. Make sure to pop in on
Nichole,
Amy,
Ashley,
Betsy,
Dawn,
Heather,
Kay,
Laurie S.,
Laurie W., and
Melissa to see more of their projects. Have a great day and I'll see you again soon!
Recipes:
God Bless You Card
Stamps: Gathered Garden, Inspired: God - Papertrey Ink
Cardstock: Spring Rain - Papertrey Ink; white
Ink: Spring Moss, Ripe Avocado, Prairie Grass, Olive Twist, Harvest Gold, Summer Sunrise, Pale Peony, Berry Sorbet, Spring Rain, Blueberry Sky, Lilac Grace, Winter Wisteria, Stormy Sea - Papertrey Ink
Other: Gathered Garden Die, Inspired: God Die - Papertrey Ink; Foam Tape - Scotch; Xyron; Corner Chomper
Sending You Hugs Card
Stamps: Medallion Trio, Banner Style, Polka Dot Basics III - Papertrey Ink
Cardstock: Mint Julep, True Black - Papertrey Ink; white
Ink: Mint Julep, Vintage Jadeite, Harvest Gold, Summer Sunrise, Pale Peony, Berry Sorbet, Lilac Grace, Winter Wisteria, Stormy Sea, True Black - Papertrey Ink
Other: Noted: Scalloped A1 Die Collection - Papertrey Ink; Rhinestone - Kaisercraft; Foam Tape - Scotch; Copic Marker
You're On My Mind Card
Stamps: Plaid Builder, Gathered Garden, Banner Style - Papertrey Ink
Cardstock: Aqua Mist, Green Parakeet - Papertrey Ink
Ink: Fresh Snow, Aqua Mist, Canyon Clay, Lemon Tart, Harvest Gold, Summer Sunrise, New Leaf, Lilac Grace, Winter Wisteria, Pale Peony, Berry Sorbet - Papertrey Ink; VersaMark - Tsukineko
Other: Grand Botanicals Die - Papertrey Ink; Fire Opal, Crystal Glitter - Martha Stewart Crafts; Foam Tape - Scotch; White Embossing Powder - Filigree
Mom's Retirement Card
Stamps: Keep It Simple: Retirement, Family Ties - Papertrey Ink
Cardstock: Spring Moss, Sweet Blush, Ombre Stripes Patterned Paper, Sheer Basics Patterned Vellum - Papertrey Ink
Ink: Berry Sorbet, Pale Peony, Summer Sunrise, Prairie Grass - Papertrey Ink; VersaMark - Tsukineko
Other: Floribunda Frame Die - Papertrey Ink; Foam Tape - Scotch; White Embossing Powder - Filigree; Copic Marker

Beautiful projects today! I love that frame in Swiss dot vellum with sponging. How clever!
ReplyDeleteVery interesting card with the floribunda frame. I really like your colours and the layout.
ReplyDeleteBeautiful cards, Lizzie!
ReplyDeleteAwesome work, Lizzie! Gorgeous cards plus you made your own patterned papers for two of them. Doesn't get some better than that. :)
ReplyDeleteThe Grand Botanicals card is my favorite but each one has something special to enjoy! Great job, Lizzie. You seem to get more creative with every release.
ReplyDeleteI've been considering Gathered Gardens and Banner Style since the peeks of those sets and finally convinced myself that I didn't need more flowers or simple sentiments. Cards like those you shared are pushing me to change my mind and put those sets in my cart. They're wonderful, Lizzie.
ReplyDeleteGorgeous, Lizzie, and once again, a fabulous job on the newsletter! Did you color the vellum Floribunda Frame on the front or back side? The colors look deep enough to be done on the front, exposed side of vellum.
ReplyDeleteEspecially love the colors of cards 2 & 3.
ReplyDelete