Pages

Friday, February 21, 2020

Concord & 9th Guest Designer - Stitched Blooms & Blooms Turnabout

Good morning, friends! I'm back today to share a couple more projects from this month's Concord & 9th release. If you're a floral fan, today is your day! The Stitched Blooms Bundle and Blooms Turnabout are sure to put a smile on your face!

First up, let's take a closer look at the Stitched Blooms Bundle. I really enjoyed the fact that I could use the stamp set to add color and dimension to the stitched design. Plus, the set includes several essential sentiments that I use all the time.

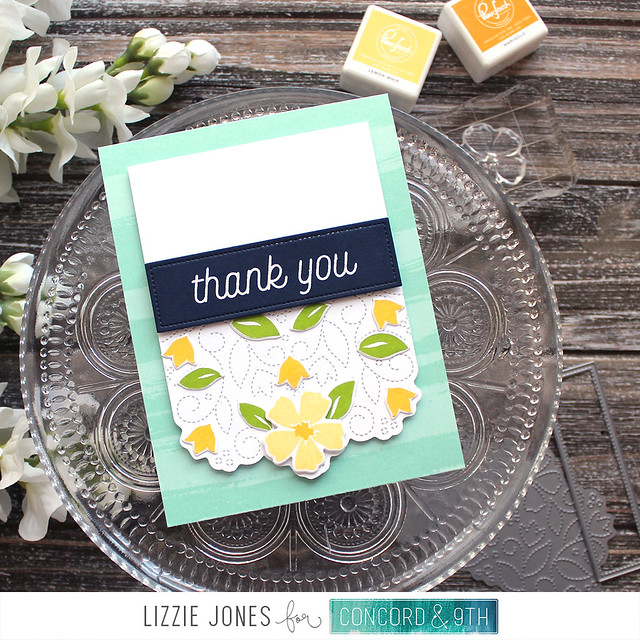
LizzieJones_Concord&9th_February2020_StitchedBloomsBundle_ThankYouCard


I began by die cutting the stitched design into a panel of white cardstock. I fussy cut the bottom edge to follow the stitching and give it a more decorative vibe. Then, I stamped and die cut several leaves and flowers from the set and adhered them over the stitched elements in the design.

LizzieJones_Concord&9th_February2020_StitchedBloomsBundle_ThankYouCard3


I heat embossed the sentiment from the set onto dark navy cardstock for a nice pop of contrast and then attached it to the focal panel with foam tape. I wanted to give my card base a bit of subtle interest, so I stamped it with the Brushed Stripe Background (also released this month) using a tone-on-tone ink.

LizzieJones_Concord&9th_February2020_StitchedBloomsBundle_ThankYouCard2

Then, I adhered the focal panel with a bit more foam tape. So full of texture while still being easily mailable. I love that!

My second card today is giving me major Spring vibes. I've always been a big, big fan of the Turnabouts and this Blooms Turnabout is no exception! I'm not usually a purple enthusiast, but I thought these sweet posies would look great in shades of purple, blue, and yellow. What do you think?

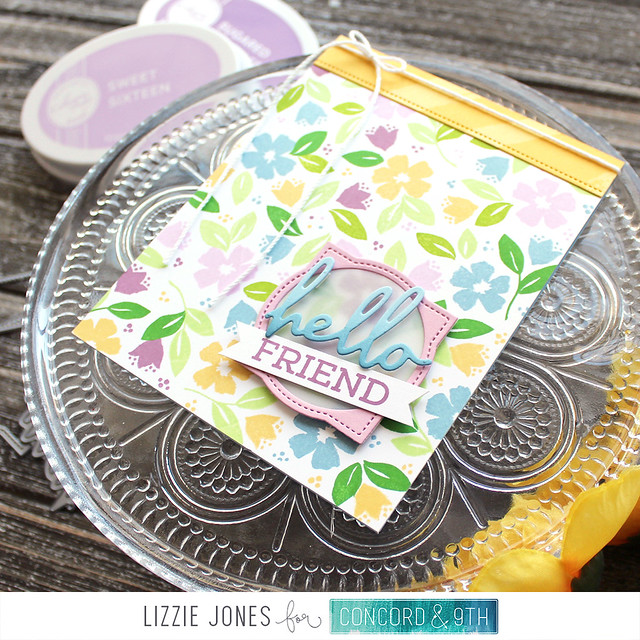
LizzieJones_Concord&9th_February2020_BloomsTurnabout_HelloFriendCard

I began by stamping the flowers using all four turns and followed up with the leaves in all four turns (though only with three colors). I adhered that panel to a card base and then added a stitched strip that I had stamped with the Brushed Stripe Background (definitely a new favorite). You may notice that the stitched strip extends all the way across the card even though the label die isn't quite long enough for that. I just used some selective die cutting to lengthen the die and make it even more versatile!

LizzieJones_Concord&9th_February2020_BloomsTurnabout_HelloFriendCard2

Next, I die cut a medallion shape from both lavender cardstock and vellum. I used a circle die to cut the center of the lavender shape and layered the two. I attached that piece to the card front with foam tape and layered on a greeting die cut from the Forever Flower Infinity collection and a stamped sentiment from the Meadow Blossoms set.

LizzieJones_Concord&9th_February2020_BloomsTurnabout_HelloFriendCard3

I tied on a piece of crochet thread to finish things off. I'm definitely going to create more of this design in a whole bouquet of colors!

Thank you so much for joining me today! I hope you enjoyed this peek at the Concord & 9th February release. Pop on over to their website to shop the new products and I'll see you again soon. Have a great weekend!

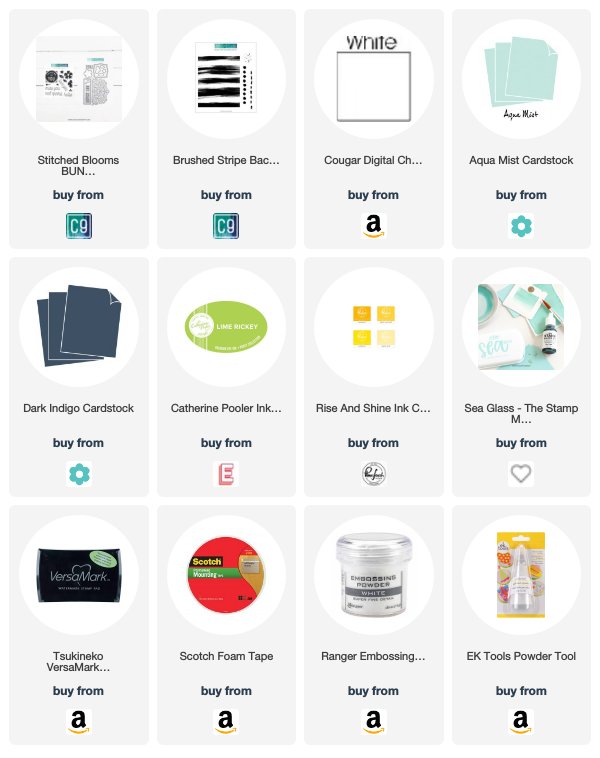
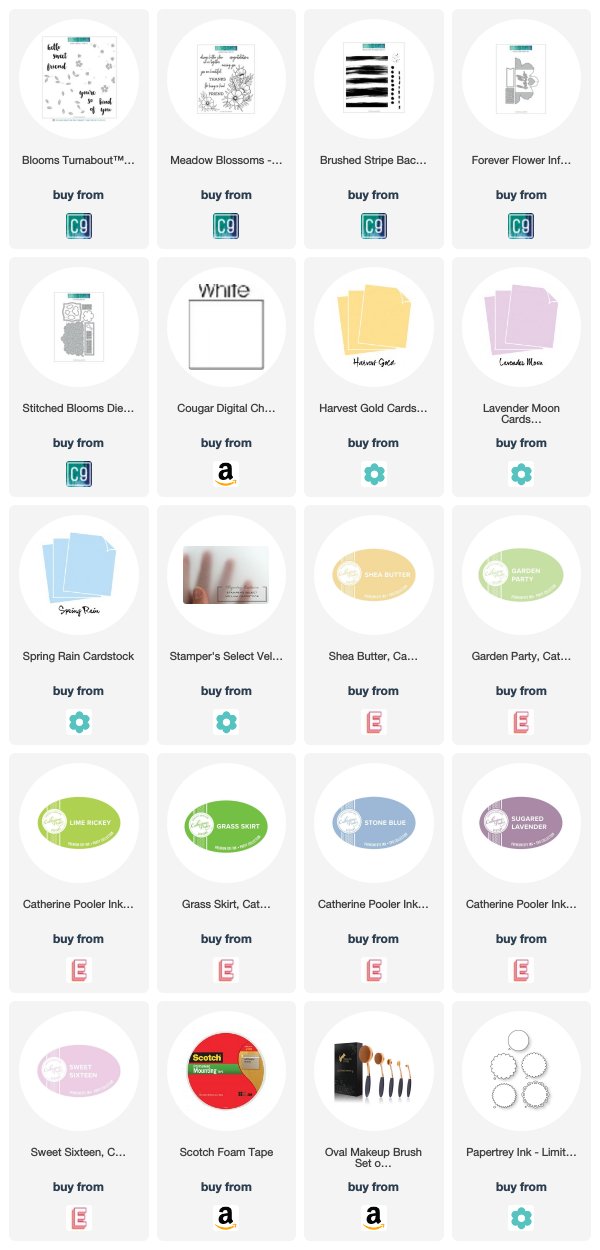
Supplies:
Thank You Card

Hello Friend Card
No comments:

Post a Comment