Good morning, friends, and welcome to the kickoff day for
The Greetery's holiday release countdown (
all of the new products will be available on The Greetery's website on Friday, October 4th at 10am)!
The next few days are packed with gorgeous new products that make creating for the holidays an absolute joy. Truly. Some of these new goodies are going to be staples in my collection for a very long time. Let's get to it!
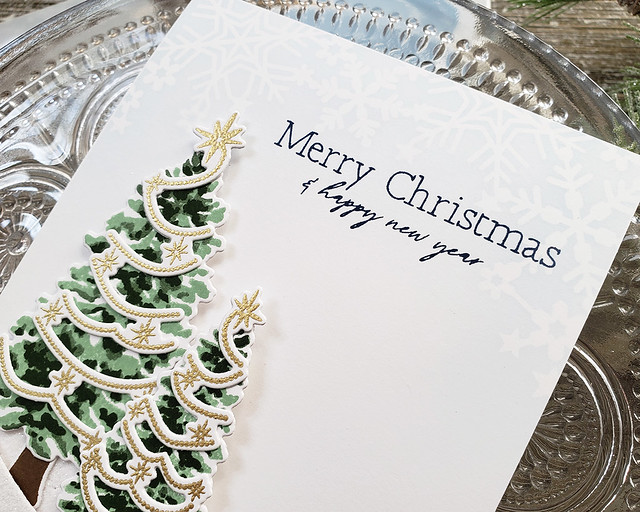
I generally like to try and keep my holiday cards on the simple side. I'm often rushing and sending a ton, so simpler designs work better for me on a number of levels. This card is no exception.
I used the new
Fir & Foliage 2 set for the evergreens and the new
Tree Trimmings set to add gold embossed garland.
The delicate and subtle snowflake pattern along the top edge is thanks to the new
Frosty Flakes Stencil. I am totally in love with how that stencil transformed the white space on this card without making it busy or overly fussy.
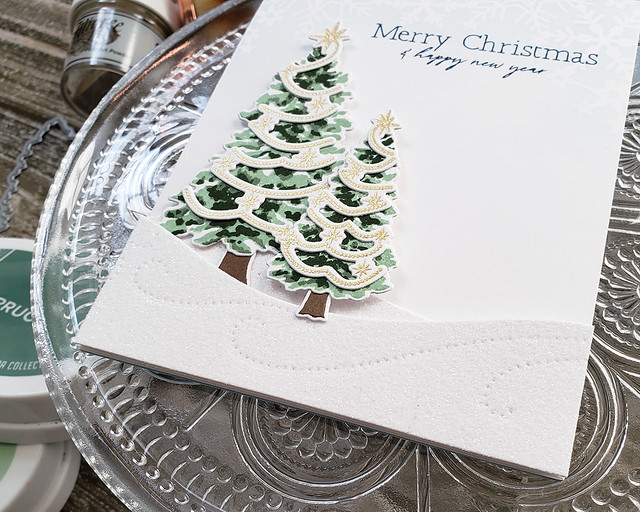
Now, I may like simple design at the holidays, but I am also a proud glitter monster this time of year. Glitter all the things! These snow banks, created with the new
Drifting Die, are just the tip of my glitter iceberg, people. They are sparkly, sugar-coated goodness and I'm not the least bit sorry about it. I do try and minimize transfer for my recipients by adding a layer of Xyron adhesive before die cutting and then burnishing the glitter once it's applied.
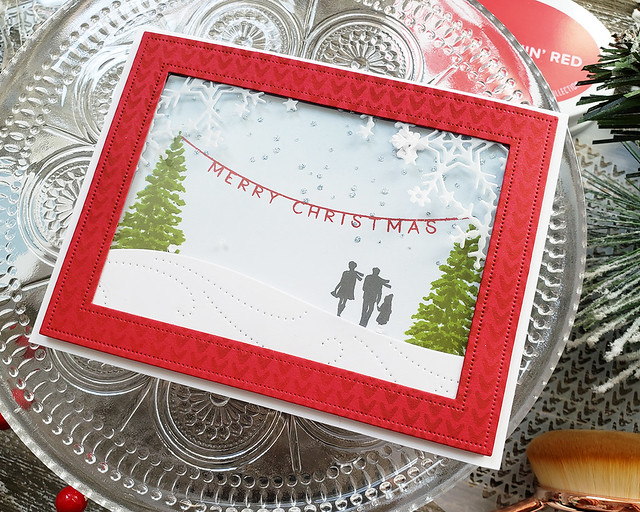
Next up, I have a card that might look a tad on the plain side until you realize it's also a shaker! I love incorporating interactive elements when I can, so this was a really fun card to create.
I used the
Christmas Eve set for this card. This set includes the charming multi-step church you've probably already peeked elsewhere, but I wanted to use some of these smaller elements to create a sweet little woodland scene.
I used another of the
Drifting Die shapes to create a ground (and a place for my snowflake confetti to hide). The lacy snowflake decorations in the corners of my frames are the new
Frosty Corners Die. I used the same die to create the aforementioned confetti from regular white cardstock.
The Knit Wits stencil from the last release came in handy to add some texture to my frame and I used a bit of Cararra Marble glitter and a glue pen to embellish the snowflakes (because glitter). Isn't it a dreamy scene?
There you have today's introductions, friends! See anything that really speaks to you? I'm telling you, run, don't walk to get those Drifting Dies. Seriously. I'm going to have a hard time putting those bad boys down.
Thank you so much for joining me today! I hope you'll come back tomorrow to see what I have up my sleeve for Day 2 of the countdown. In the meantime these lovely ladies have more inspiration to share:
I'll see you tomorrow! Have a great day!
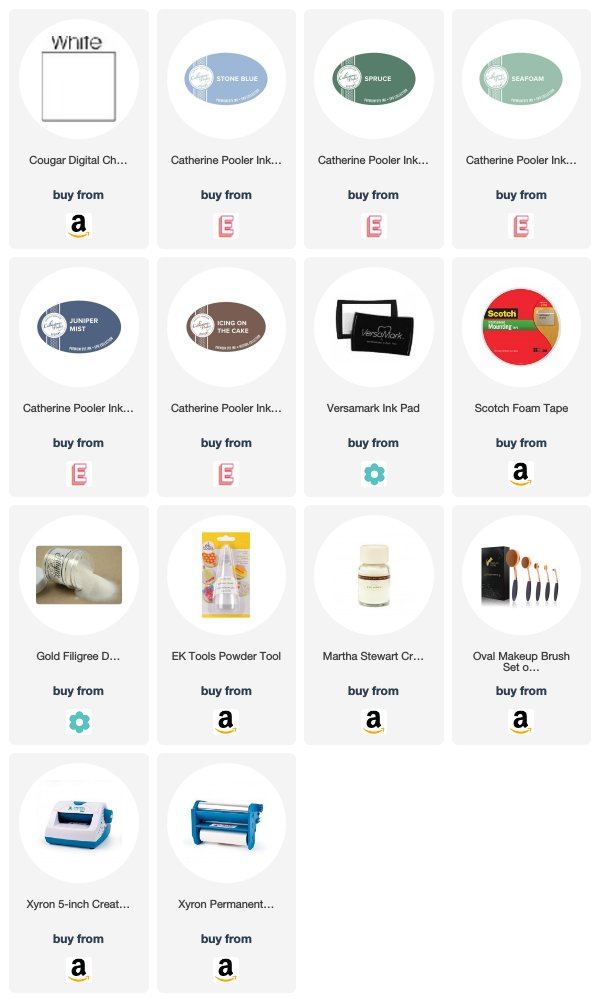
Supplies:
Merry Christmas & Happy New Year Card
 Merry Christmas Shaker Card
