Some notes about my list:
1. I tried to narrow down the stamps to simple designs that didn't have too many layers or tricky bits for people that don't have as much experience.
2. I also tried to avoid any stamp sets that require a die to get the most from the set. This may sound like crazy talk, but I don't think a die cut machine is necessary when getting started.
3. That said, I also don't have any dies on this list. I know, I know...but I really think it's overwhelming to give new stampers too much at once. Imagine telling someone you like taking photos on your phone and for your next birthday they gave you a swanky DSLR with several lenses and a million settings. I don't know about you, but I would sit there staring at it blankly wide-eyed until I decided to pack it away and never look at it again. Too much at once. If you want to put together a gift package and include some die cut basics, that's great! But maybe just let the recipient ease in a little bit.
4. Most of what I'm sharing is from Papertrey Ink. I work for Papertrey. I know their products are great quality and a wonderful value. That's not to say there aren't other companies out there that also have fantastic products. I'm just most familiar with Papertrey, so that's most of what I've included on my list.
5. All of the links and thumbnails are provided for your convenience. Some are affiliate links, but clicking on them does not in anyway impact the price of your item. It does, however, support me and my ability to create posts like this one for you! And everything I'm sharing, affiliate or not, is something I truly love. I wouldn't be sharing it if I weren't.
Ok, all that said, let's get to the list!
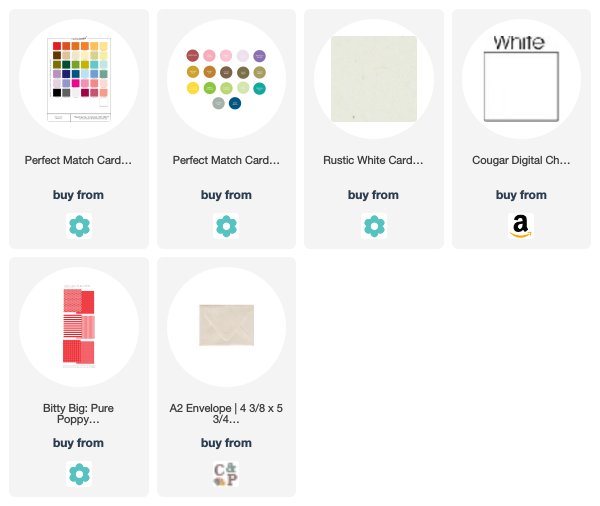
I also love and use the Rustic White as a fabulous warmer alternative to bright white. Some people love cream, but it really doesn't float my boat, so this fills that gap nicely.
This 100lb Cougar Digital Choice Super Smooth stock is my go-to white. It's heavyweight and makes a sturdy card base. It's also super bright white, not creamy or gray. This has been my favorite for a very long time.
I also highly recommend the Bitty Big Patterned Papers in a select color or two. This patterned paper is a nice weight, doubled-sided, and is available in 32 colors that coordinate with Papertrey's cardstock.
Envelopes! I love these from Cards & Pockets. They have a nice, deep-V Euroflap and come in a wide range of colors. You could stick to neutrals or go all out with some fun colorful ones, too.
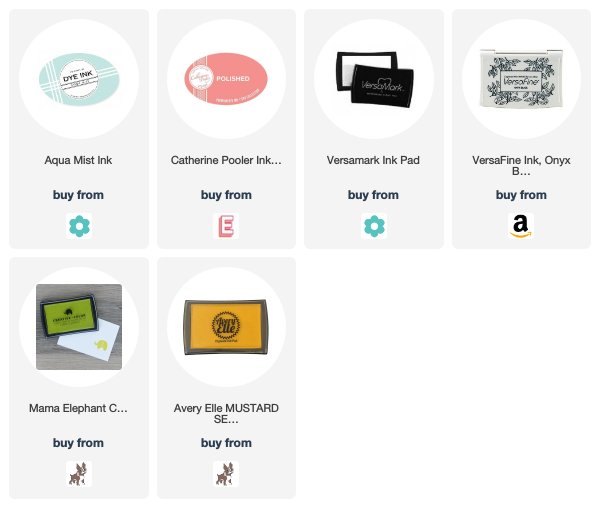
Inks are a tricky one for most folks. How you choose to gift will likely depend on which inks you prefer for yourself. I mostly use dye inks, but I happen to love quick-drying pigments too. The inks that top my list are Papertrey Ink's dye ink pads and Catherine Pooler's dye inks. The Papertrey inks are pretty simple and straightforward to use. With properly primed stamps (simply rubbed with an eraser), they give nice, crisp results every time and most colors clean up easily with just a baby wipe. The Catherine Pooler inks are also dye inks, but instead of the standard felt pad, they have a unique foam pad. I've only had them for a short while, but I LOVE them. They give crisp images even without priming though some colors seem to require a stamp cleaner to avoid staining stamps.
I would also recommend getting a new stamper a VersaMark pad. This pad is great for embossing techniques they may not be ready for yet, but it's also perfect for getting watermark effects on colored cardstock.
My favorite black ink pad is the VersaFine Onyx Black pad. It's always crisp (are you noticing a theme?) though it takes a second to completely dry and it does require a stamp cleaner to completely clean off of your stamps.
The next two inks I would recommend are both pigment inks. I love the Mama Elephant and Avery Elle inks both for their selections of colors and for how quickly they dry. There's nothing worse than making a beautiful impression and then smudging it with your finger! I haven't had that trouble with these inks.
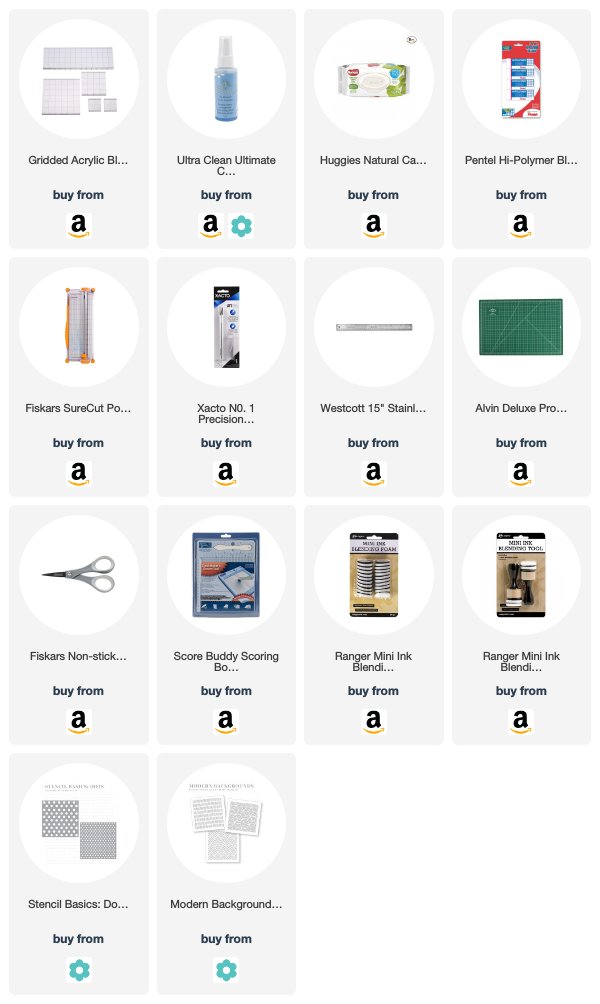
First, a good set of blocks is necessary. I think a more advanced tool like a stamp platform is nice for someone who already has the basics, but when someone is just getting started, I prefer a set of gridded blocks. This set includes five blocks in a variety of sizes. The grids help keep sentiments and backgrounds straight while the variety gives you options for which block is best for your chosen stamp.
Next, let's talk about clean up. I use baby wipes to clean up my stamps. These Huggies Natural Care Wipes are my favorites. They're unscented, which I prefer, and they don't contain alcohol or anything else that isn't safe for your hands or your stamps. Some inks are stubborn or will stain without a cleanser. I like Ultra Clean to clean up those inks.
It's important to prime your stamps to get the best possible results. That's as simple as rubbing the surface of your stamp with a white eraser and these Pentel erasers are definitely on my list of gifts for a newbie. I prime every time I stamp and I have a handful of these erasers floating around my desk at all times.
If you plan to buy full sheets of cardstock rather than pre-made card bases, you're going to need a way to cut it down. I prefer using an X-acto knife, metal ruler, and self-healing mat, but I know that's not for everyone. A Fiskars SureCut Portable Trimmer is a convenient, affordable alternative. The printed ruler makes it easy to cut layers and bases to your chosen dimensions.
Another necessity is a great pair of scissors. These Fiskars non-stick detail scissors are a great buy. The coated blades give you the option of using them with adhesives and the sharp blades can get into tight spots.
You also need to be able to score your card bases for a nice, clean fold. The Scor-Buddy is a handy size perfect for cardmaking.
These last few tools are necessities for me, but I'm sure there are people that would disagree. Luckily, this is my gift guide, so I get to recommend whatever I want! The Ranger Mini Ink Blending Tools and extra Ink Blending Sponges are great for creating backgrounds, adding depth to stamped images, and necessary for adding pattern with stencils. One of my favorites is the Stencil Basics: Dots collection from Papertrey Ink. Their stencils are nice and sturdy and this collection includes two stencils for only $6 which is a great value! Another favorite is the Modern Background Stencil Collection. This set includes three unique patterns that give your projects contemporary flair.
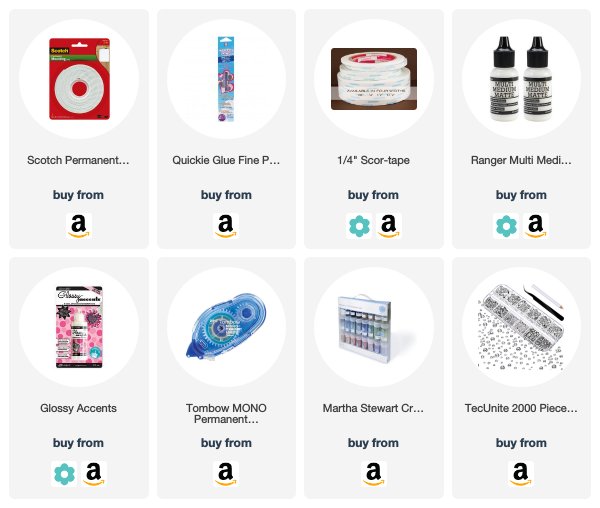
Scor-tape is my favorite super strong adhesive. It's easy to tear so you don't have to gunk up your scissors by cutting it and it holds like a champ! My most-used width is the 1/4" Scor-tape. Plus, it's also great for treat boxes for the more advanced stamper (should you need a stocking stuffer). If you'd rather give a tape runner this one from Tombow is a great alternative to rolls of tape.
Wet glues are essential for securing embellishments or small items to your projects. I love Ranger's Multi Medium Matte for adhering everything from gems to layers. Glossy Accents is another adhesive that doubles as an embellishment. I love it for affixing small items and adding a dimensional shine to select areas.
Glue pens also have their place. I love them for drawing on adhesive that can be embellished with glitter. The Martha Stewart Crafts Essential Colors Glitter is a great buy for getting a ton of colors in small tubes. A little goes a long way with glitter, so those small tubes hold plenty and will last a long time.
Crystals or gems are another embellishment I would suggest for beginners. They can be everything from flower centers to a touch of sparkle around a sentiment. This set includes a variety of sizes in a sectioned box. It also comes with a set of precision tweezers to help you with placement.
I know that was a ton of information to throw at you, but I sincerely hope it has been helpful. I hope you'll come back tomorrow for my stamp set suggestions! Have a great Monday, friends!




No comments:
Post a Comment