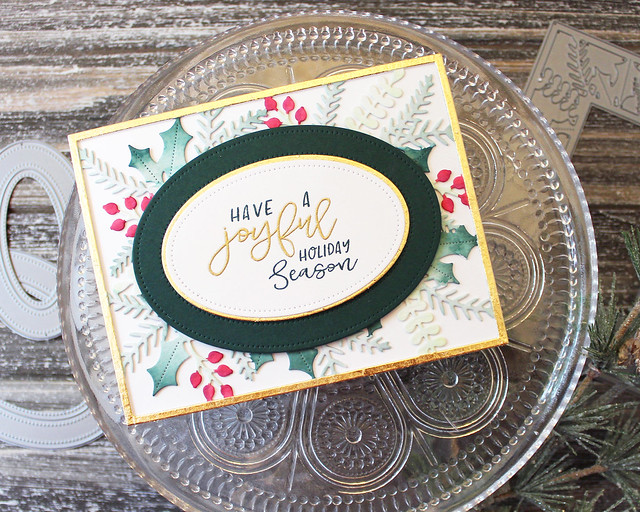
My first card today pairs Betsy's Words To Live By with my newest Bold Borders die. I love all the fancy, seasonal foliage with her gorgeous sentiment!
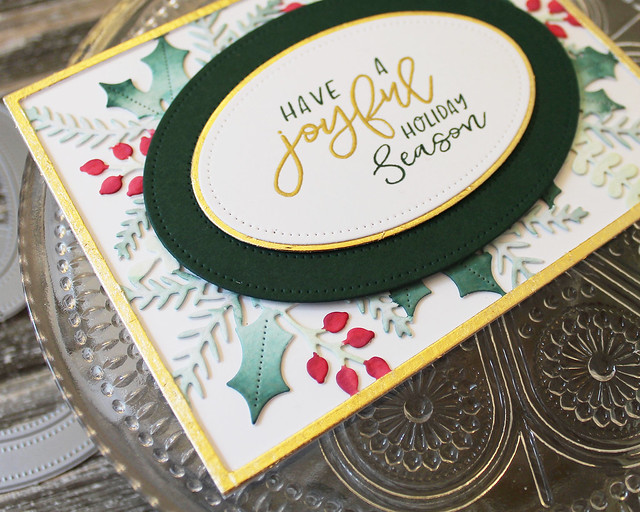
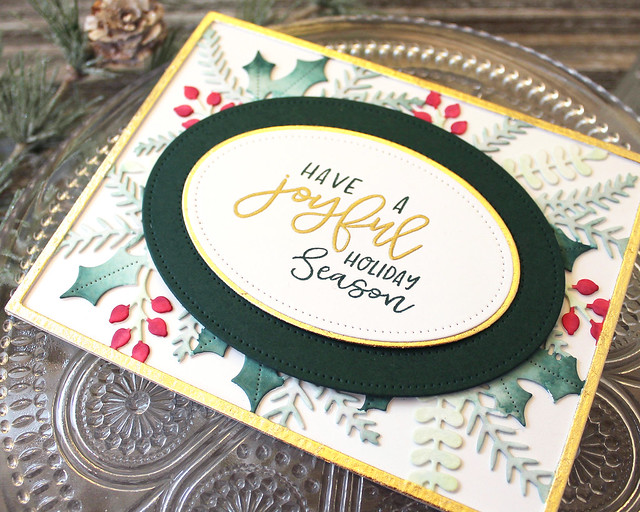
I began by die cutting the Bold Borders: Yuletide die from watercolor paper. I used inks and a water brush to add color to the foliage and set it aside to dry.
Next, I cut a second Bold Borders shape and a small Pierced Feature Frames: Oval shape. I trimmed out the center of the Bold Borders frame so that just the thin outer edge remained. Then, I used a glue pen and gilding flakes to add a luxe, gold finish to both frames. I cut a medium oval frame from both white and Pinefeather cardstocks. I stamped and heat embossed the sentiment on the center panel of the white die cut and then matted it with the gilded frame.
After adhering the watercolored Bold Borders frame to a card base, I adhered the Pinefeather frame to the card front with foam tape. Then, I used a double layer of foam tape to adhere the matted sentiment panel inside the Pinefeather frame. Finally, I attached the thin gilded frame to the outside edge of the Bold Borders layer. That gold adds such elegance to the design!
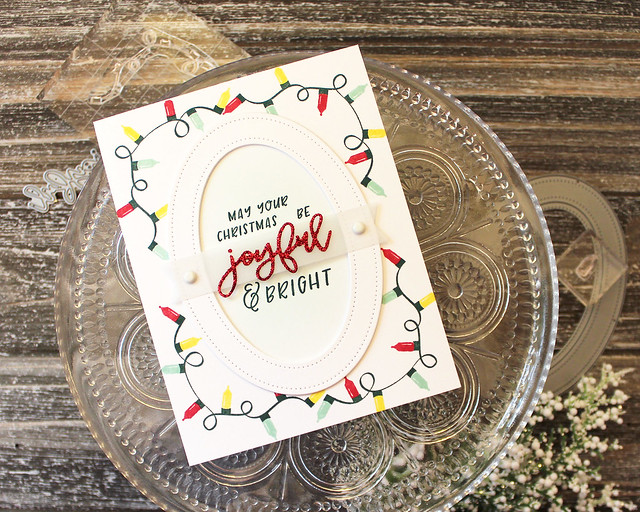
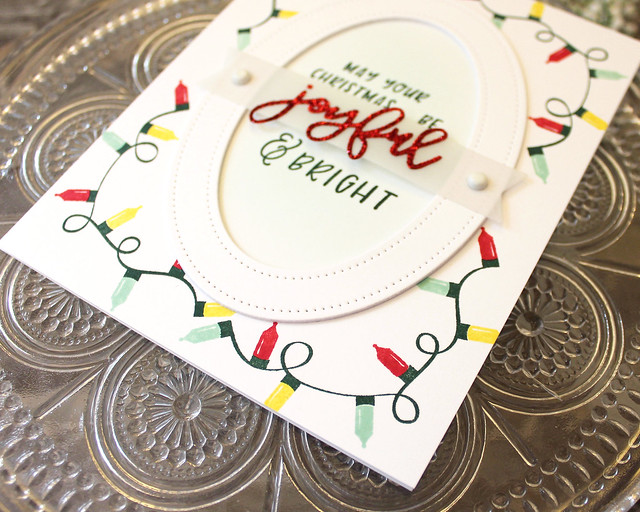
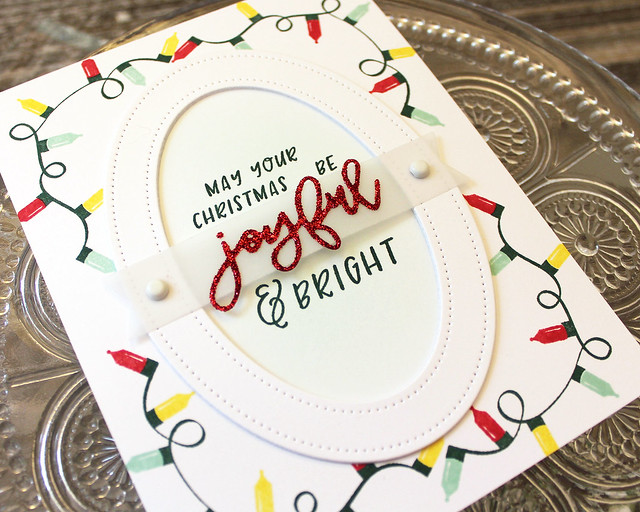
Next up, I have a slightly more playful card to share. This one pairs another Words To Live By greeting with this month's Corner Adorner set.
Thank you so much for joining me today! I'll be back tomorrow with a few more projects using this month's new products. In the meantime, Betsy, Dawn, Heather, Laurie, Melissa B, Melissa P, Michelle, and Stephanie all have beautiful projects to share. See you soon!
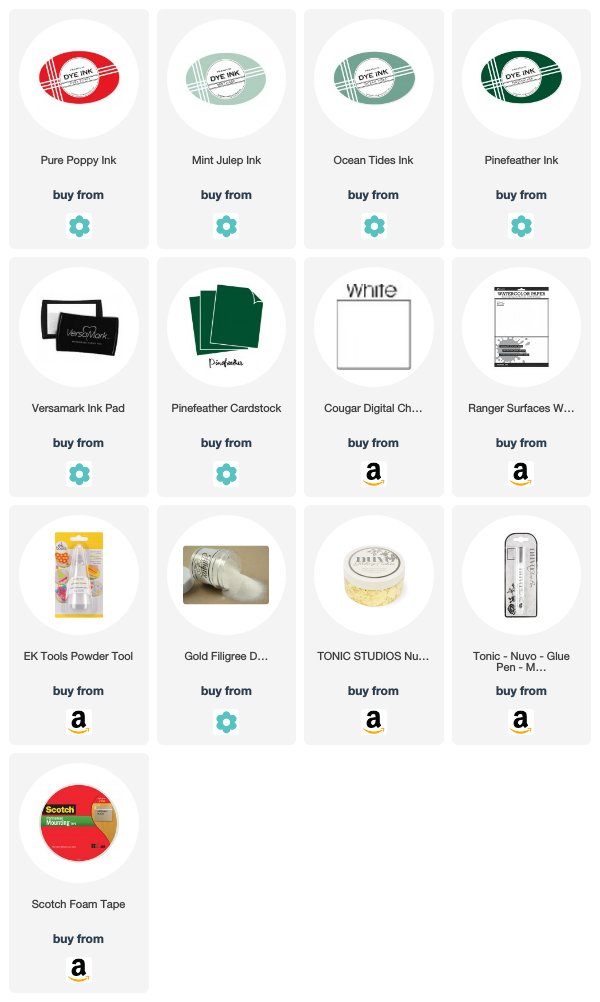
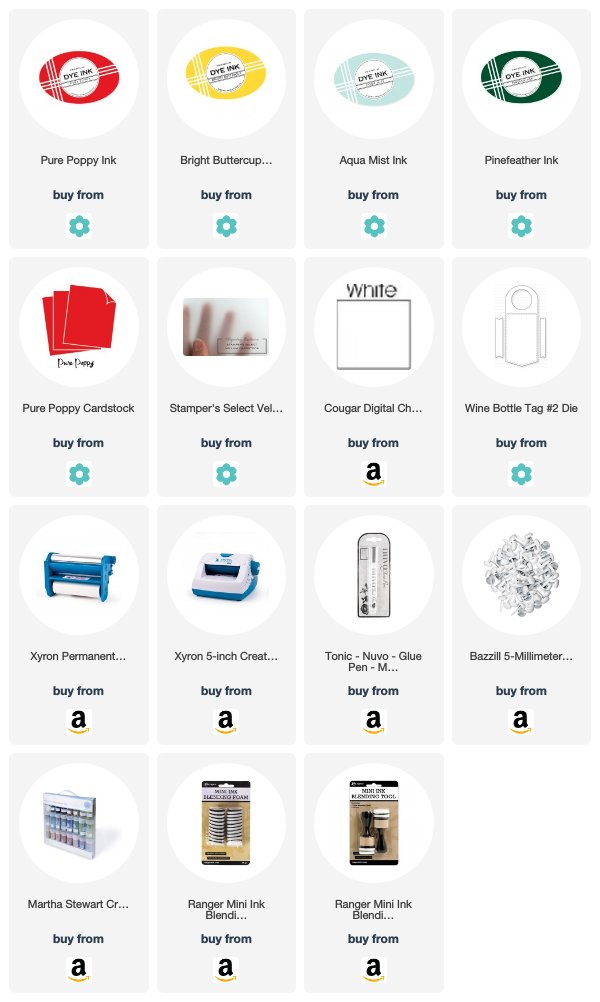
Supplies:
Joyful Holiday Season Card
Joyful & Bright Card

Hi Lizzie! It's probably repetitive when I tell you how BEAUTIFUL your designs are, but seriously now, your cards are GORGEOUS!! I'm definitely going to try the gilding flakes on one of your awesome frames (I'm in love!). Your color palette is perfect! And it's super cool that you added the different highlights to your bulbs. Your corner adorners will be a sellout!! Thx so much, have a great day!
ReplyDeleteSimply don't know how I ever lived without Bold Borders. And I know I'll love the oval too! Your Corner Adorners are All fabulous, and fell in love this morning with everyone's inspiration. Oh what fun!
ReplyDeleteYou've shared two lovely cards today. Thanks for sharing your creativity.
ReplyDeleteYour first card is absolutely stunning, Lizzie! I bet your new Bold Borders die sells out in record time! Just can't get enough of it! Thanks for the inspiration!
ReplyDeleteYou can't make a mistake on the Yuletide die stamp. So pretty and your really is. Love the look of the light strings.
ReplyDelete