Good morning, friends! It's the last Wednesday in June and that means it's time for this month's
Papertrey Ink Simple To Spectacular feature.
This has truly become one of my favorite features. I love coming up with a design and thinking of ways to progressively incorporate details that make the projects shine.
The Sweet Life is a set that I've always really enjoyed using, but don't pull out nearly often enough. It was a pleasure to pull out these multi-layered blooms and leaves for my projects today.
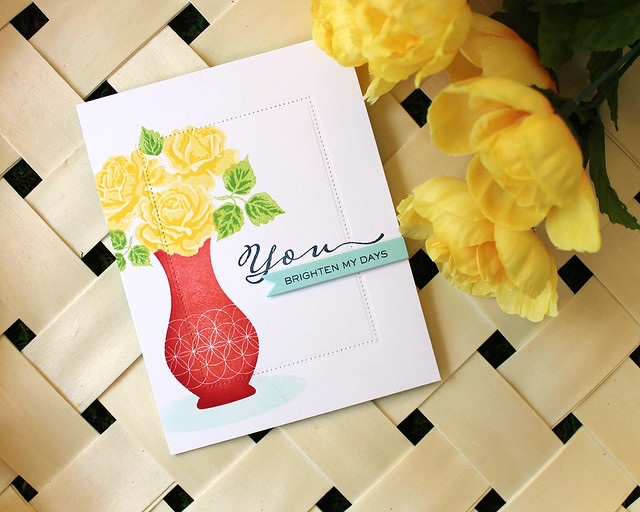
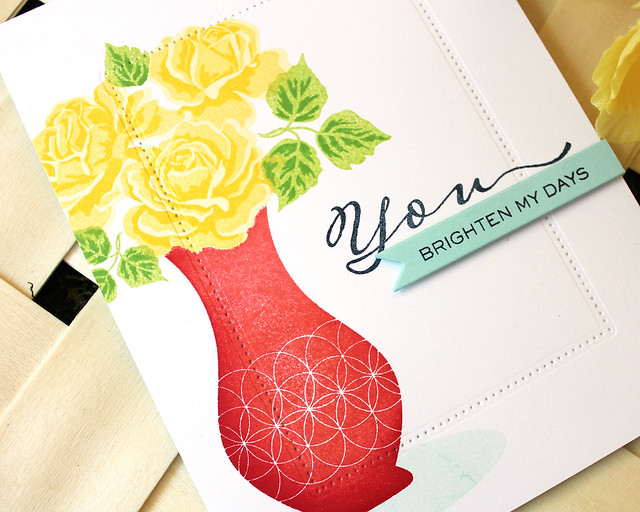
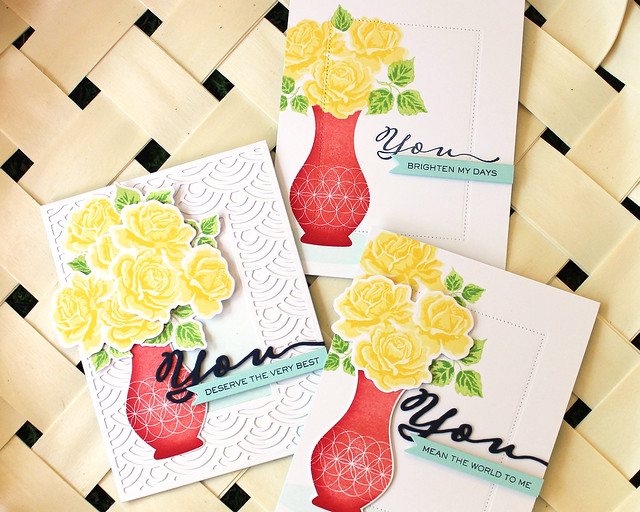
Let's start today with my "Simple" project. I liked the idea of tucking the roses into a vase, so I paired
The Sweet Life with my
Vogue Vases set.
I began by stamping the roses onto a panel of white cardstock using bright, sunny yellows. Then, I stamped the base image onto a sticky note and cut around it to create a mask. I masked the roses before stamping my vase. I did the same with the vase in order to stamp the shadow.
Next, I stamped the "you" from Scripted onto the panel with Dark Indigo ink. Then, I used the pierced border from
Mix & Mat: Pinked Edge to give the center of my panel a bit of definition and draw the eye inward. I really like that subtle detail.
I adhered that panel to an Aqua Mist card base before attaching the small banner that I'd stamped with the
Scripted sentiment. I love how clean and uncluttered this design turned out.
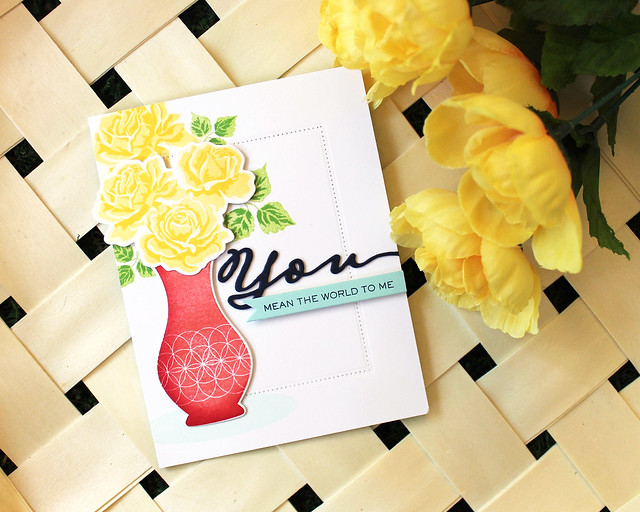
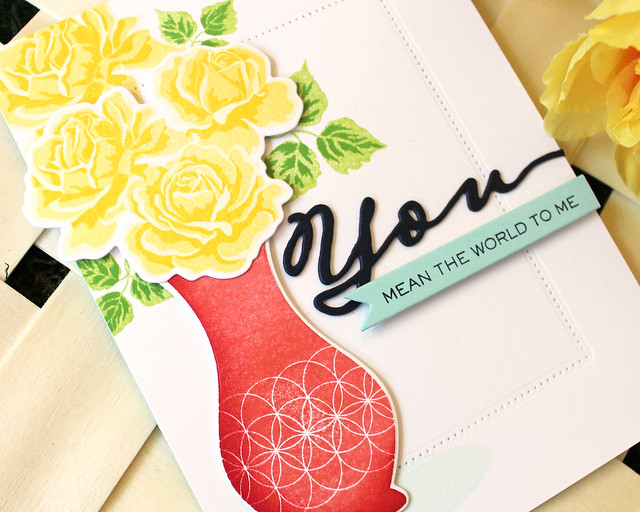
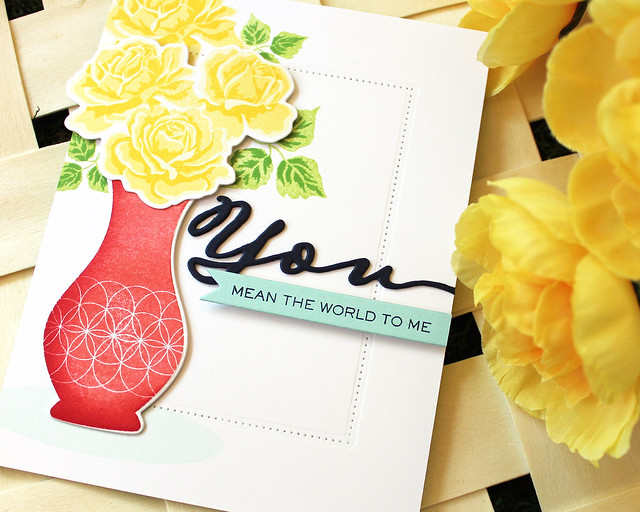
Next up, I have my intermediate design. I added dimension by using the coordinating die collection to include both flat stamped and die cut flowers.
Since I knew I was using die cuts, I was able to forego the masking that I did on the first card. Along with the stamped and die cut the roses, I also stamped a rose and a few leaf sprigs directly onto the white panel to give the bouquet more fullness.
Another "upgrade" on this version is the die cut sentiment in place of the stamped one from the "Simple" card. I stacked three die cuts together to create a thicker, more substantial shape and let it bleed off the edge.
I kept the die cut border and sentiment banner from the first card. On a series like this, I like to maintain a few of the elements from one card to the next.
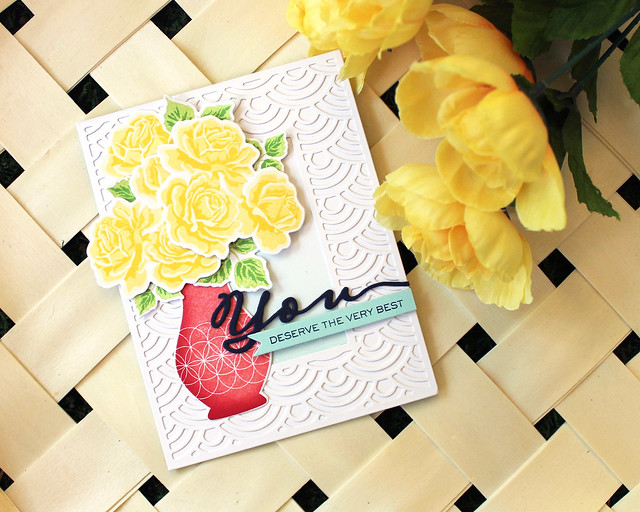
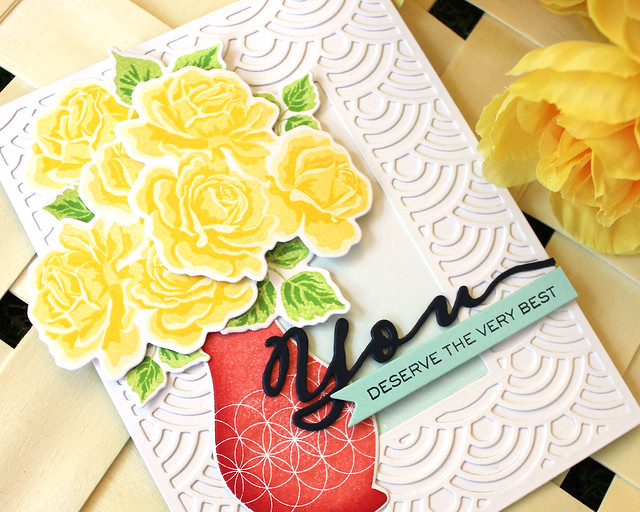
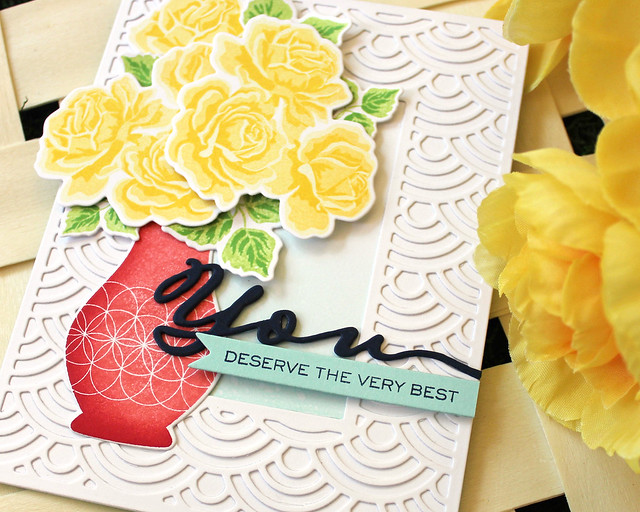
And lastly, I have my "Spectacular" version of the series. I made the bouquet much more substantial with additional roses and leaves and used a more decorative frame to draw the eye toward the focal point.
I began by stamping and die cutting all of my leaves, flowers, and a vase. Next, I die cut the
Bold Borders: Wave frame and traced the opening onto a white card front. I masked off the edges and sponged Aqua Mist ink into the open space. Then, I added a touch of texture with some clean water speckles.
I adhered the frame into place and arranged my vase and bouquet. I used both flat and foam adhesives to give my bouquet plenty of dimension.
I used the stacked sentiment die cuts and banner to round out my design. I love how much texture the
Bold Borders: Wave frame adds to this version!
That's all I have for you today. I hope you've enjoyed this fresh look at
The Sweet Life! Thank you so much for joining me! Make sure to pop in on Dawn McVey and Melissa Phillips to see how they're using this wonderful floral set today. Enjoy your Wednesday and I'll see you again soon!
Supplies:
You Brighten My Days Card
 You Mean The World Card
 You Deserve The Very Best Card



All I can say is wow! Yellow is not even a color I lean toward, but I can't stop staring at these cards! You've also reminded me that I forgot to add the vases to my wishlist & boy do I want them! Thank you for the wonderful inspiration, Lizzie!
ReplyDeleteOoooh! Beautiful! Beautiful! Beautiful! I'm not usually a yellow person but this is just screaming at me to stamp some yellow flowers. I also love this new monthly blog feature!
ReplyDeleteLizzie -- I love Sweet Life and each one of your three cards shows it off so well! Thank you so much for sharing!
ReplyDelete