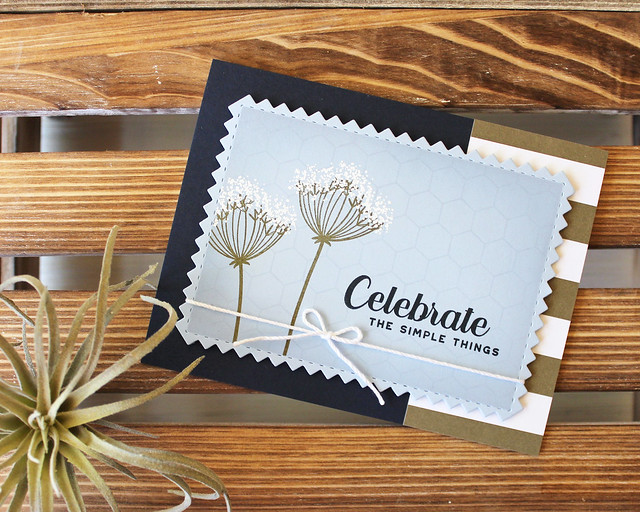
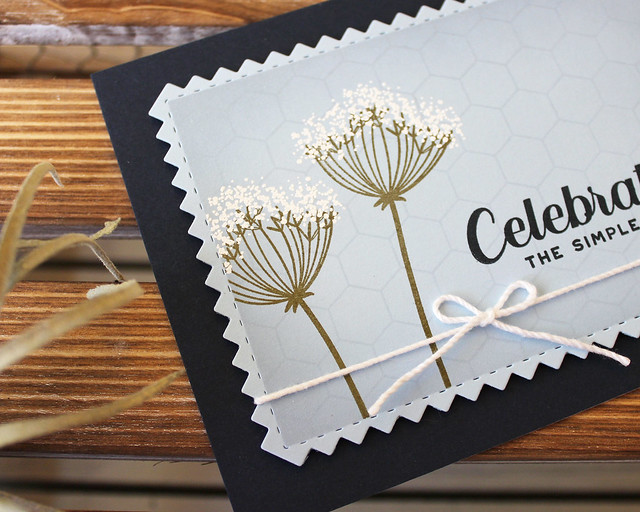
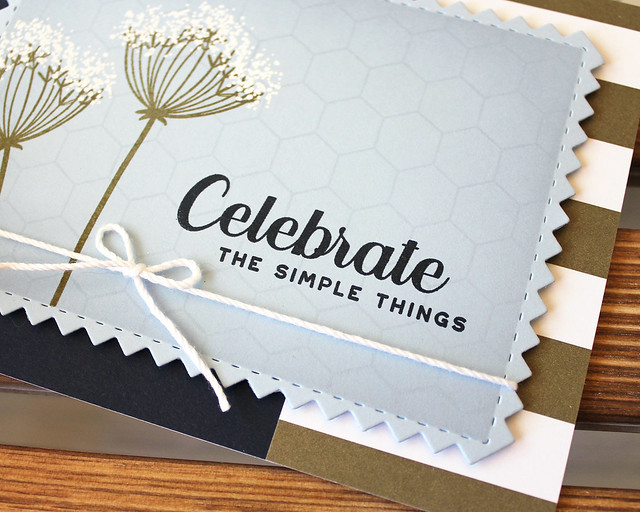
My first card today uses Cover Up: Hexagons with Forest Floor: Summer. I've also got a peek at Betsy's newest Noted: Pinked Edge A2 die collection in here as well.
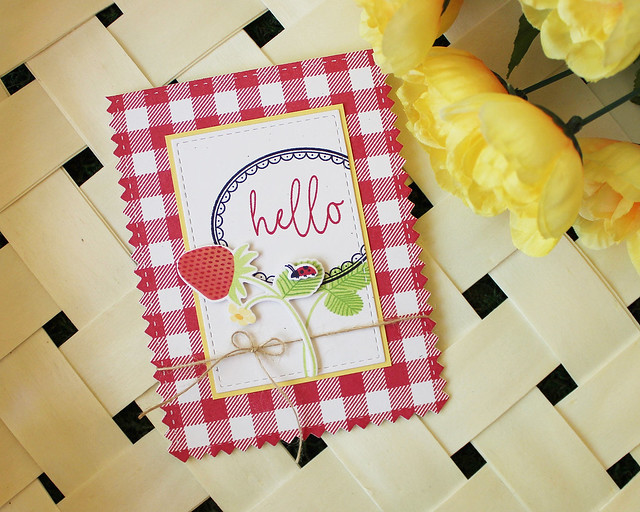
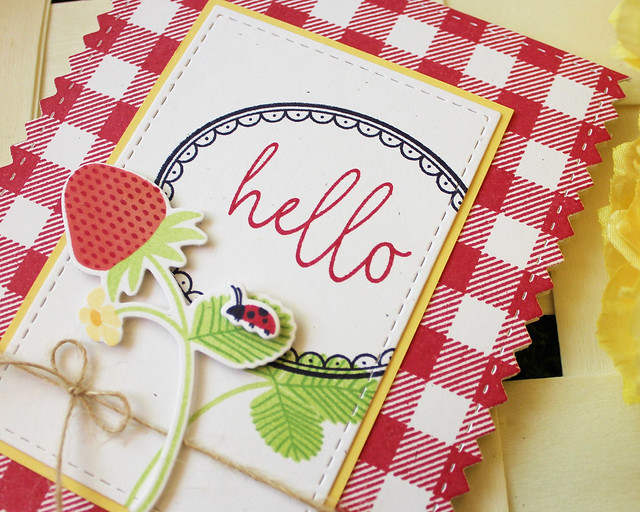
Next up, I have a card using the strawberries from Forest Floor: Summer. We have these tiny strawberries in our yard during the summer and they make me smile from the moment they start popping up all over the place. I couldn't help but turn them into a stamp!
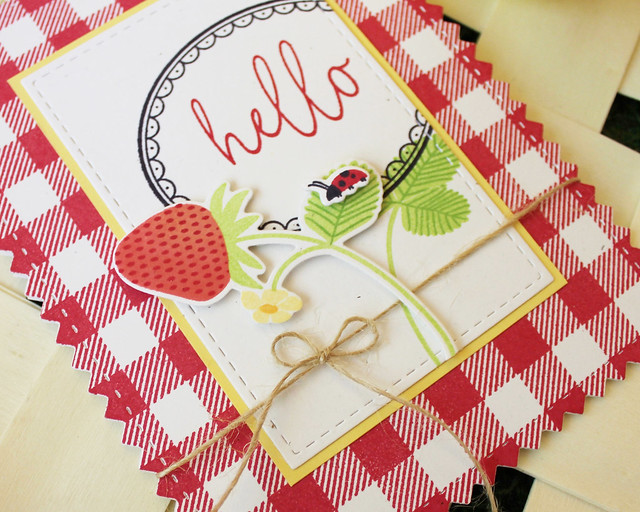
I began by stamping and die cutting the strawberry stem onto Rustic White cardstock. I used Melon Berry and Berry Sorbet to get the gradient of color on the berry and then used Pure Poppy to add the seeds. You could also heat emboss the seeds with a contrasting powder if you wanted them to be lighter.
I stamped the leafy stem onto a Rustic White panel that I had cut with a Noted: Simply Stitched rectangle. I followed up with the frame stamped in True Black and a sentiment from Pitter Patterns stamped in Pure Poppy. I matted that layer with a piece of Harvest Gold cardstock and set it aside for a moment.
Next, I stamped a Noted: Pinked Edge card base with the Background Basics: Super Gingham in Pure Poppy. I adhered the sentiment panel and tied a Rustic Jute Twine bow around the card base. Then, I attached the strawberry stem to the card front with foam tape. The card still needed a little something, so I stamped and die cut the little ladybug from Forest Floor: Summer and added her to the strawberry leaf with foam tape. I'm smitten!
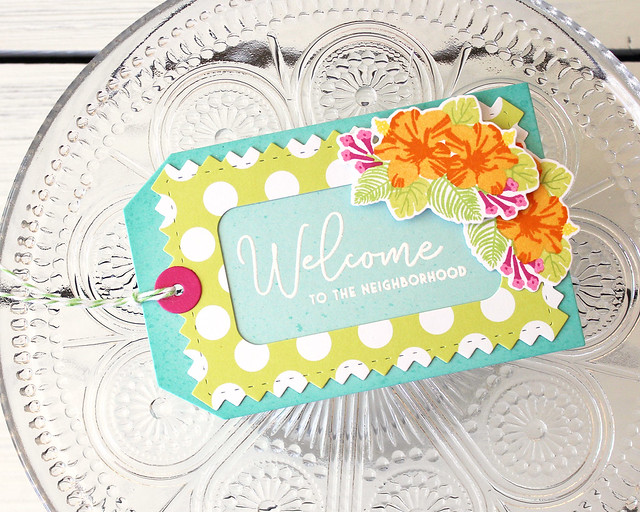
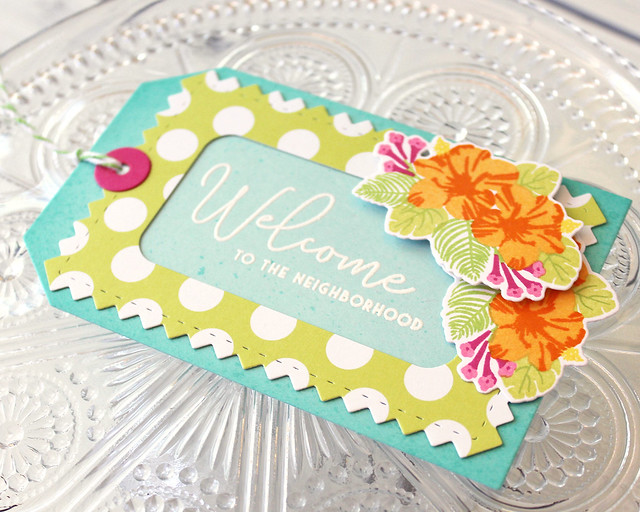
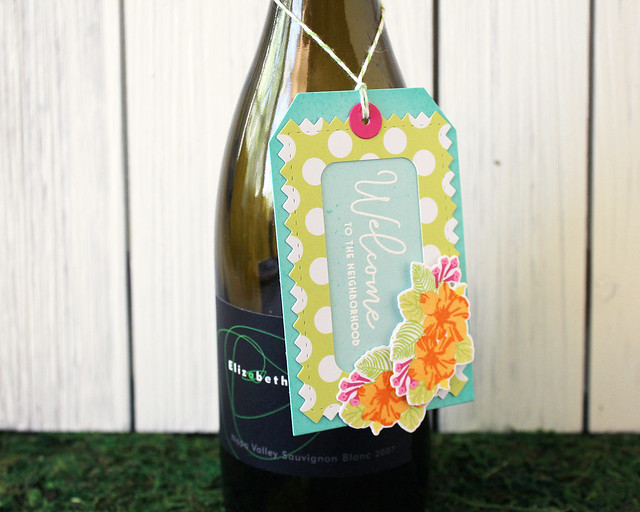
And last, but certainly not least, is Betsy's new Seasonal Borders: Summer stamp set. This one features a beautiful array of tropical leaves and flowers that you're going to love!
That's all I have for you today. I hope you've enjoyed today's post! I'll be back tomorrow with more of this month's release, but make sure to pop in on Betsy, Dawn, Heather, Laurie, Melissa B, Melissa P, Michelle, and Stephanie for more sneak peeks or click HERE to see everything we're introducing today. Enjoy your Saturday and I'll see you again in the morning!
Supplies:
Celebrate The Simple Things Card
Hello Card
Welcome To The Neighborhood Tag

Hi Lizzie! Where to begin with your very creative post. I love the lighting you achieved on your Forest floor and gingham is perfect for your strawberry. I wish they grew here like they do your way. And the tropical tag is a fav, it makes a very nice addition to any summer gift. Living in Florida, I enjoy our hibiscus very much. Beautiful post Lizzie, thx!
ReplyDeleteBeautiful projects my dear! I love that gorgeous red gingham with the sweet strawberry and lady bug. My mom has strawberries in her yard too that tumble down her rockery. This is a sweet set!
ReplyDeleteI'm enjoying your Forest Floor series, Lizzie. You are capturing the unassuming, yet charming plants that are often overlooked for their showy contemporaries. Your cards have captured their charms.
ReplyDeleteI have two questions/requests. If you took a picture of those wild strawberries last summer, would you share it please? I'd love to see them. (Your yard is filled with wonderful surprises!) I'm confused about the wreath image. It is called phlox in the stamp description, but is unlike any phlox I know. Would you please show a stamped sample or, better yet, use it on a card? As I wrote, I'm confused about that one and haven't seen it used yet. Thank you, Lizzie.