Good morning and welcome to
Papertrey Ink's 11th Anniversary Countdown! That's right, the new product introductions begin today! Today also happens to be our Egg Hunt hidden image contest (you can find the details about the contest over on
our blog) and here's my official contest photo:
I'm thrilled to be introducing a gorgeous, hand-drawn sentiment set by Jennifer Campbell, the newest Papertrey Ink product designer. Her set is called Penned Elegance and I assure you it truly is elegant, folks. I just know I will turn to this set again and again. I also have the great pleasure of introducing my new Bold Borders: Blooming die. This die kicks off a year-long, monthly series of frame dies that I think you're really going to enjoy. Ok! Enough chit chat. Let's get to the projects!
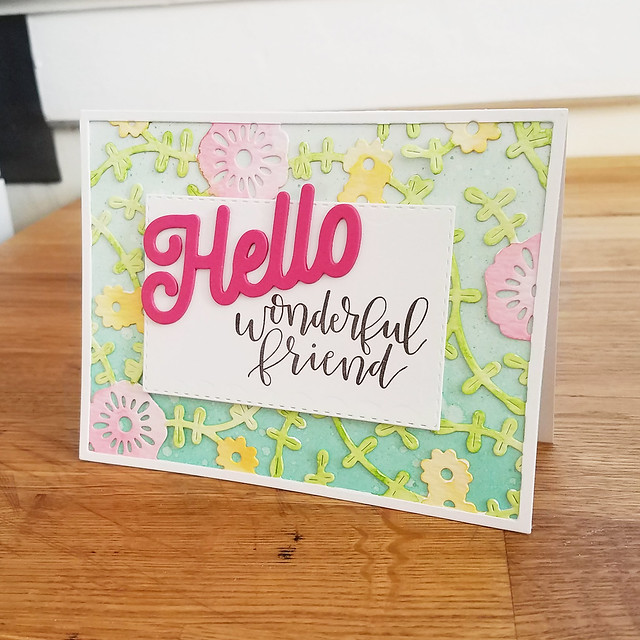
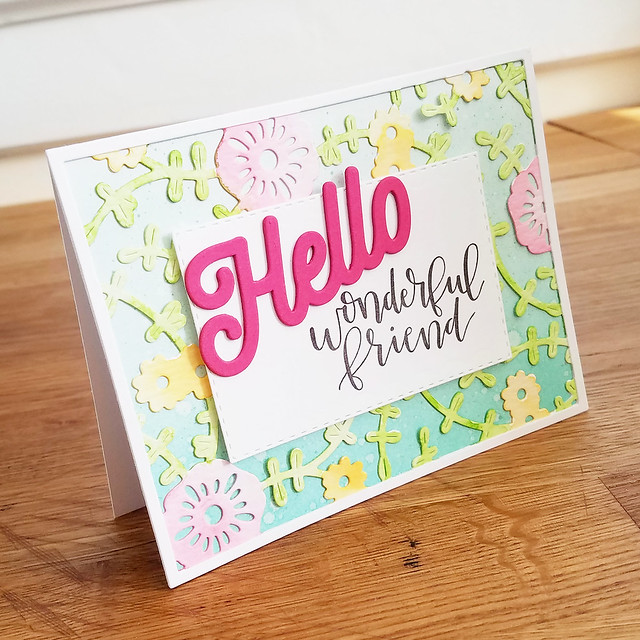
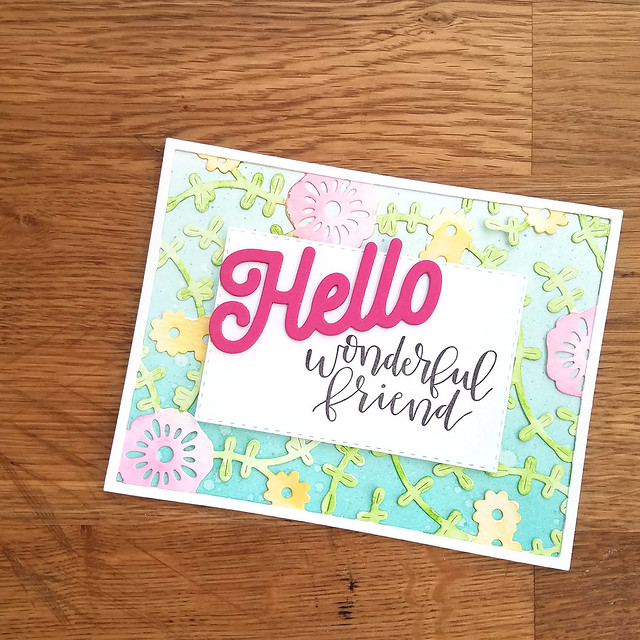
Let's start with that colorful "hello" card from my Egg Hunt photo.
I die cut the Bold Borders: Blooming frame from watercolor cardstock and added color using Zig Clean Color Markers.
I then sponged a white card base with Aqua Mist and Hawaiian Shores inks and splattered it with clean water and Aqua Mist reinker. I adhered the frame to the card front and stamped a Double Ups: Rectangle layer with the sentiment from Penned Elegance.
I added that layer to the card front with foam tape. Then, I die cut three of the "Hello" sentiments from Raspberry Fizz cardstock and layered them to add stability and depth before adhering them to the center layer.
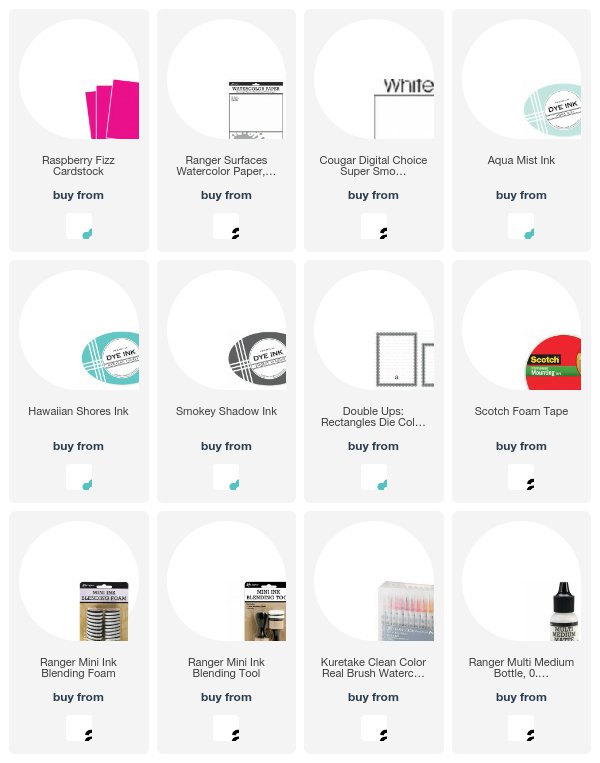
Supplies:
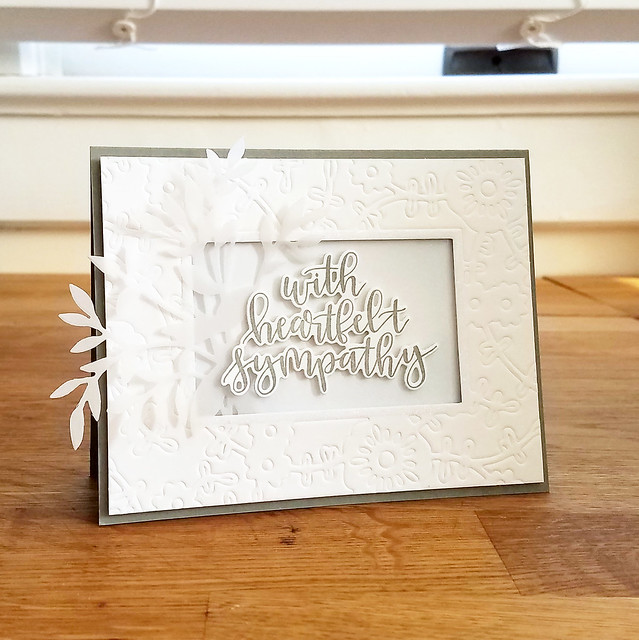
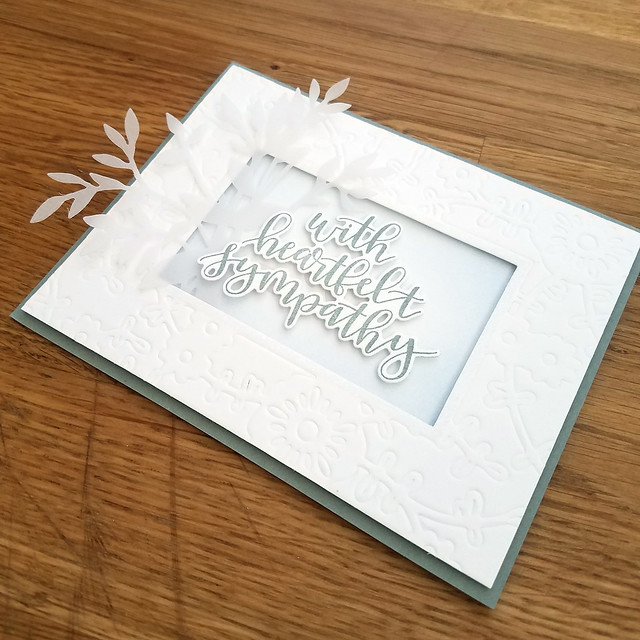
Next up, I have a sympathy card to share. These cards can be really difficult to create in the moment of need, so having a few on hand is never a bad idea.
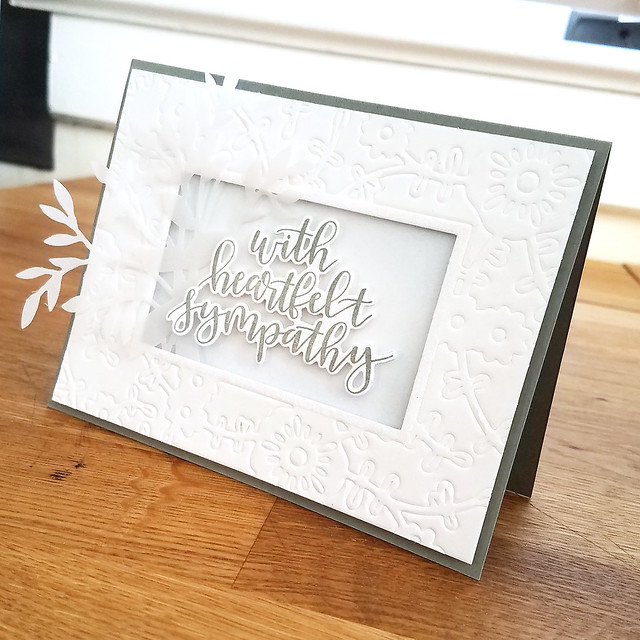
I chose to use the Bold Borders: Blooming die as an impression plate to give it a softer look. I used a craft knife to trim off the outer edge and remove the inner window. I glittered the innermost frame with fine crystal glitter before adding a vellum die cut Friendship Jar Flowers shape through the window.
Then, I sponged a white panel very softly with Spring Rain ink and adhered it behind the Bold Borders opening. That inking created a very delicate contrast which I like a lot. I feel it's best to keep things soft on sympathy cards.
I adhered all of that to a Stormy Sea card base and then die cut the Penned Elegance sentiment and adhered it into place with foam tape. The impression from the Bold Borders die gives this card wonderful texture and the glitter adds just a touch of interest. I usually wouldn't use glitter on a sympathy card, but that happens to be what I had on hand and I think the white on white is subtle enough not to be too flashy.
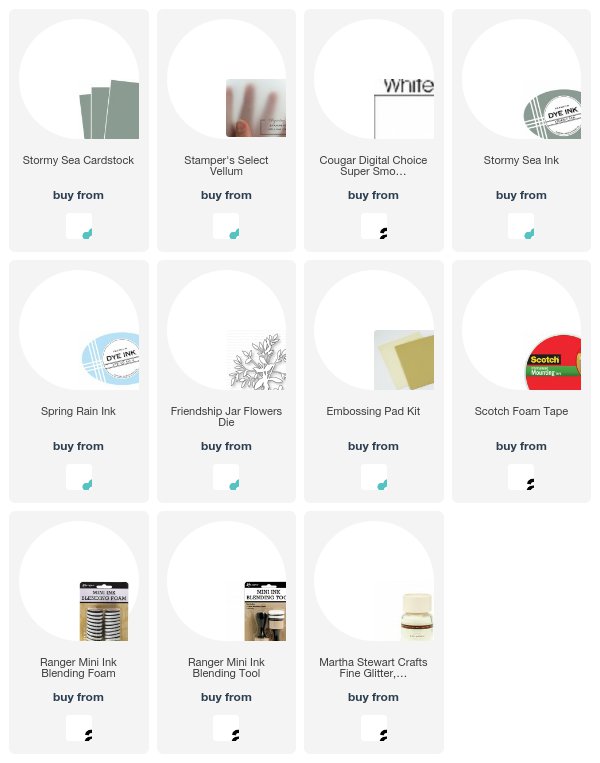
Supplies:
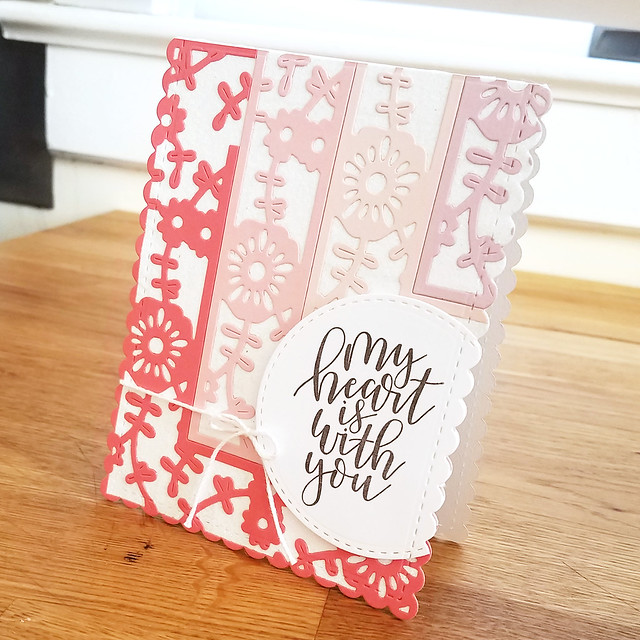
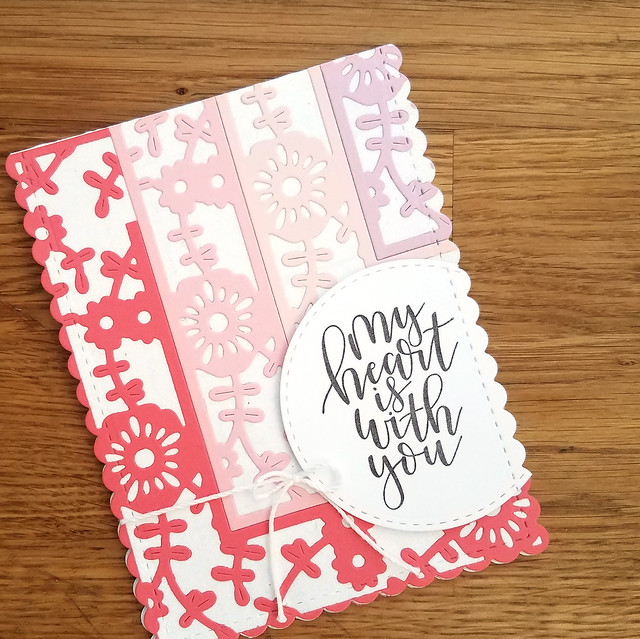
\Lastly, I decided to nest the Bold Borders: Blooming die cuts together to create a unique layout.
I began by die cutting four frames (one each in Berry Sorbet, Pale Peony, Sweet Blush, and Lavender Moon). I cut off two sides of each and then lay them out on the sticky side of a white adhesive sheet. I trimmed off the excess and then used crystal glitter to fill in all of the negative space in the die cuts. The result is super sparkly and fabulous!
Next, I die cut that panel with the Noted: Scalloped A2 Vertical Die and adhered it to a matching white card base. I tied a crochet thread bow around the card base to add a bit of texture.
I die cut a Noted: Scalloped Square Die Collection circle die and used the same die to trim off the edge. I stamped that with the Penned Elegance sentiment and adhered it to the card front with foam tape. Easy and full of glittery goodness!
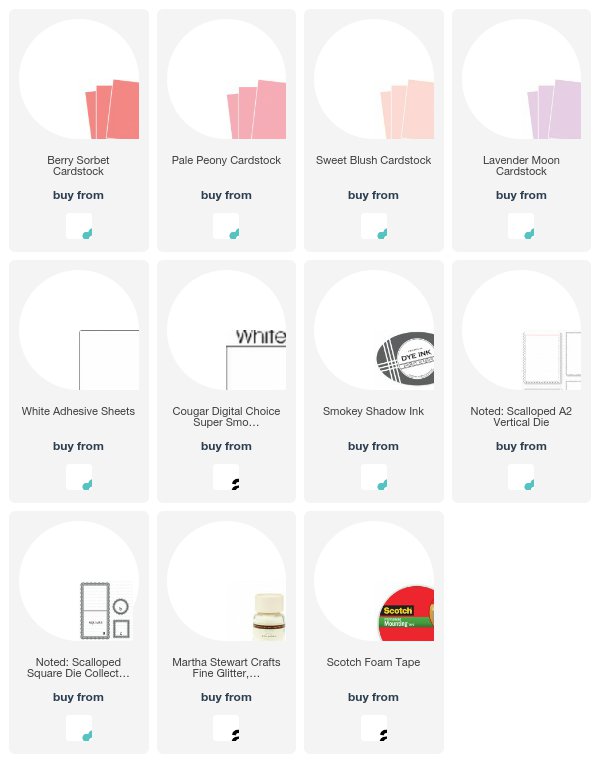
Supplies:
That's all I have for you today. Make sure to check in with
Betsy,
Heather,
Keeway,
Laurie,
Melissa,
Michelle, and
Stephanie to see their gorgeous projects and to count up those hidden eggs for today's contest. I'll see you again soon with more of this month's anniversary release. Have a great day!



such a lovely, lovely die Lizzie! you have outdone yourself. and, your cards are completely wonderful today as well. not only are you a great friend (as evidenced by how well you have cared for dawn) but also a fun and talented card maker and product designer. we are so spoiled at PTI.
ReplyDeleteThis comment has been removed by the author.
ReplyDeleteWOW! Your first project looks GREAT with all of the color! Very "springy!" ;) Your sympathy card is STUNNING!!! I LOVE the softness of it! (I think it is my favorite! ) AND your last card is SO CREATIVE with how you've used this new die! ;) SUPER JOB Lizzie!!! ;)
ReplyDeleteDearest Fizzie! Look at you all rocking the Raspberry Fizz! You rock. I really also love the card made with the borders! 😘
ReplyDeleteBeautiful cards! I especially like the nested Bold Blooms Border (LOL....did I get the name of that die correct?).
ReplyDeleteThank you for sharing your talent!
Bold Borders: Blooming pairs perfectly with Penned Elegance. They were made to be used together.
ReplyDeleteI love the stacked card. So creative. Your cards are beautiful.
ReplyDeleteLizzie, your cards are gorgeous. But the sympathy card is just so beautiful; gentle and strong and elegant all at once. Thanks for the inspiration!
ReplyDeleteLovely cards! As always!
ReplyDeleteLoving the versatility of this bold border die! Your cards are so adorable, and each one is different! Thanks for showing us many ways to use this die!
ReplyDeleteLovely projects today!!! I love the soft watercolor of the first card, the lovely white and vellum of the sympathy card and the lovely way you used the die with color on your third card! Thanks so much for sharing and inspiring!
ReplyDeleteSo soft and colorful. Just lovely.
ReplyDeleteBeautiful cards with fabulous colour palettes. This is such a lovely script and that border is fab.
ReplyDeleteHi Lizzie! Diecutting the Bold Borders twice to achieve an ombre scalloped card is SO creative. (IncludIng the sentiment). You are always an inspiration! Thank you Lizzie and for your friendship to Dawn. :)
ReplyDelete