Good morning and welcome back for Day 4 of the Papertrey Ink's December countdown! I'm back today with a couple of really cute products from
Betsy,
Lexi, and
Erin. Betsy is bringing you the latest in her Huggable series with the
Huggable Bear and Monkey add ons. Lexi has her
Fun Lovin' stamps and
Matchbook Medley Dies. And Erin has her
Arrows Dies and
Paper Sack Closure Dies. All of today's introductions are fabulous for making treat packaging and Valentine's Day goodies for your favorite people.
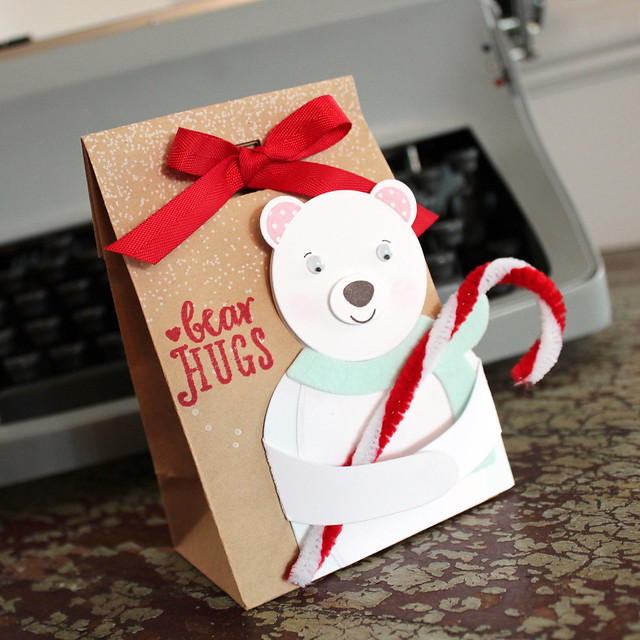
I'm going to start today with a treat bag I made by pairing Betsy's
Huggable Bear with Erin's
Paper Sack Closure dies.
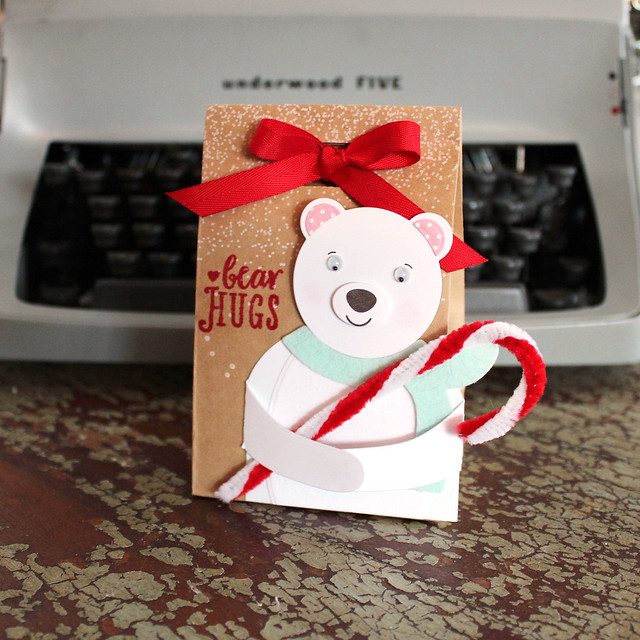
I used a small kraft treat bag from Target rather than a full size lunch bag. I began by stamping the snowfall from Dash Away All on the bag using Fresh Snow ink. Then, I used the Paper Sack Closure die to cut the slots for threading my ribbon. I also stamped the sentiment from the Huggable: Bear mini with Pure Poppy ink.
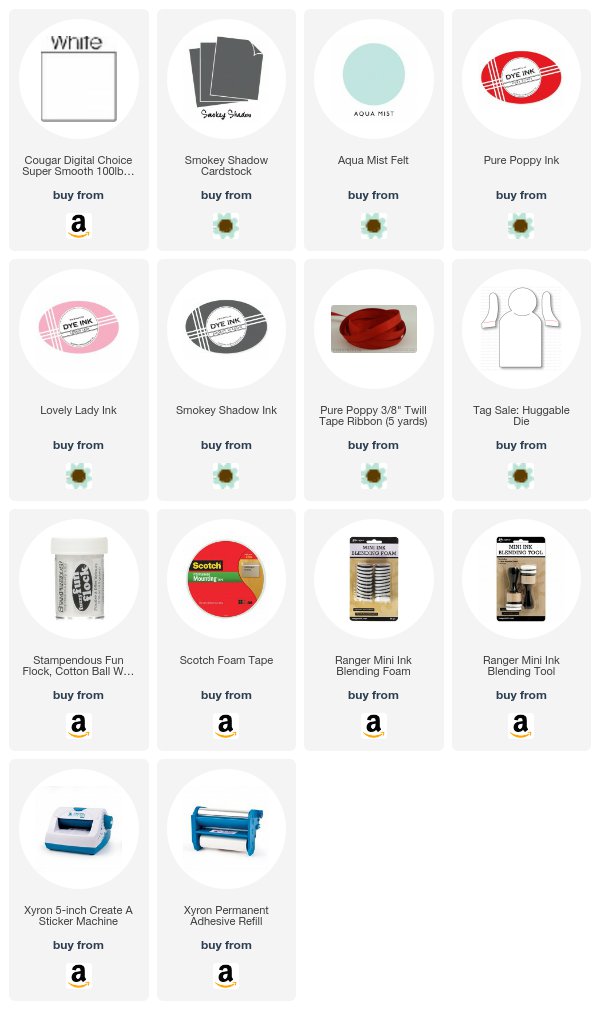
Next, I die cut the full Huggable shape and bear head from white cardstock. I sponged the tummy area of the Huggable shape with Aqua Mist ink. Then, I xyroned another scrap of white cardstock and die cut that with the bear belly die shape. I removed the adhesive backing and covered the sticky surface with white flocking to make the belly fuzzy before adhering it to the Huggable shape.
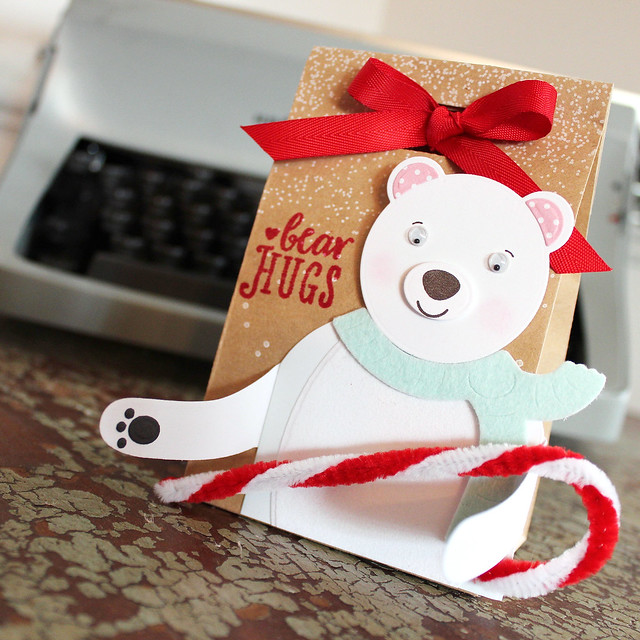
Then, I sponged a bit of Lovely Lady onto the bear's cheeks and stamped the eyes. I die cut the muzzle and stamped it with the nose and mouth image. I adhered the bear's head to the Huggable body with foam tape and then added the googley eyes and inner ears (cut from Pink Posey Bitty Big paper). I cut the scarf from white copy paper and Auqa Mist felt, adhering the two together (I like that the paper kept the scarf from getting too stiff). I added foot pads to the bear's paws and attached the arms to the body. I then trimmed the body down to fit on the bag and adhered the bear into place with Scor tape. It sounds like a lot of steps, but things really went quickly and it turned out so cute!
Supplies:
Next up, I have a sweet Valentine's treat for someone special.
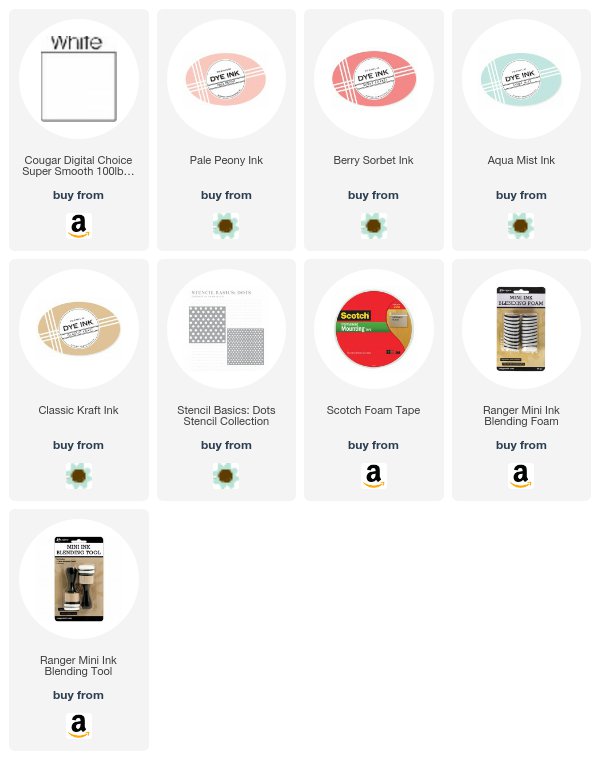
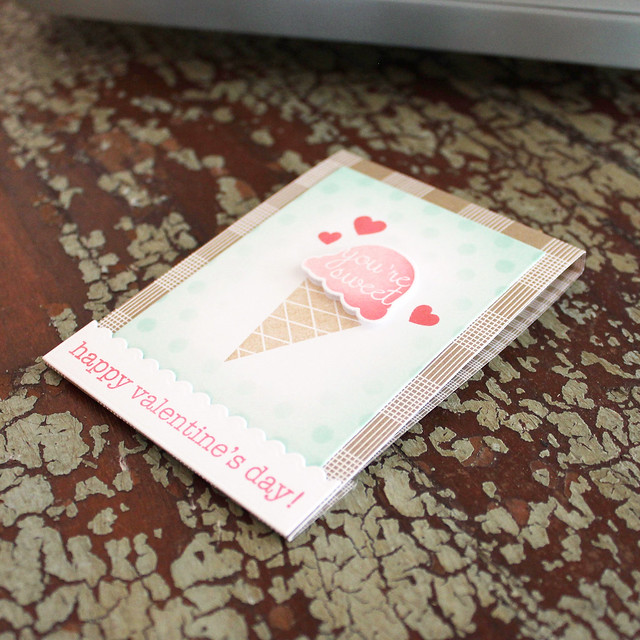
I began by die cutting the Matchbox Medley shape from Classic Kraft Bitty Big paper. I stapled the end into place and then set about decorating the front.
I sponged the edges of a piece of white cardstock with Aqua Mist ink. I die cut that with the rectangle in the die set and then sponged over it again, this time with the Stencil Basics: Dots in place. I stamped the ice cream cone in the center of that panel with Classic Kraft ink and then topped it with a Pale Peony and Berry Sorbet scoop.
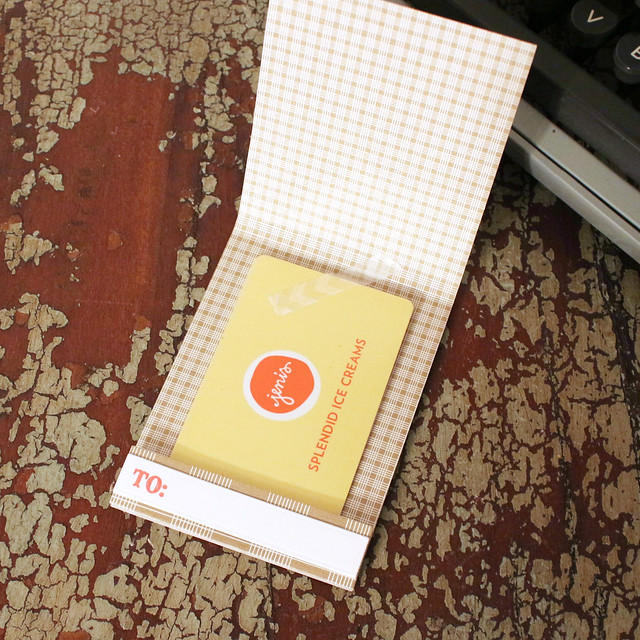
I added a handful of Berry Sorbet hearts around the ice cream cone and the sentiment on a scalloped strip cut with another die from the Matchbook Medley Die set. On the inside, I used a piece of decorative washi tape to secure a gift card to a favorite scoop shop. I also used another die cut rectangle stamped with the "To:" from Fun Lovin' to add my secret Valentine's name when the time is right. Nice and simple!
Supplies:
Thank you so much for joining me today! Have a fantastic day and I'll see you all back here tomorrow with even more inspiration from the Papertrey Ink December Release. In the meantime,
Amy,
Betsy,
Heather,
Keeway,
Laurie,
Melissa,
Michelle,
Stephanie, and
Wanda to see how they've used these great new products. Have a wonderful day and I'll see you tomorrow!




No comments:
Post a Comment