Good morning, all! Welcome to the final day of this month's
Papertrey Ink new release countdown! I'm back today to showcase my new set,
Direct Messages. This sentiment set features nine banner-style sentiments in reverse print with a coordinating die. Let's take a closer look at this set!
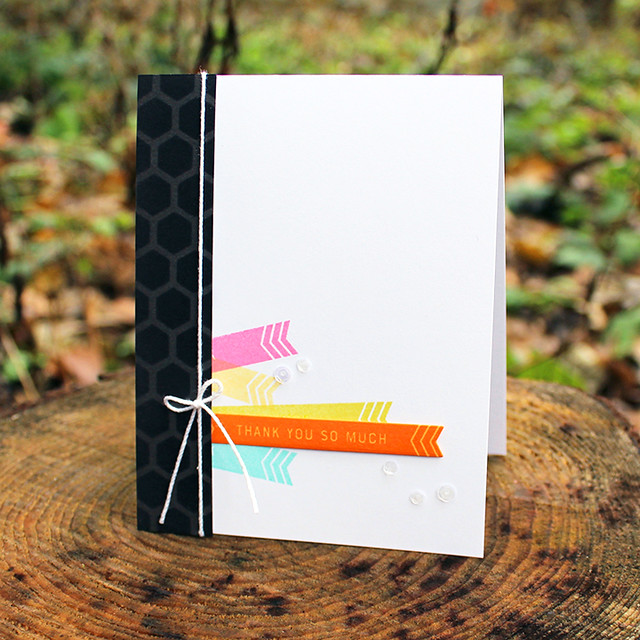
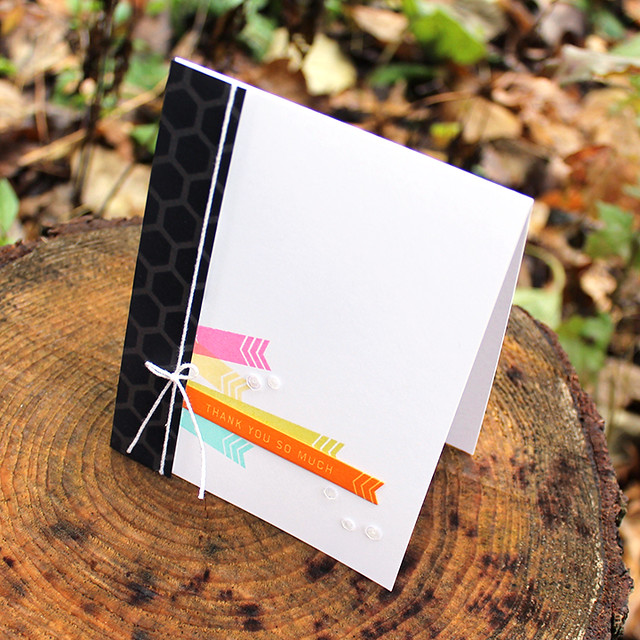
My first project uses one of the banners with a shorter phrase (the Best Of Luck banner) to add extra colorful flags around the sentiment.
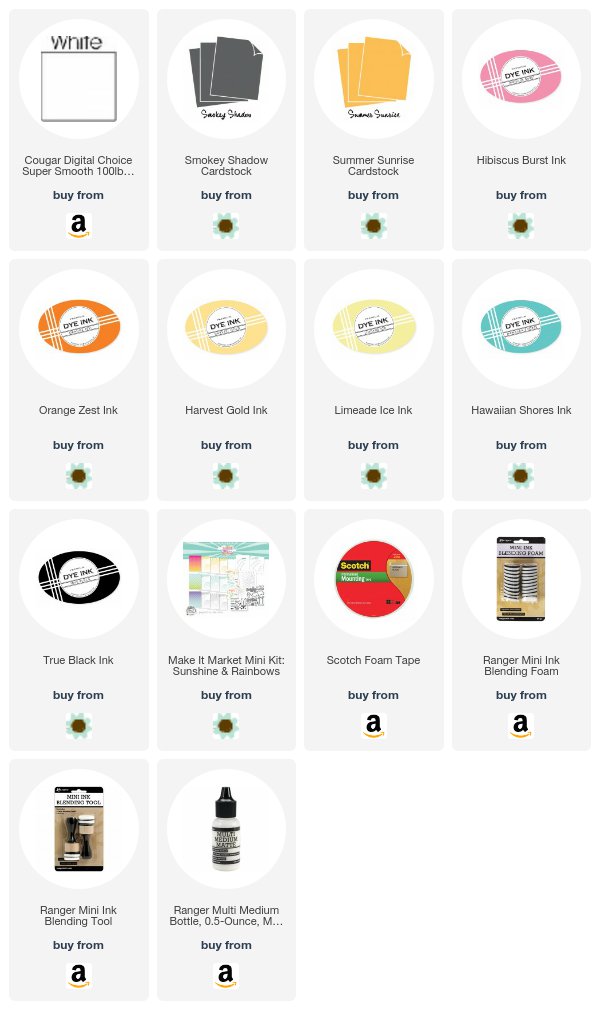
I began by stamping the extra banners in Hawaiian Shores, Limeade Ice, Harvest Gold, and Hibiscus Burst inks. The longest banner (the Limeade Ice one) had the text partly visible, so I used colored pencils to color in the sentiment and make it blend in better.
Then, I stamped my sentiment banner onto Summer Sunrise cardstock with Orange Zest ink. I adhered one end to the card front, leaving the other end loose.
I attached a strip of Smokey Shadow cardstock tied with a white crochet thread bow to the card front with foam tape and sprinkled on a handful of sequins to dress things up a bit.
Supplies:
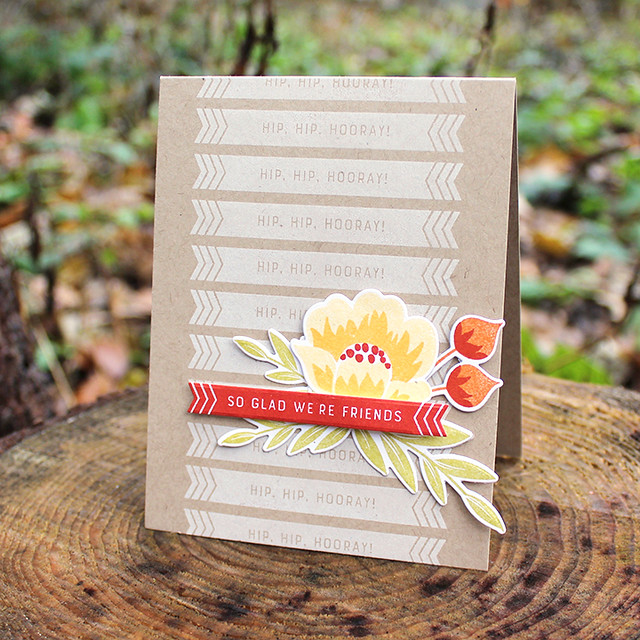
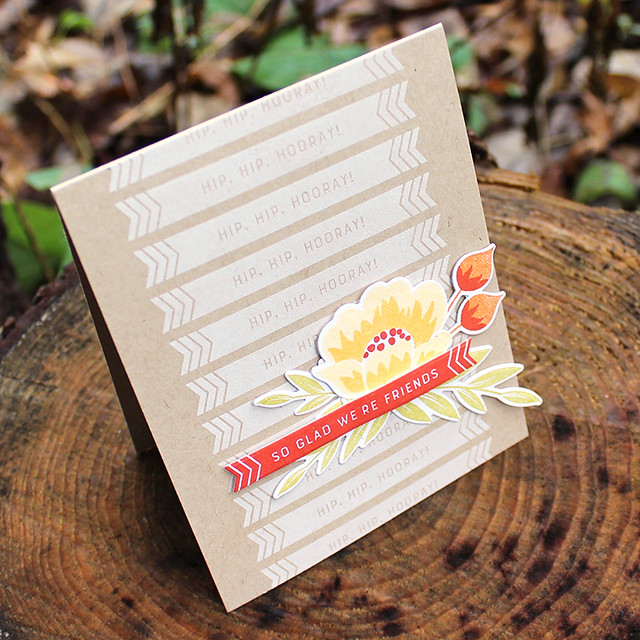
Next up, I've paired my sentiments with Dawn's Gran's Garden set. The clean, modern style of these banner sentiments contrasts really nicely against the round softness of florals.
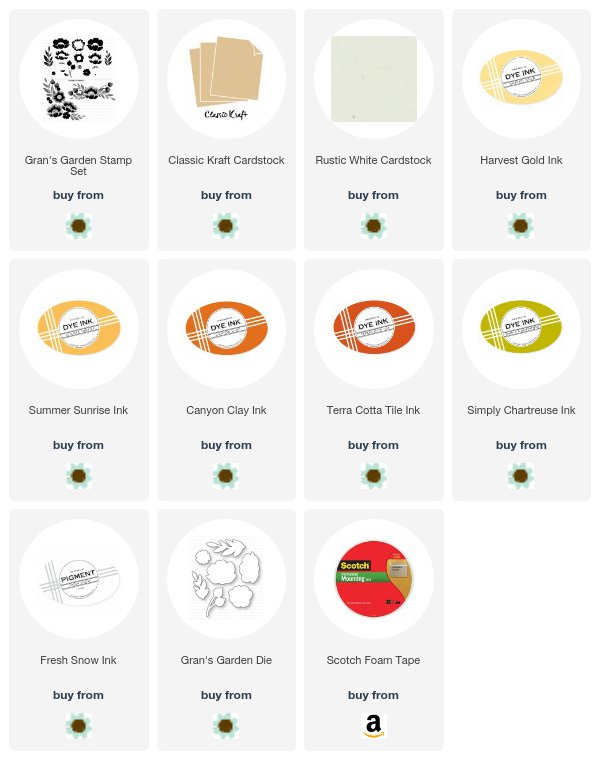
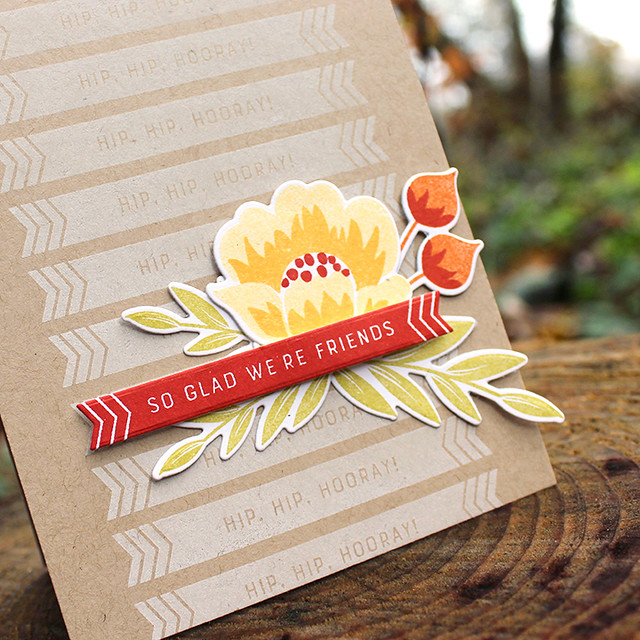
I began by stamping the background sentiments onto a Classic Kraft card base using Fresh Snow ink. A tip: start with the sentiment you want to use as your focal point so you can get things spaced exactly the way you want them.
Then, I stamped my focal point banner in Terra Cotta Tile ink onto Rustic White cardstock. I also stamped and die cut the flowers and greenery using the same cardstock. The ink colors are Harvest Gold, Summer Sunrise, Canyon Clay, Terra Cotta Tile, and Simply Chartreuse.
I arranged the flowers and leaves on the card front before adding my sentiment with foam tape. This card gives me a distinctly '70s vibe. I think my grandparents had a couch that would have coordinated nicely.
Supplies:
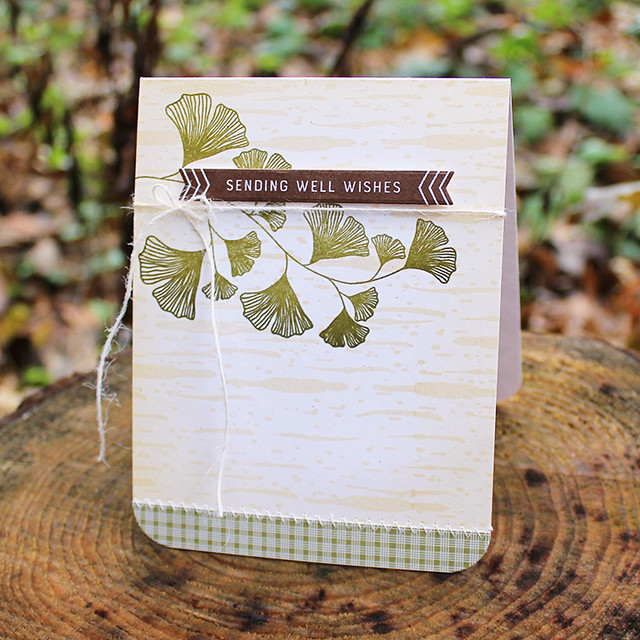
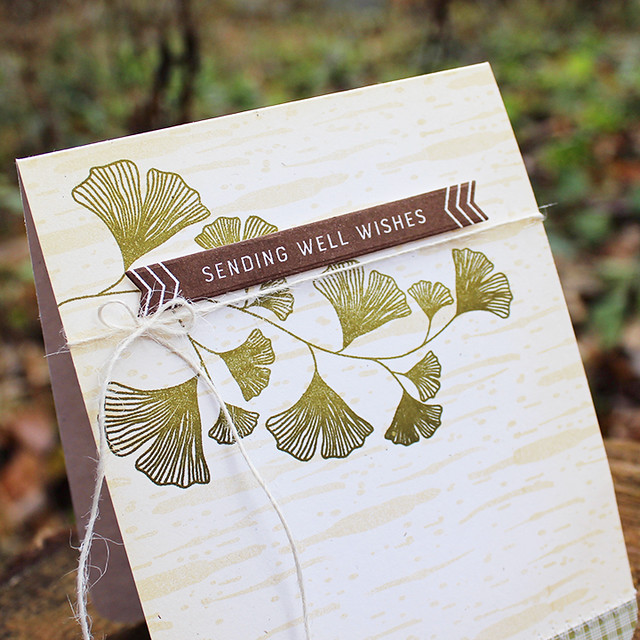
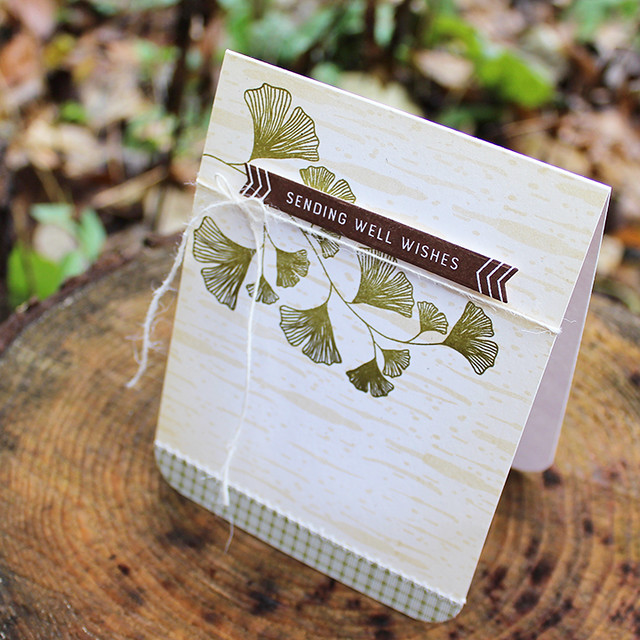
My last Direct Messages project is slightly more masculine in tone. There is a twine bow, but I rarely avoid bows even on masculine cards. If a dude's shoes have bows I don't understand why their cards can't too.
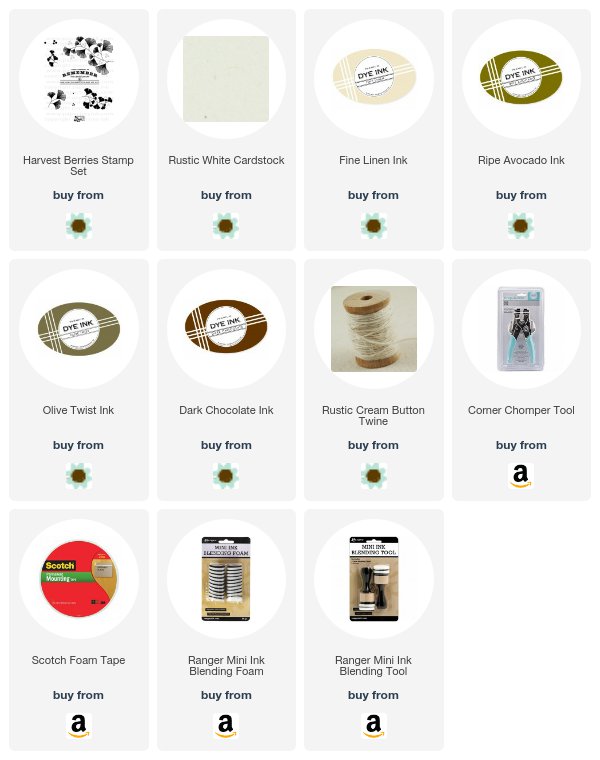
I began by sponging Fine Linen ink around the edges of a Rustic White card base. Once I was happy with the depth of color, I stamped Background Basics: Birch, also in Fine Linen.
Next, I stamped the gingko branch from Harvest Berries in Ripe Avocado and Olive Twist inks. Then, I stitched on a strip of plaid Bitty Big: Prairie Grass patterned paper along the bottom edge of the card front and rounded the lower corners.
I finished the card by adding the sentiment banner, stamped in Dark Chocolate, to the card front with foam tape. The aforementioned Rustic Cream bow was the last step.
Supplies:
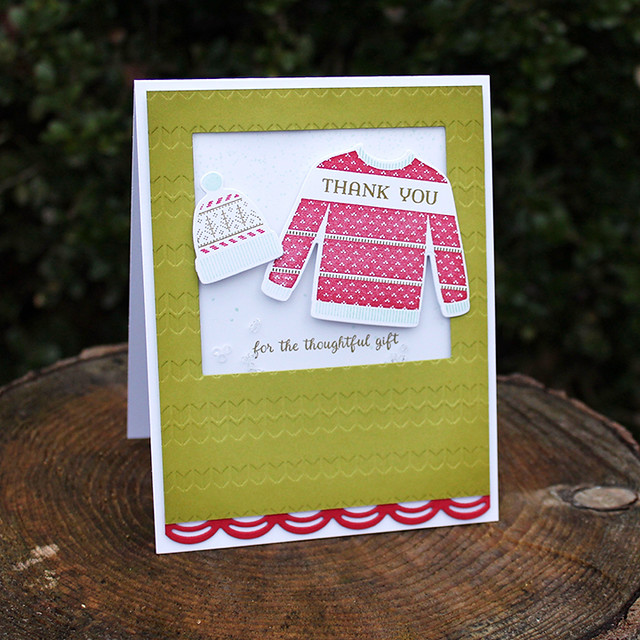
And, just for giggles, here's one last
Winter Woolens project to whet your whistle.
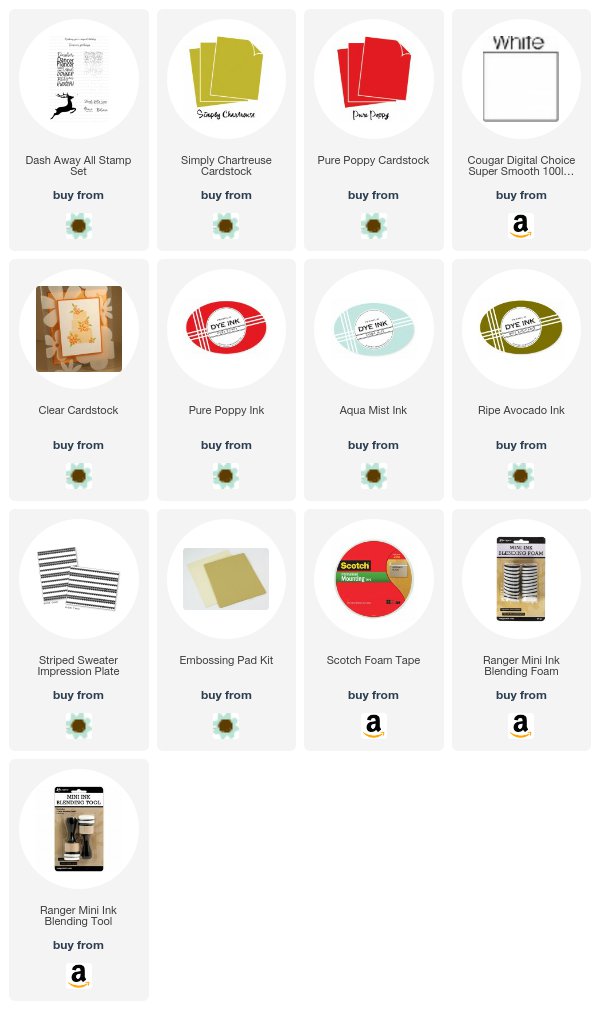
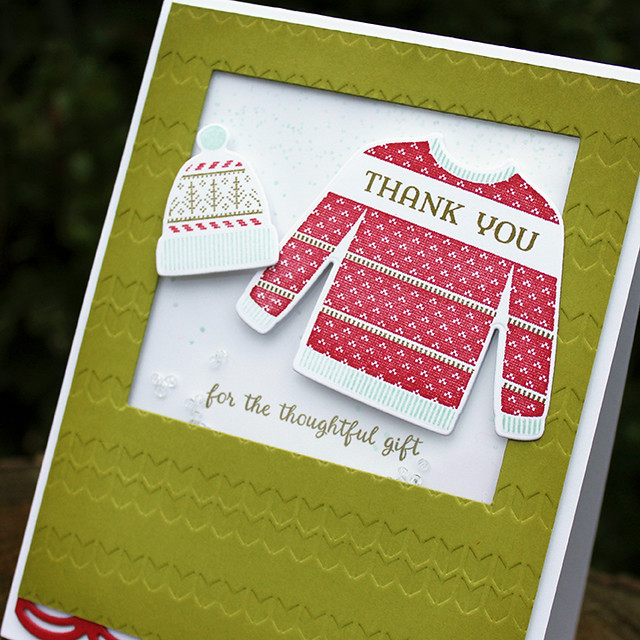
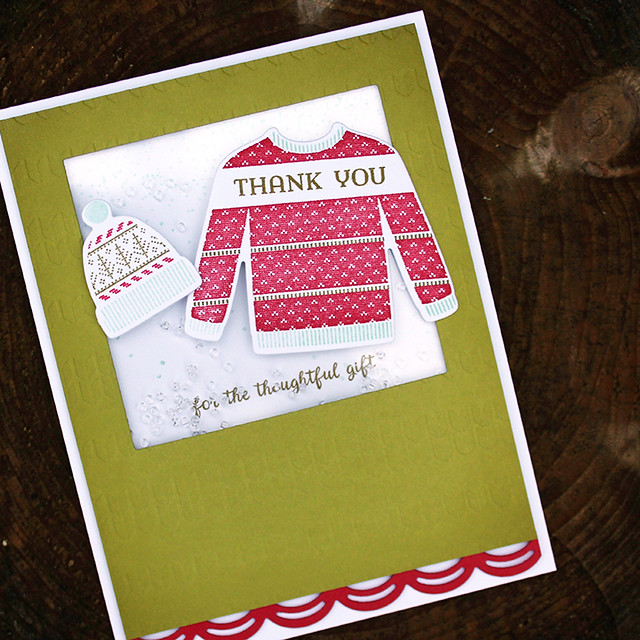
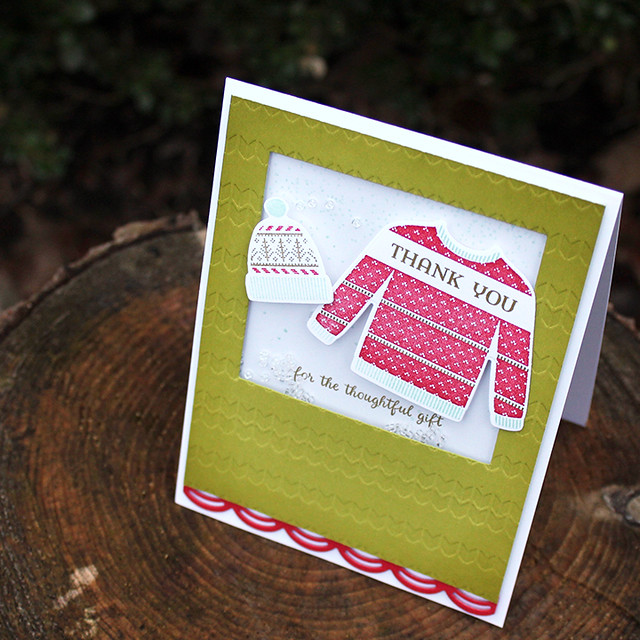
I began by sponging some Ripe Avocado ink around the edges of a Simply Chartreuse panel. I die cut a window into the panel using the Noted: Scalloped Square Die Collection and then added texture with the Striped Sweater Impression Plate.
I added a Pure Poppy decorative border along the bottom edge (this border die is from the Make It Market Kit: Nostalgic Notions) and then created a shaker box in the window area.
I stamped a white card base with the snow shower from Dash Away All and the sentiment from Winter Woolens before sprinkling on clear seed beads and adhering the textured panel to the card front.
Then I stamped the reindeer sweater, masking off the reindeer stripe and replacing it with the "Thank You" sentiment from Winter Woolens. I also stamped one of the stocking caps to coordinate with my sweater. I adhered the two atop the shaker box with varying depths of foam adhesive. I love these knitwear images so much. Don't be surprised if you see them again before long.
Supplies:
Thank you so much for joining me today! Make sure to check in with
Nichole,
Betsy,
Heather,
Keeway,
Laurie,
Melissa,
Michelle,
Stephanie, and
Wanda for more inspiration using Direct Messages and the rest of the November release. Have a great day and I'll see you on our Release Party Live broadcast tomorrow night!



Great cards! i hope you will consider releasing a solid banner stamp to match. I love the look on your first card. Maybe a mini set with another solid banner design or two? :)
ReplyDeleteI love your rationale on bows on masculine cards! 💖
ReplyDeleteThat card on the video sneak peeks is what finally pushed me over the edge to buy Gran's Garden, but I have to recreate it in exactly the same colors. And I think we had shag carpeting and GOLD lame wallpaper that would have set off your grandparent's couch perfectly.
ReplyDeleteEvery single one of these cards is stunning! I love all of your designs and I will be happily CASE-ing them as soon as my set arrives! Also, totally with you on the dudes-getting-bows thing!
ReplyDeleteLove your stuff!
ReplyDeleteLooks great! this is nice and this article is very helpful
ReplyDeletethanks for sharing