Good morning, friends! I have the great pleasure of getting to help introduce Betsy Veldman's new Make It Market Kit for
Papertrey Ink today. I know many of you have been anxiously awaiting this reveal and let me tell you, you're definitely not going to be disappointed!
Creating for the holiday season is one of those things I look forward to all year. Betsy's Make It Market Kit: Wonderland is perfectly designed to make those projects even easier and more magical than ever. She has curated a collection of stamps, papers, stencils and dies, and charming trimmings that I know I will turn to time and again.
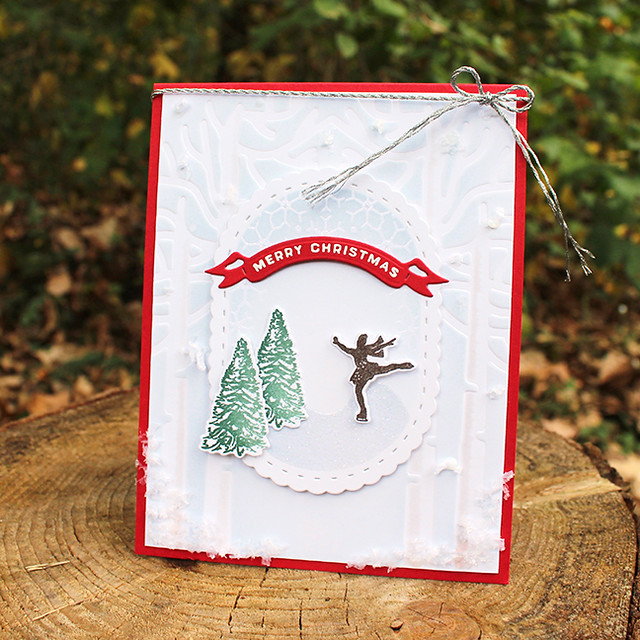
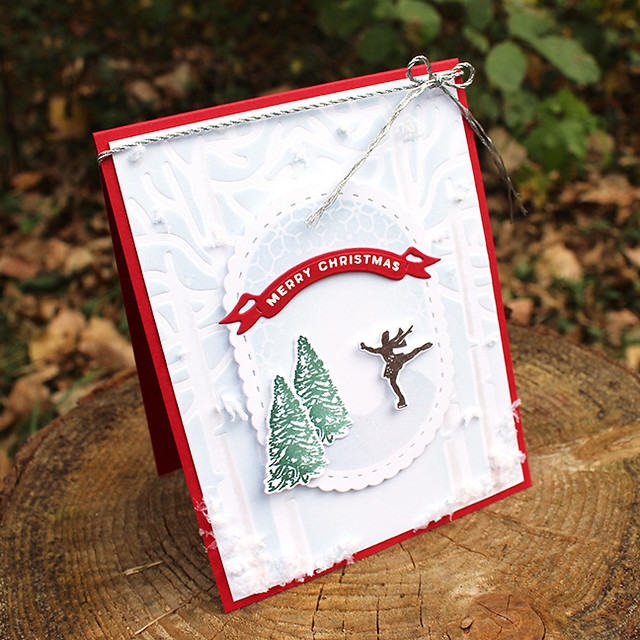
I have several projects to share with you this morning. It's so hard to choose, but let's start with a Christmas card.
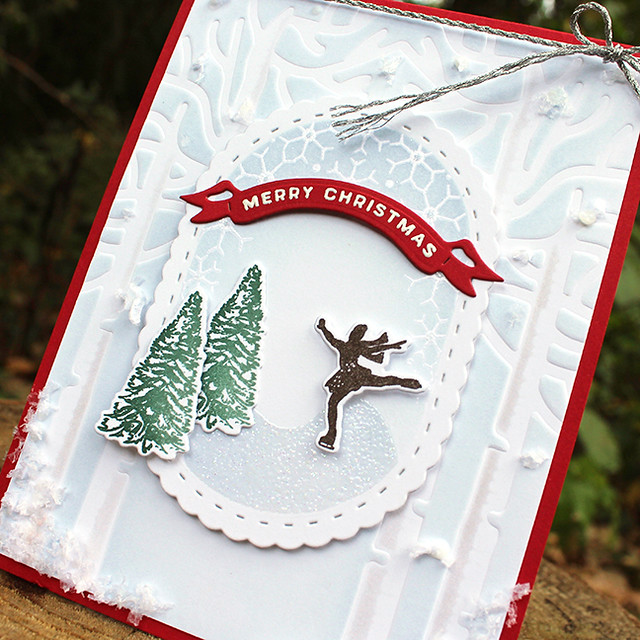
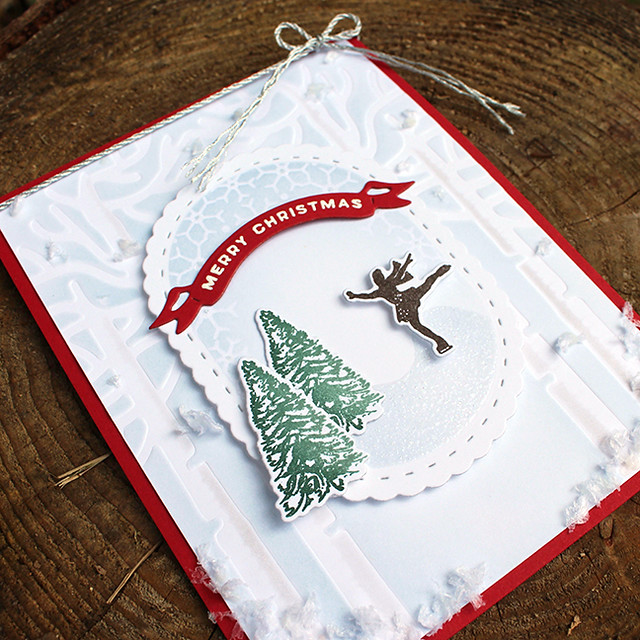
I used the stencils from the kit to give the background both a touch of color and texture. I also added little tufts of snow using the snow in the Trimmings kit.
The center focal point was cut with the scalloped oval tag. I used an emboss resist technique to add the snowflakes to the tag and an oval stencil from the kit to add a bit of color.
I used the frozen pond die to create a mask for sponging. I sponged on Spring Rain and then heat embossed using a shimmery powder to make the surface look like ice.
I added the skater, trees, and sentiment banner with flat and foam adhesives. I used a bit of the silver cord from the kit to tie a bow and embellished the snowflakes on the focal point with a bit of crystal glitter. It's so pretty and shimmery!
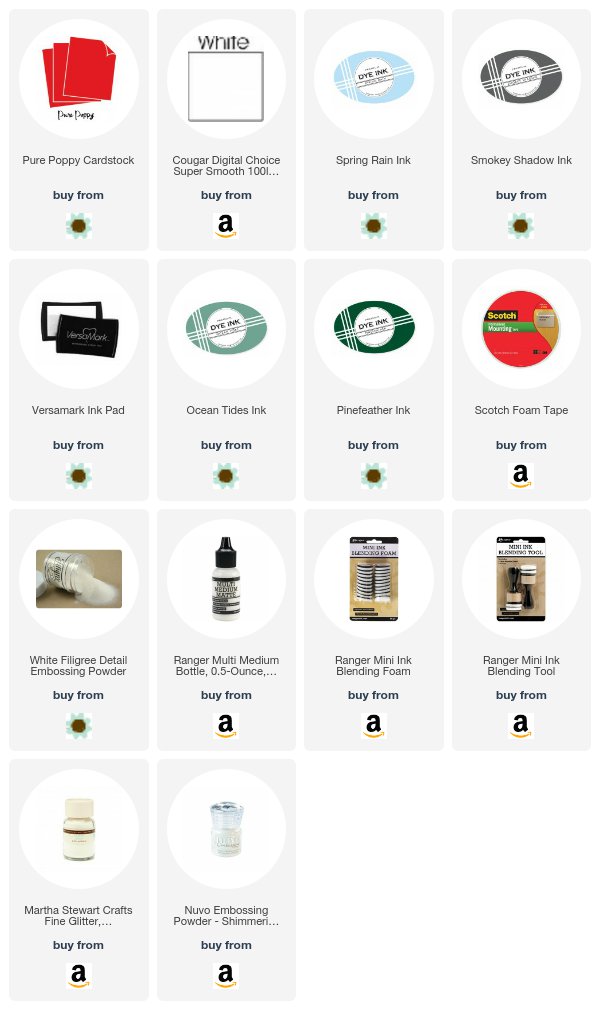
Supplies:
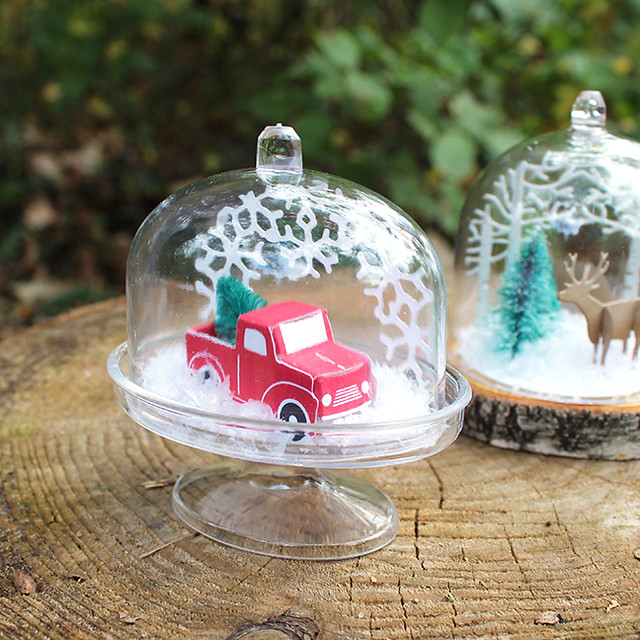
Next up, I have a set of mini cloches to share. The kit has a variety of cloches from which to choose and I can't wait to use every last one!
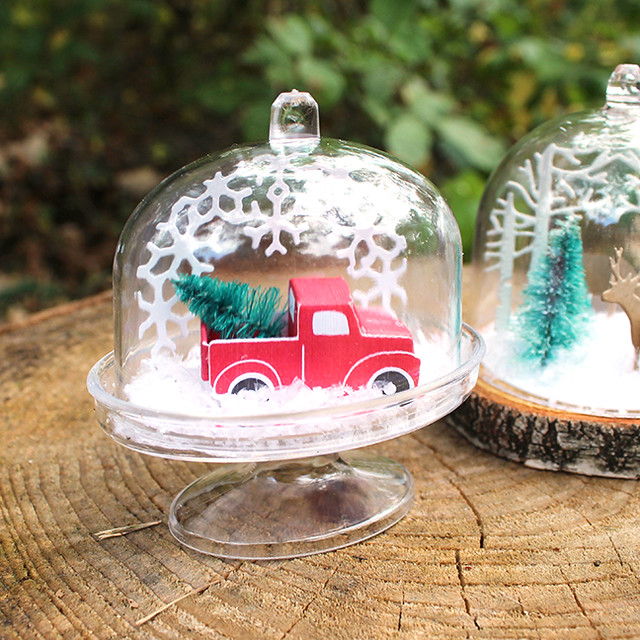
I used the printed papers for the mini truck cloche, so it came together in a snap! I outfitted it with one of the bottle-brush trees in the bed. I simply snipped off the base using wire cutters.
I also cut the snowflake scene from vellum and trimmed off part of it to make it fit into the oval cloche. I used a bed of fake snow in the bottom of the cloche to complete the scene.
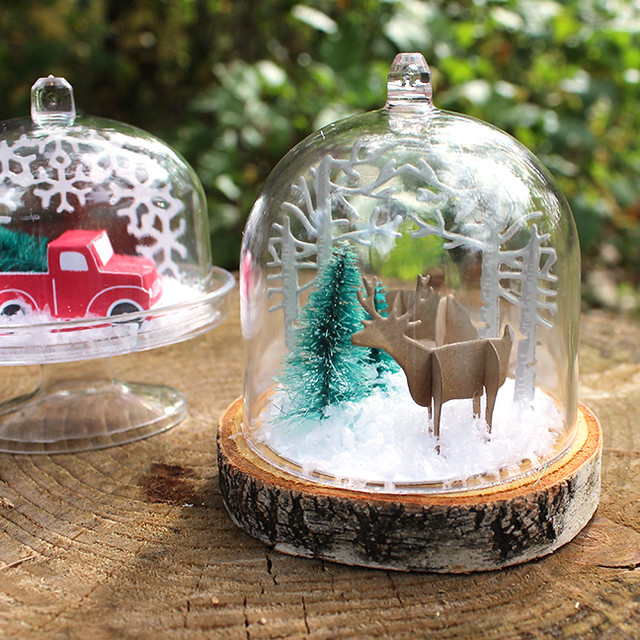
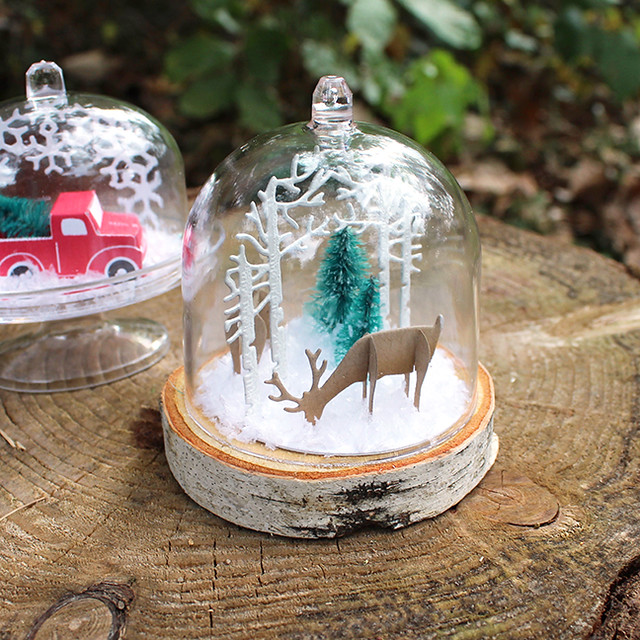
The larger cloche is a woodland scene that I assembled with the little 3D deer and the birch trees die.
I cut the trees from Soft Stone cardstock and heat embossed the tree detail with white powder for just a touch of texture and contrast. I covered the base of the scene with white cardstock so it wouldn't be visible under the snow.
I cut the deer from Classic Kraft and sponged them with the matching ink for a bit of dimension. Then I added white tails with a gel pen. I cut the bases off of two more trees and used E6000 to glue them to the cardstock base. I used the cloche dome with one of the wood slices rather than the cloche bottom for a more rustic feel. I'm in love with this sweet scene!
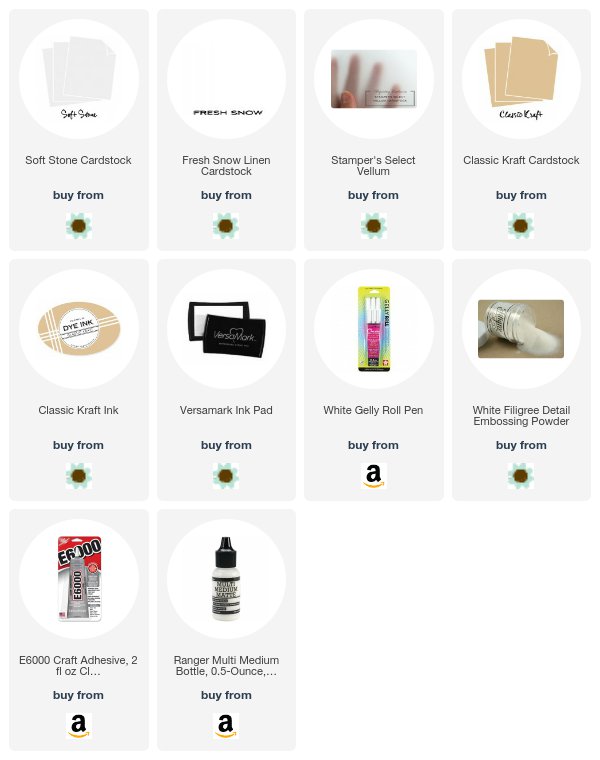
Supplies:
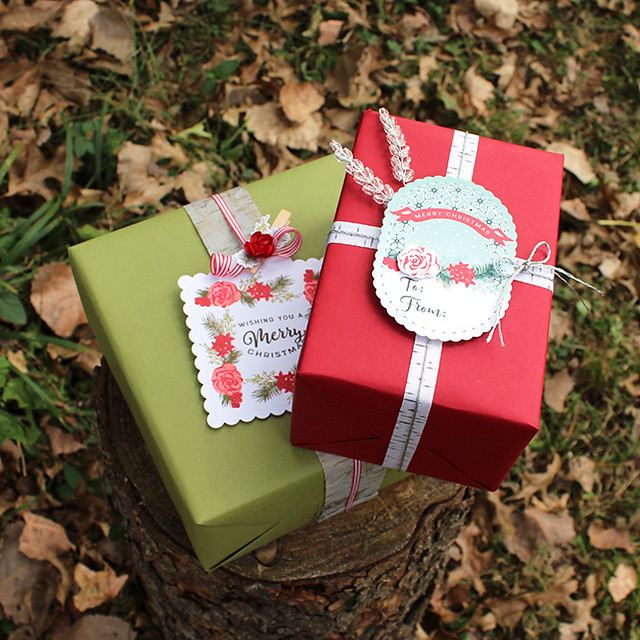
Last but not least, I have a couple of gift boxes that I decorated with elements from the kit.
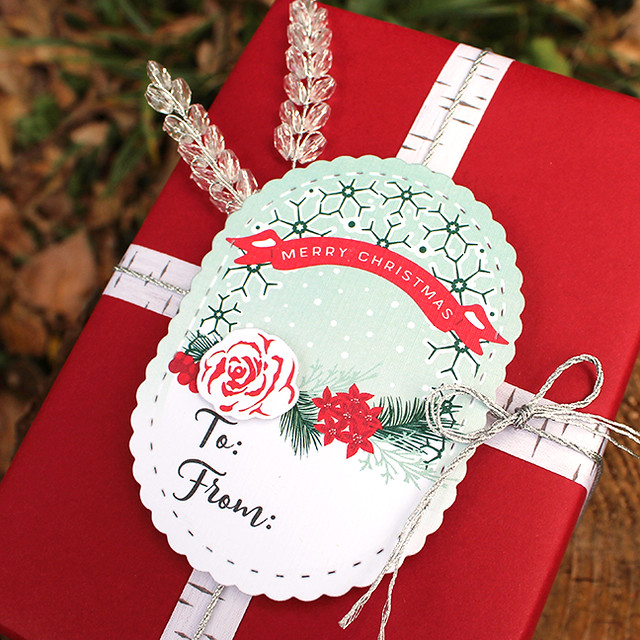
The smaller box features a printed tag. I used a die cut, printed rose to add a bit of texture and two of the crystal picks for sparkle.
The birch printed ribbon and silver cord from the kit round out the look.
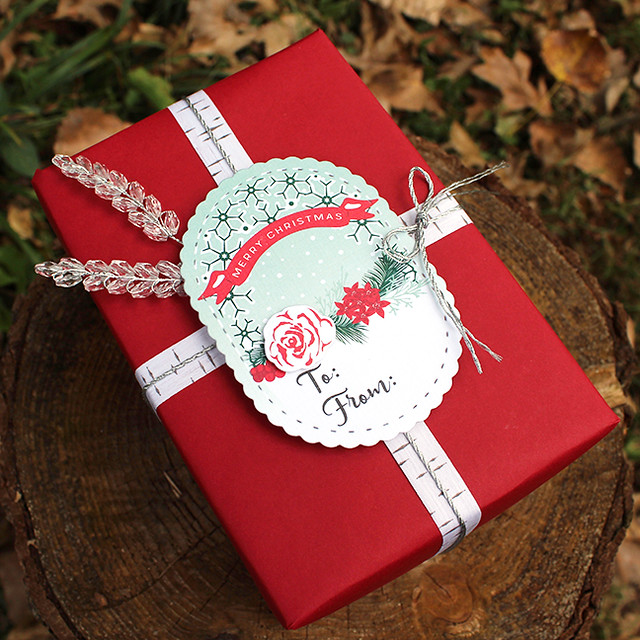
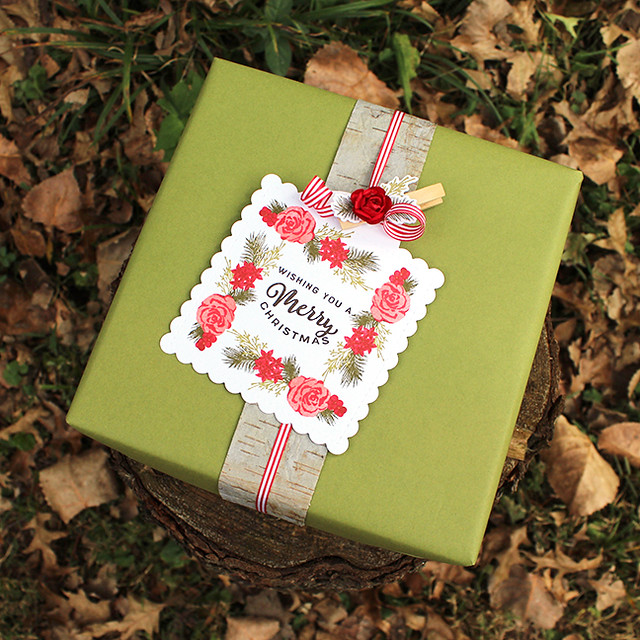
I stamped the tag on the larger package. It turns out that the Tag Sale: Quilted die is the perfect size for stamping the holiday foliage image! The greeting is from the Wonderland Sentiments mini set.
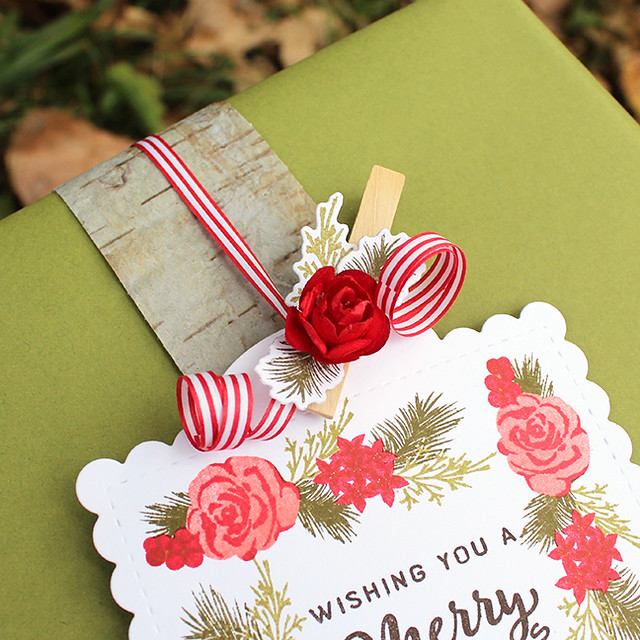
I cut strips of the birch paper to create a "ribbon" around the box and then used the narrow, striped paper ribbon for a pop of color.
I stamped and die cut a few bits of foliage and cut the wire stem off of one of the paper roses. I adhered all of that to one of the mini clothespins to clip the tag into place. Sweet and simple.
Wouldn't you love waking up to these beautifully decorated packages on Christmas morning?
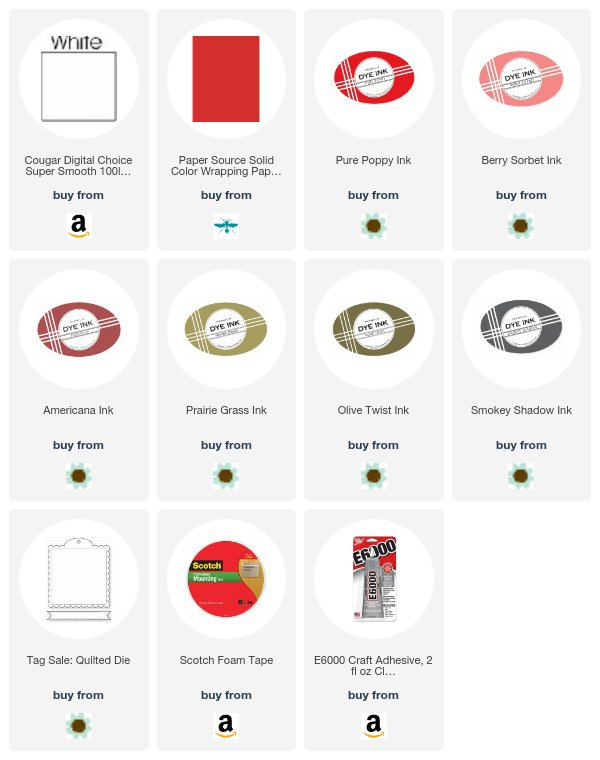
Supplies:
This kit is definitely the kit to top all kits. Betsy has gone above and beyond with this one! Each and every piece has been thoughtfully designed and selected to give you an endless amount of design options as you prepare for the holidays. From gorgeous gift tags to unforgettable holiday cards, you will have everything you need at your fingertips! One of the best parts of this kit? Well besides the innovative die-cut and stamped mini vintage pick-up truck. The mini cloches! Yes! Real mini cloches! Betsy cleverly designed all of the elements to fit inside these sweet mini cloches that you can use for gifts, holiday table decor, the perfect finishing touch for your tree and SO much more.
Stop by Nichole's blog
HERE for all the details, and the kit itself will be available for sale on
Sunday, October 1st at 10pm ET, exclusively at Papertrey Ink.
We're also hosting our very first
Release Party Live! broadcast on Sunday to celebrate this new kit! I hope you'll join me, Julie, and Stephanie over on our Facebook Page starting at 9pm.
In the meantime,
Ashley,
Betsy,
Dawn,
Laurie,
Melissa, and
Michelle also have projects to share with you today. Have a wonderful day and I'll see you very soon!



Your ice skating card is delightful Lizzie!
ReplyDeleteLizzie, you have quickly become one of my very favourite card deesigners! Your Wonderland projects are actually making me swoon. Thanks for using so many of the elements (including those card stencils) to show so many possibilities. You've answered a lot of questions that I had!
ReplyDeleteI can't wait to play with this set.
ReplyDeleteIt looks like Christmas is already here !
ReplyDelete