Good morning, friends! It's the 10th of the month and that means the Papertrey Ink release is just days away. I have the pleasure of kicking off the countdown this month with
Nichole's new
Sunflower Harvest stamp set and
Betsy's newest
Mix & Mat: Pinked Edge dies. You're going to absolutely love these new additions to the Papertrey line-up! Let's get on to the projects!
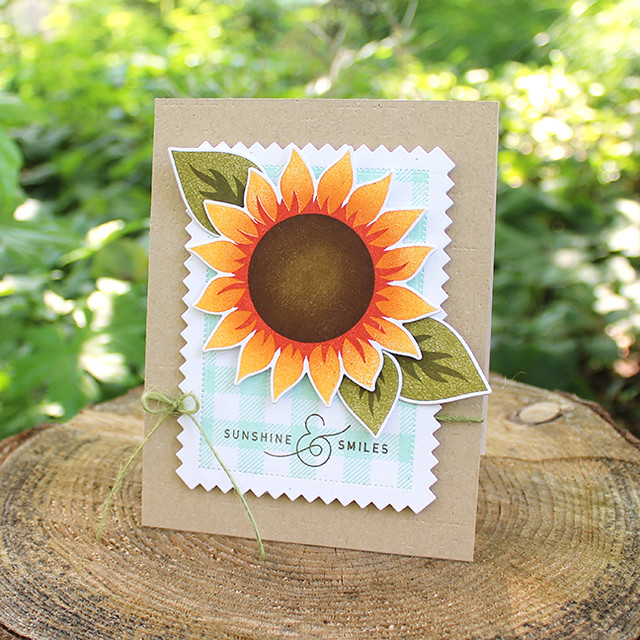
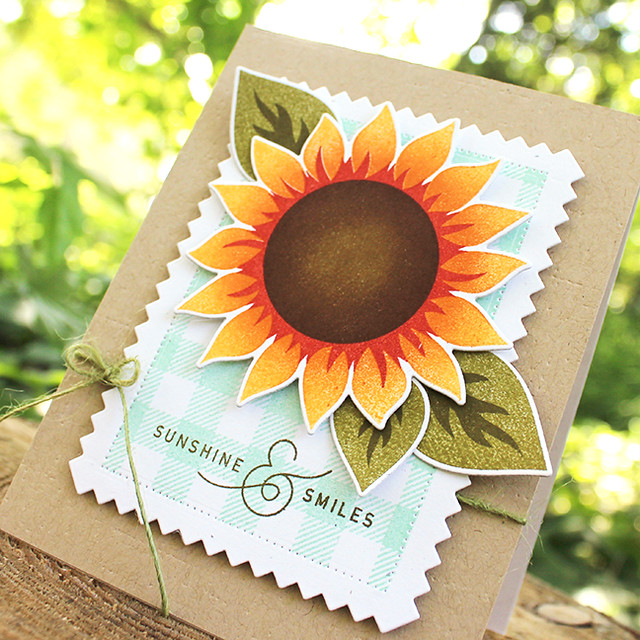
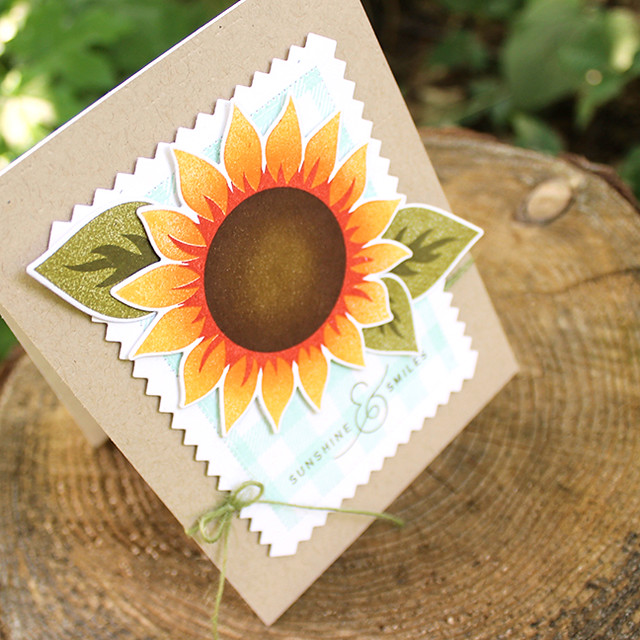
My first project today shows the great, big sunflower bloom from Sunflower Harvest in all its glory.
I began by stamping and die cutting the flower. I first stamped the petals in Summer Sunrise and then sponged the center with Canyon Clay for depth. Then I stamped the inner ring of petals with Terra Cotta Tile. The center was next. I stamped it first with Cocoa Bean and then followed up by sponging Dark Chocolate around the edges.
Next came the leaves. I stamped the base layer in Ripe Avocado and then used Olive Twist on the darker, detail layer. Then, I die cut the Mix & Mat: Pinked Edges panel from Rustic White cardstock. I left the pierced dots frame inside the pinked die while die cutting to get that detail. I masked off the edges and stamped the interior of the panel with Background Basics: Super Gingham in Aqua Mist before adding the sentiment in Olive Twist.
Then, I textured a Classic Kraft panel using the Linen & Canvas Impression Plate and adhered it to a Rustic White card base. I tied a bow around the card base and then attached the Pinked layer to the card front with foam tape. I layered on the flower with foam adhesive and the leaves with flat adhesive to add depth. I also curved all of the flower parts to add to the dimension.
Supplies:
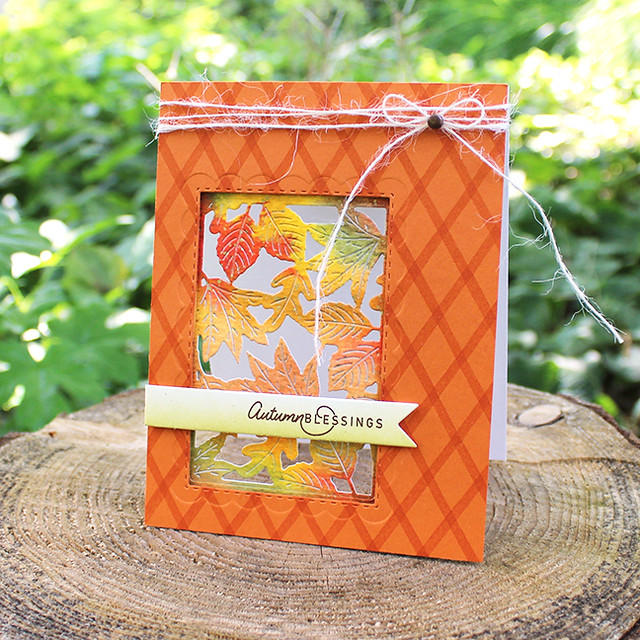
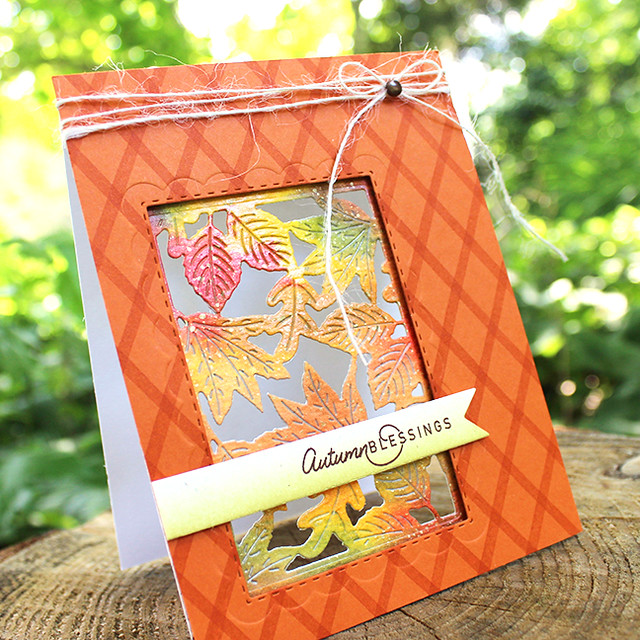
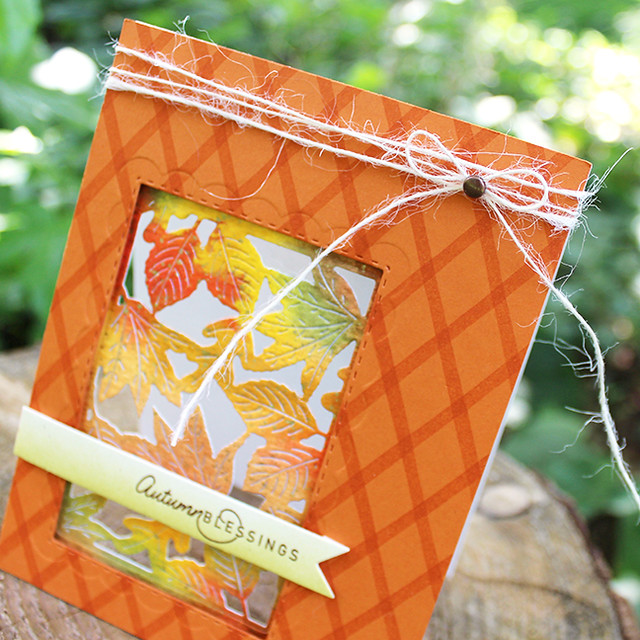
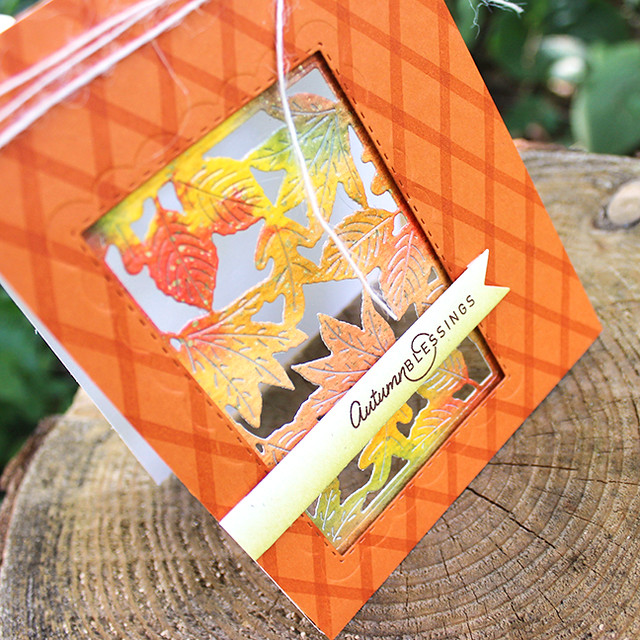
My next card uses the sunflower stems in an unexpected way. Never underestimate those basic shapes, folks!
I began this card by creating a card base from watercolor paper. I painted a messy rectangle using autumnal colors and splattered the area with gold. Once that had fully dried, I used the leafy inlay from the Mix & Mat: Pinked Edge die to cut a window into the card front.
Then, I used the thicker stem in Sunflower Harvest to create a plaid pattern on a Canyon Clay panel using Canyon Clay ink. Then, I used a double ups die from the Noted: Scalloped A1 die collection to cut a window.
I adhered the Canyon Clay panel to the card front and tied a twine bow around the card front. I snipped the prongs off the back of a brad and used hot glue to adhere the remaining dome to the center of the bow.
Then, I sponged a double ended banner with Spring Moss ink and stamped the sentiment in Dark Chocolate. I trimmed one end off the banner and attached it to the card front with foam tape.
Supplies:
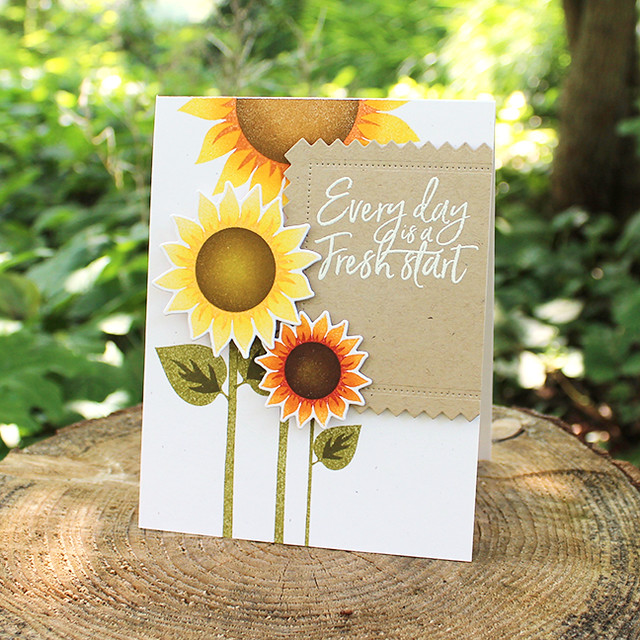
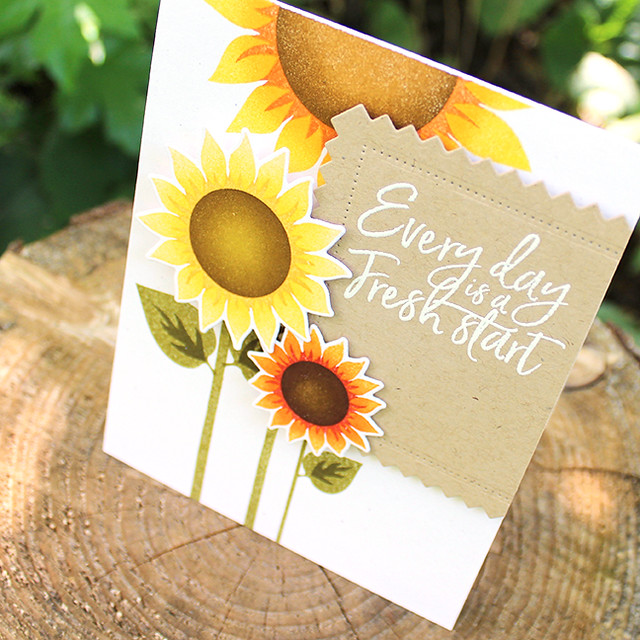
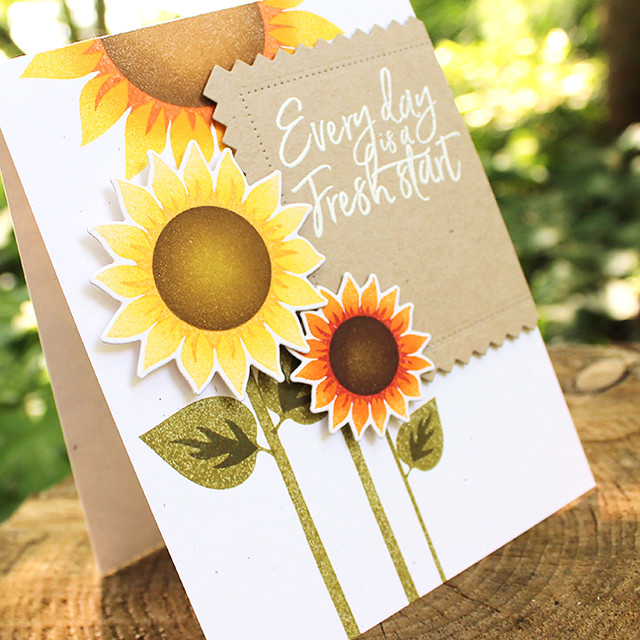
My last card today uses all three sizes of sunflowers together.
I began by stamping the largest sunflower directly onto a Rustic White card base. The petals were stamped in Bright Buttercup sponged with Summer Sunrise. The inner petals were stamped in Canyon Clay. And the center was stamped in Honey Nut sponged with Cocoa Bean.
Then, I stamped the stems and leaves in Ripe Avocado and Olive Twist inks. Next, I die cut and stamped the medium and small sunflowers. The medium flower's petals were stamped in Harvest Gold sponged with Bright Buttercup. The inner petals were stamped in Summer Sunrise. And the center was Saffron Spice sponged with Cocoa Bean.
The smallest flower's petals were stamped in Summer Sunrise sponged with Canyon Clay. The inner petals were stamped in Terra Cotta Tile. And the center was stamped in Cocoa Bean sponged with Dark Chocolate. I looked to the internet to give me inspiration for the different flowers. There are so many beautiful flavors of sunflower!
Then, I die cut the sentiment panel using Mix & Mat: Pinked Edge die. I trimmed it down a bit and heat embossed the Pen & Ink greeting with white powder. I attached the sentiment panel to the card front with foam tape and then added the smaller sunflowers on top. Layering the flowers this way (under and on top of the sentiment panel) gives such great dimension!
Supplies:
Thank you so much for joining me today. Make sure to visit
Nichole,
Betsy,
Dawn, and
Heather for more peeks at this month's release. I'll see you again tomorrow!












Lizzie - these cards are stunning! Your attention to detail makes them so special! I love visiting your blog to see what your take on different stamps sets is - always fresh and new! :)
ReplyDeleteI am so in love with the gingham background with the sunflower, what a perfect match!
ReplyDeleteDelightful cards, Lizzie!!!
ReplyDeleteAwesome, Awesome, Awesome!!!!
ReplyDeleteInspired and inspiring! All of your cards are just beautiful. I never would have thought to use a stem to create a background pattern. The leaf die-cut card is amazing.
ReplyDeleteBeautiful cards! I'm expecially drawn to the window diecut & watercolor leaves. Incredible, & so special. Would warm my heart to get any of these in the mail!!!
ReplyDeleteYour sunflower cards are inspiring me to stamp! The trio with stems is especially gorgeous - just love the way you laid it all out!
ReplyDeleteHi Lizzie! Your creativity is flowing in this release! Your colors are rich and BEAUTIFUL! I especially love the depth of color you achieved on your sunflowers. I recently asked Heather for some suggestions on the sponging techniques, used for depth. (For example- your sunflowers). Maybe a Make it Monday tutorial? Thank you and your cards are real beauties!
ReplyDeleteLove all of these!!! This is what makes me love sunflowers so much. And the gingham background, perfect! I have to ask, how did you get the gingham to line up so nicely within the die cut, does it fit? I think I'll ask that question on the forum too...might have to pop some gingham stamps in my cart.
ReplyDeleteYour card with the gorgeous Fall leaves inspired my CAWU card--thank you! I always love what you create, Lizzie--these are all wonderful!
ReplyDeleteLooks great! this is nice and this article is very helpful
ReplyDeletethanks for sharing