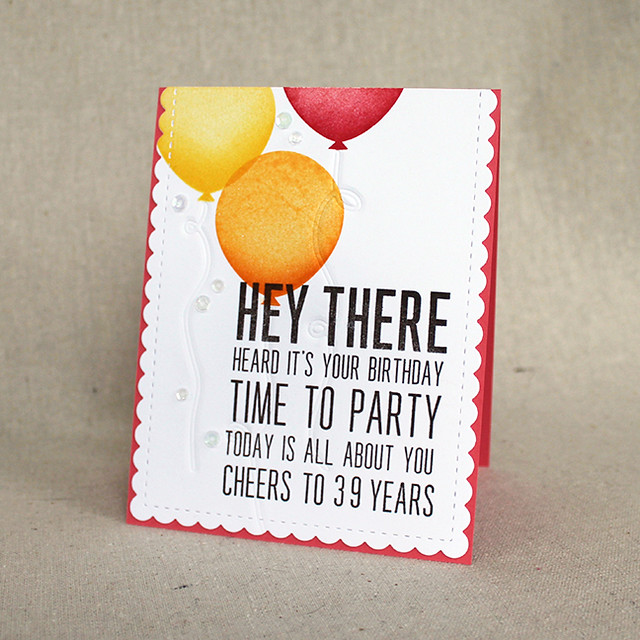
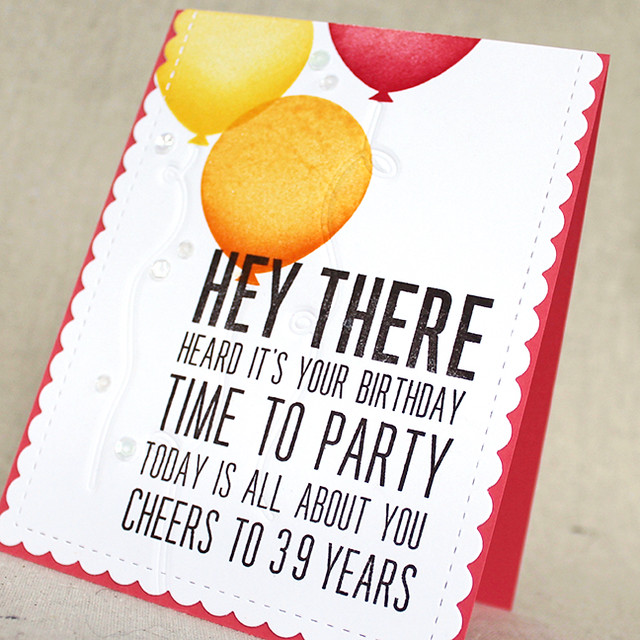
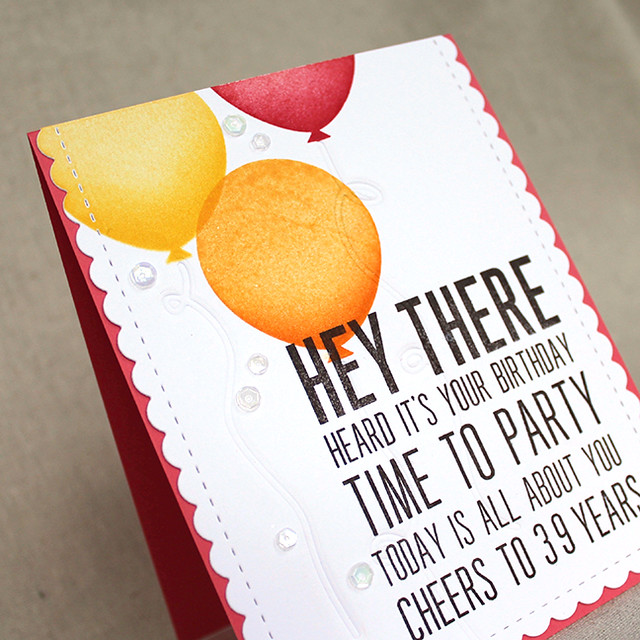
My first project today features Hey Stacks in all of its typographical glory.
Then, I stamped the balloons, sponging each one with a darker ink color for dimension.
I didn't want to add paper or vellum strings because I didn't want to distract from the text, so I used an impression plate sandwich to impress the Balloon Strings dies into my cardstock. I adhered the card front to a Berry Sorbet card base and then embellished with a handful of sequins.
Supplies:
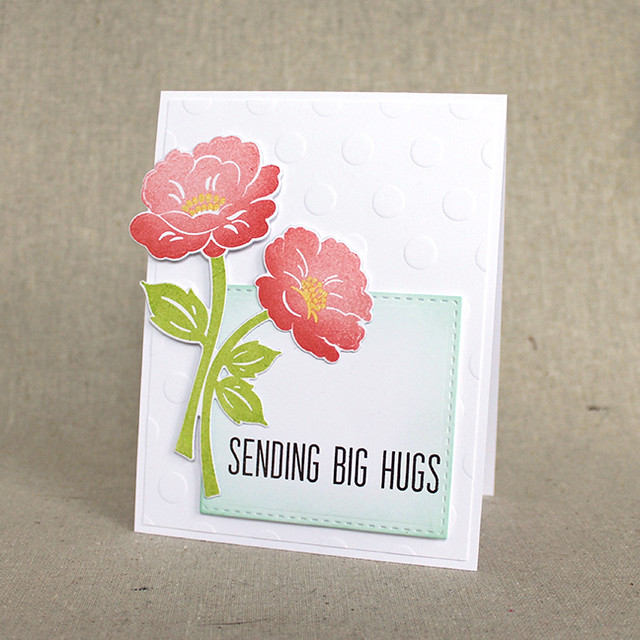
Next up, I've used the Stencil Basics: Dots as an impression plate. The wonderful thing about this stencil is that it's nice and sturdy, so you can use it for all sorts of techniques. I've already used it for ink and I have plans to use it with embossing paste in the near future, too. So fun!
I began by using an impression plate sandwich to texture a white cardstock panel. I adhered that to a white card base and set it aside for a moment.
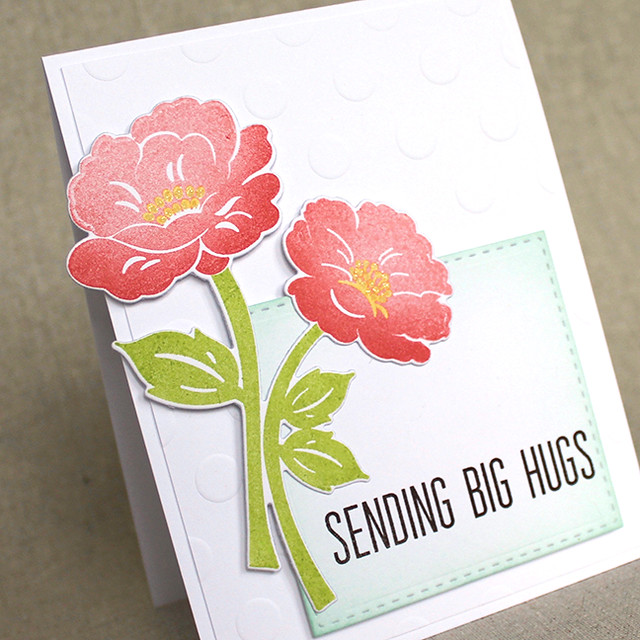
Then, I die cut a stitched rectangle panel using the Noted: Scalloped Square Die Collection. I sponged it with Aqua Mist ink before stamping the sentiment in Smokey Shadow.
Next, I die cut the Vintage Linens flowers and stamped the shape with its coordinating images. I adhered the sentiment panel to the card front with foam tape before adding the flowers and embellishing the flowers' centers with clear glitter.
Supplies:













Whoa, Lizzie! You've got the shading thing elevated to a new level... gorgeous! Love that set from Nichole. It wasn't in my order, but seriously rethinking it. 2 lovelies today!
ReplyDeleteYour Vintage Linens card was on my radar last night so made a birthday card for Create Along With Us (KathyMc). Love all your work, Lizzie! Hey Stacks looks like it's got some great sentiments, and you gals knocked it out of the park with that one.
ReplyDelete