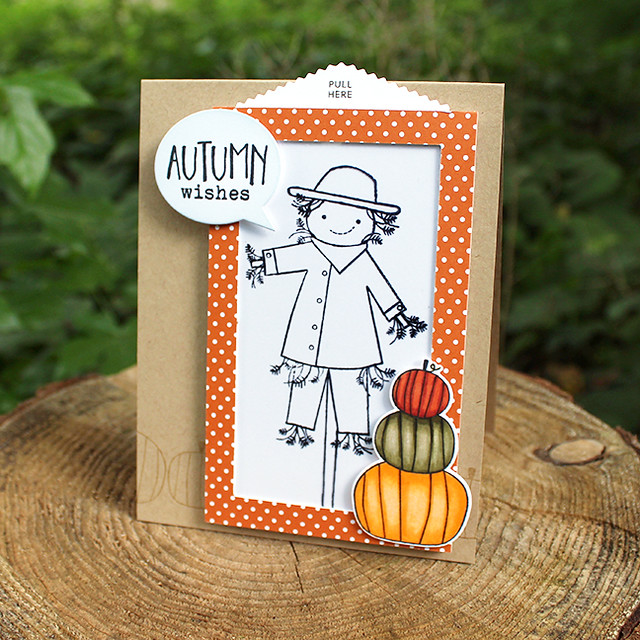
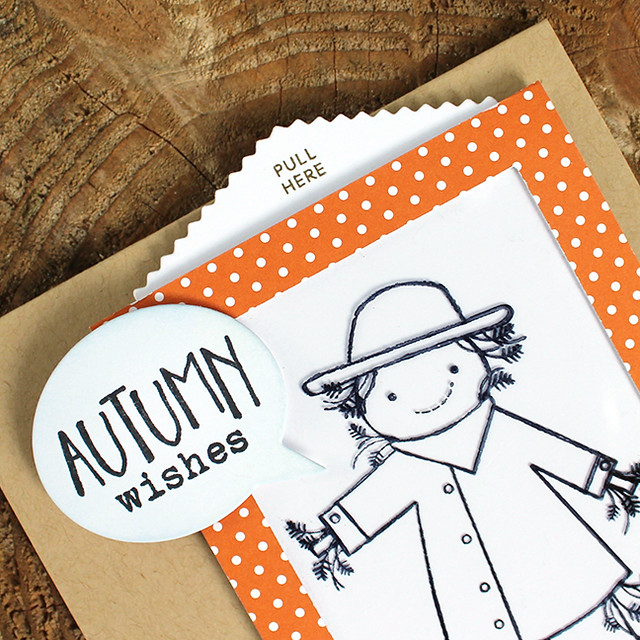
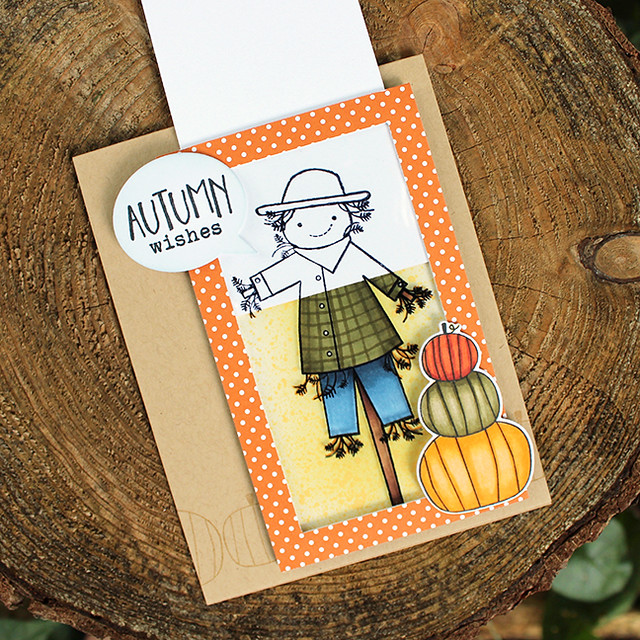
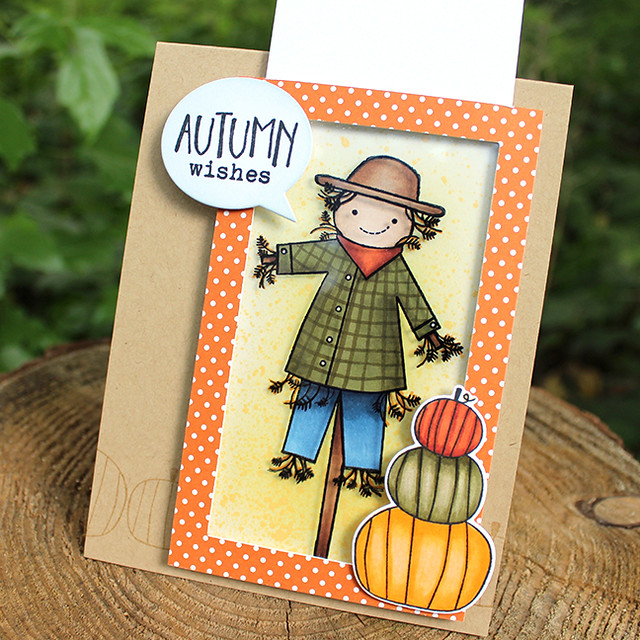
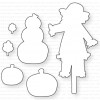
Then, I created a slider by cutting a panel of cardstock just wider than the window and die cut the end with a To The Point Edger Die to achieve the decorative edge. I stamped the scarecrow image inside the slider frame with Memento Tuxedo Black (because I knew I was going to color with Copics) and masked him with post-it notes. I sponged the background with ink and then added texture with splattered reinker. I removed the mask and colored the scarecrow. Next, I stamped him again onto clear cardstock using Stazon Jet Black ink. I stamped “pull here” from Movers & Shakers Sentiments on the slider panel with Olive Twist ink.
Then, I covered the front frame with Bitty Big: Canyon Clay paper and assembled the color slider (again, the link above with the video is very helpful to see all of these steps in action). Next, I stamped a few individual pumpkins on a Kraft card base before attaching the color slider to my card front with foam tape. I stamped, colored, and die cut the stacked pumpkins and attached them to slider with foam tape.
Then, I die cut speech bubble, sponged it lightly with color for contrast, and then stamped it with the sentiment. I attached it to card front with foam tape and that's all she wrote! I'm so tickled by this card. I can't even tell you.
Ok, that's it for me today. Thank you so much for popping by! Make sure to check in with Nichole, Betsy, Dawn, Heather, Keeway, Laurie, Melissa, Michelle, Stephanie, and Wanda to see what other inspiration they have in store. Have a great day and I'll see you tomorrow!
Supplies:










Yes, Lizzie!! That cute scarecrow is just perfect for your slider card technique! I'm going to have to CAS it...so much fun. 😁
ReplyDeleteWhat an excellent choice for a magic slider card! I love it. I have a thing for magic sliders, too. So fun.
ReplyDelete