Good morning, all, and welcome back for Day 4 of the
Papertrey Ink June Countdown. Today
Nichole and
Laurie are introducing the
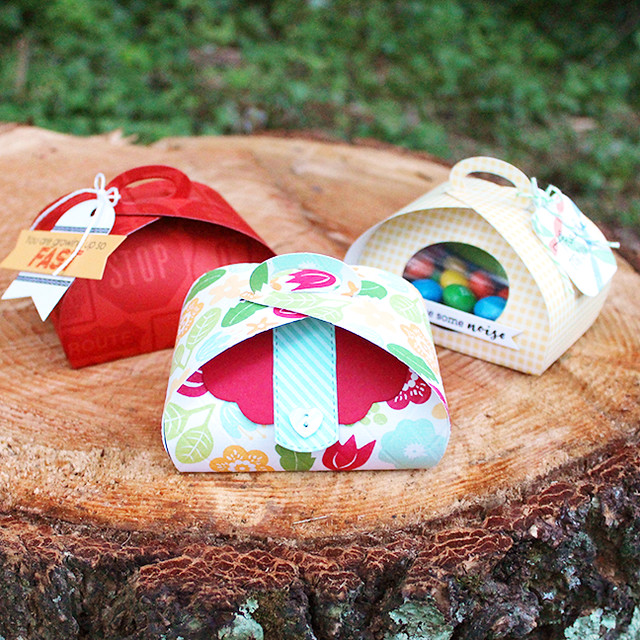
Petal Box Die, so I thought it was a great opportunity to share a little more info and inspiration featuring this great new box.
Like I mentioned yesterday, this box was designed to fit a gift card, but that's certainly not all! It features a handle which makes it easy to tie on a tag, three of which are included in the set (an oval, a square, and a banner-style tag). The sentiments from
So Sweet are a wonderful complement for the small tags, especially if you're fond of making party favors. Let's get on to the projects, shall we?
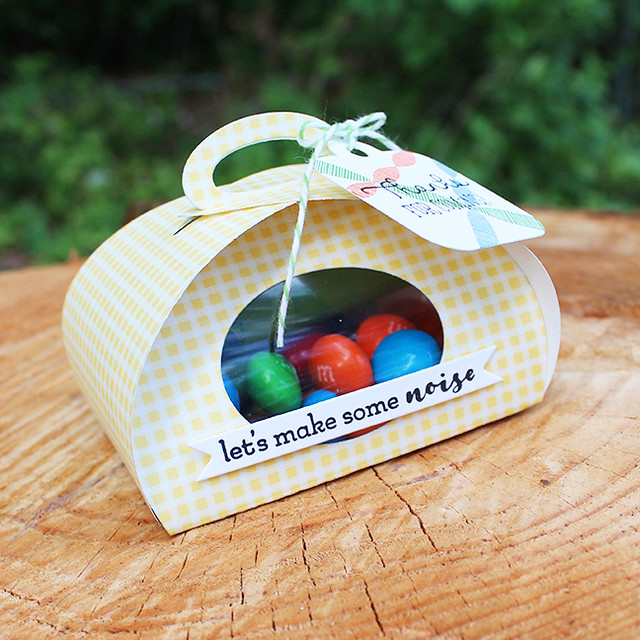
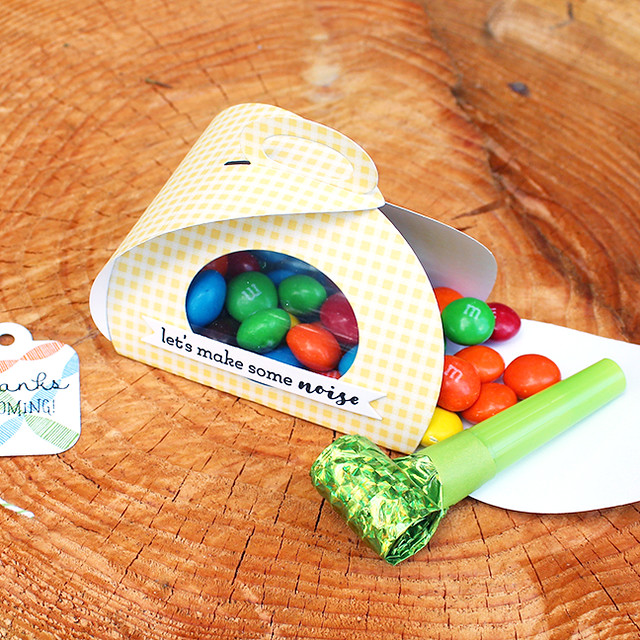
Speaking of party favors...my first box today is a party favor that's filled with candies and a noisemaker.
I began by die cutting the box from Harvest Gold patterned paper. I cut a window in one of the wide sides using the oval tag to create the opening. I backed the opening with clear cardstock and assembled the box using the same instructions I shared
yesterday.
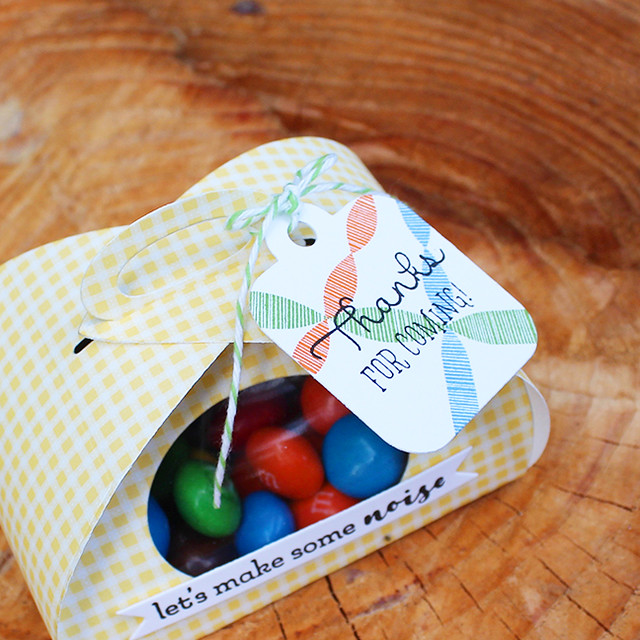
I then die cut the square tag from white cardstock and stamped it with the streamers from Hooray and sentiment from So Sweet. After I filled my box, I tied the tag to the handle with baker's twine.
As a final touch, I stamped the sentiment from
Jungle Buddies Sentiments onto a Tag Sale #10 banner and attached it to the front of the box with foam tape. I love that it hints at what's inside the box! This favor came together quickly and would be cost effective for a crowd. You could swap out the colors and candies to fit a wide variety of ages.
Supplies:
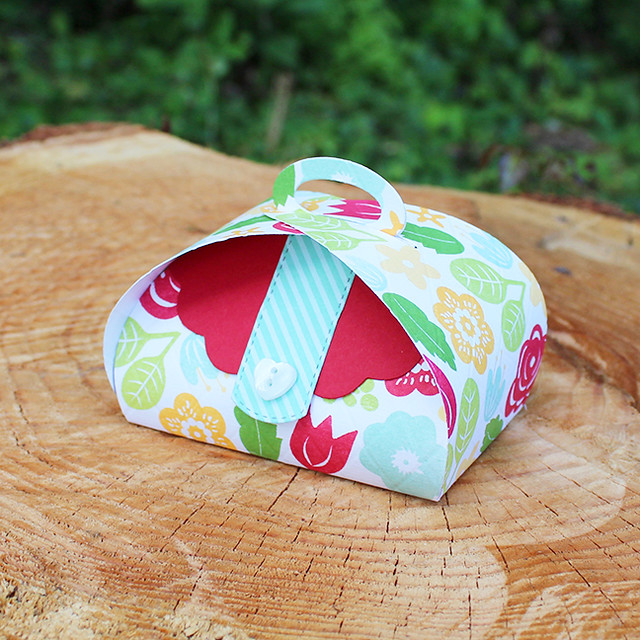
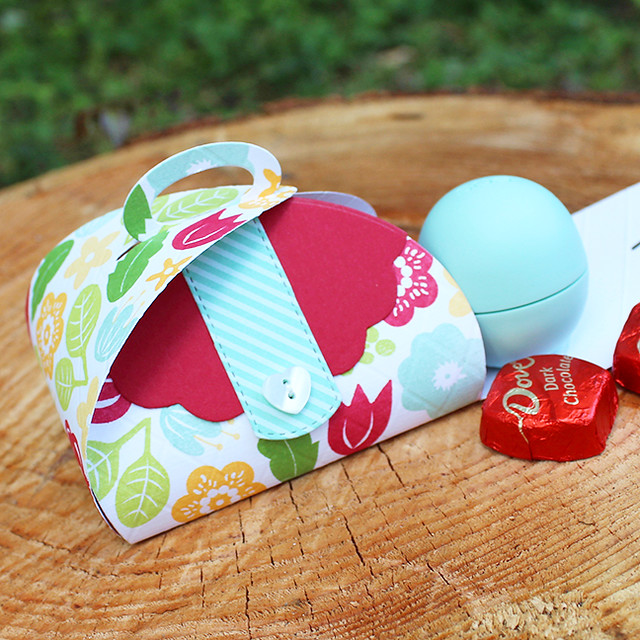
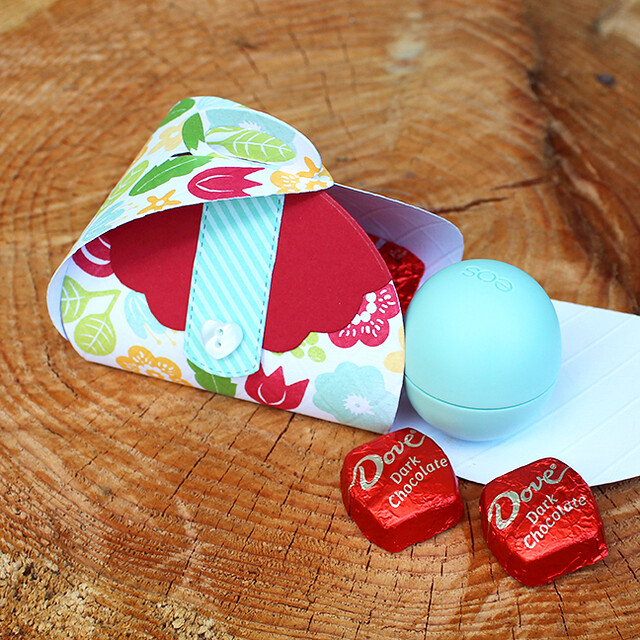
For my next project, I had a ladies' getaway weekend in mind though they would be a nice surprise anytime. These would be the perfect little gifts to treat your girlfriends.
I wanted to make this petal box look like one of those quilted, floral purses. Most of the ladies in Sean's family carry those, so they must have inspired me. I began by die cutting the box pieces from Fresh Snow Linen cardstock. Then I used Bloomin' Cute to create a flowery pattern.
I used my score board and a stylus to give the cardstock a quilted appearance by scoring in 1/2" increments diagonally in both directions. I added a purse flap by die cutting a Pure Poppy panel and then die cutting again with a scalloped circle die. I created the button strap using one of the dies in the Bibliophile die. I used a partial die cutting technique to elongate it and then stitched a heart-shaped button to the end before attaching it to the box.
I assembled the box, tucking in a handful of chocolates and a lip balm before closing it up. It's a small gift, but one that's sure to be appreciated. Especially when it comes in such an adorable package!
Supplies:
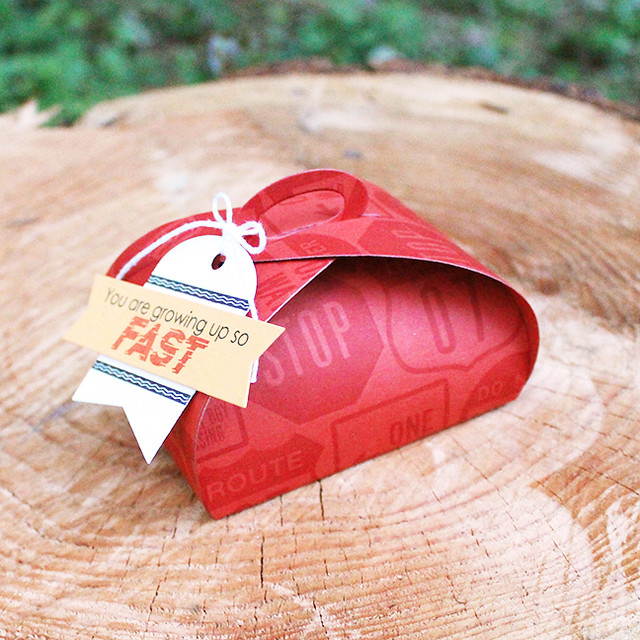
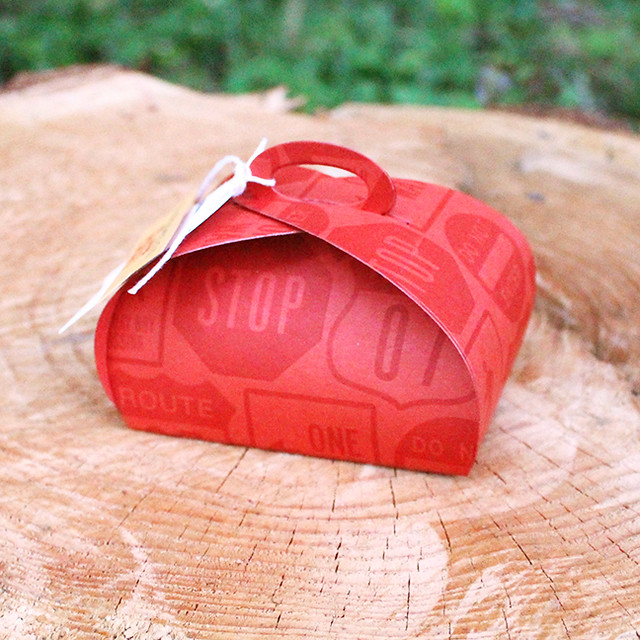
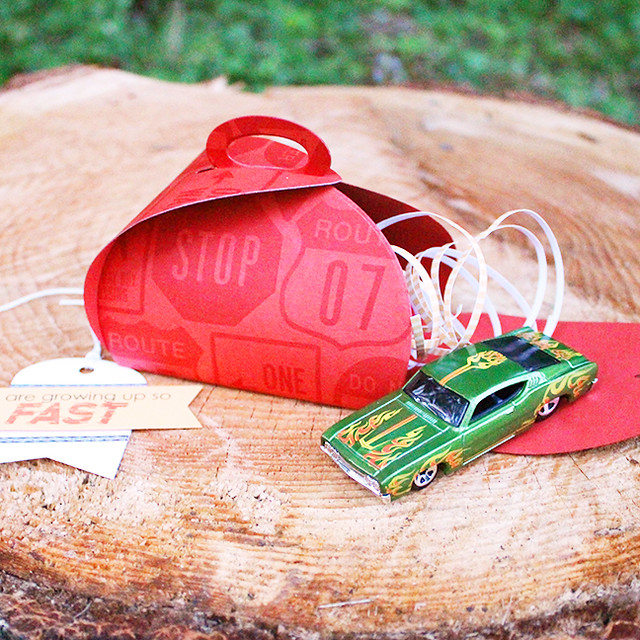
Lastly today I have a gift box for a toy car. They seems to be one of my nephew's favorite gifts, so I thought it might be nice to have a new way to present them. There was plenty of room in the box that you could probably even fit two cars.
I began by die cutting the box from Terra Cotta Tile cardstock. I stamped a tone-on-tone pattern using the Road Signed and Road Signed Numbers sets and assembled the box.
I used narrow strips of Summer Sunrise patterned paper curled around a pair of scissors (like ribbon) to act as filler in the box.
Then I created the tag. I die cut the tag from Fresh Snow Linen cardstock and stamped it with the tire treads from Need For Speed. Next, I die cut a banner using the Number The Stars Banner Die (I used another partial die cutting technique to elongate it). I stamped that banner with a sentiment from Need For Speed and attached it to the tag with foam tape before tying the tag to the box.
Supplies:
So there you have three ideas for ways to customize and fill the
Petal Box. I hope you've enjoyed today's post! I'll be back here tomorrow with even more inspiration to share. In the meantime,
Nichole,
Betsy,
Heather,
Laurie,
Wanda, and
Lexi have projects for you today. Have a great day and I'll see you soon!



















These are fabulous!!!!
ReplyDeleteLizzie, your sweet Petal Box die boxes are fantastic!! Love how versatile they can be!!
ReplyDeleteWonderful!!
:)
Wow, these are so cute -- and so different from each other! This box is certainly versatile!
ReplyDelete