Good morning and welcome to the May
Papertrey Ink countdown! I have the pleasure of introducing a brand new set designed by
Nichole Heady that I'm sure you're going to love.
Ivy & Bloom includes several multi-step flowers, vines, and even a sweet, little bird. And the dies...holy smokes, ladies and gents! Just you wait. Without further ado, let's get on to the projects!
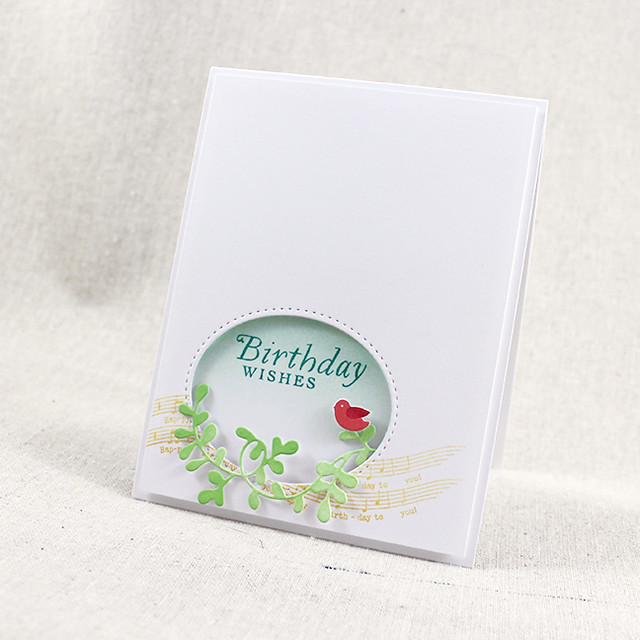
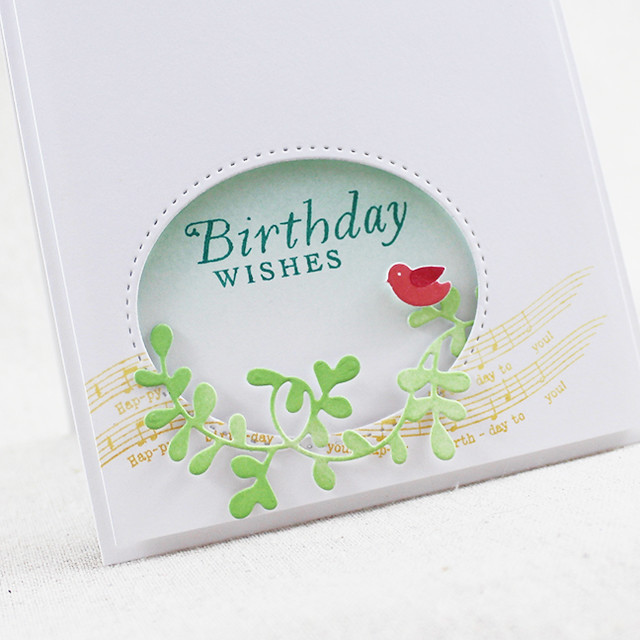
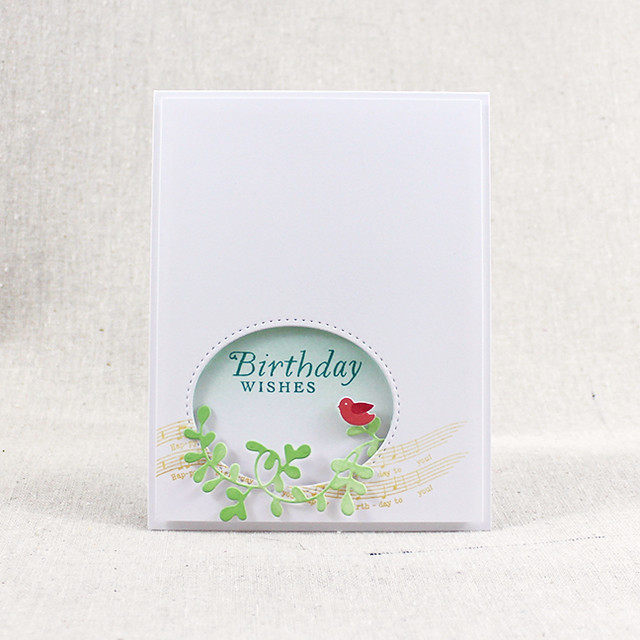
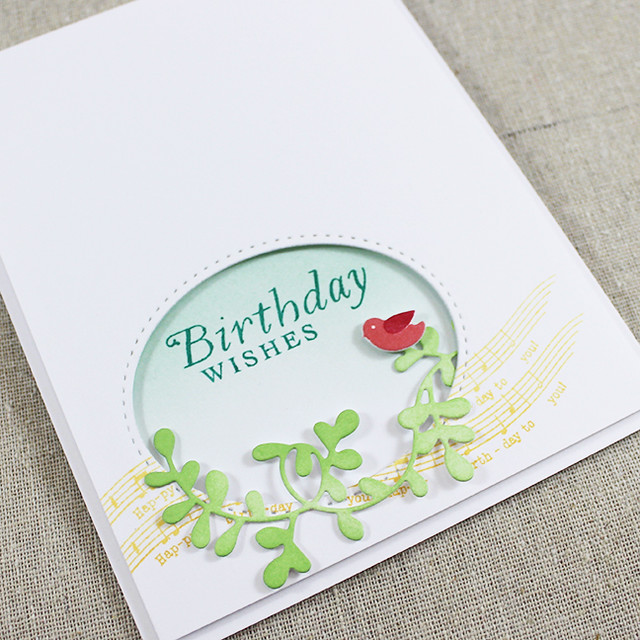
My first card today is a birthday card showcasing that little bird I mentioned before.
I began by die cutting the bird and the vine from white cardstock. I stamped the bird in Berry Sorbet and Pure Poppy inks. Then I used a sponge to add color to the vine.
I dabbed the ink rather than blending it smoothly to give a bit of variation and depth. I wanted to make sure some areas were darker than others, so I sponged over them multiple times.
Next, I die cut the stitched oval included in the coordinating die set from a panel of white cardstock. I stamped the music from Songbirds using Harvest Gold and Summer Sunrise inks. Then I tucked the vine through the opening and adhered it on the back side.
Then, I sponged a bit of Aqua Mist ink onto a white card base to create a bit of sky. I stamped the sentiment and then adhered the top panel into place with foam tape. I added the bird with a bit of foam tape. Isn't he cute?!
Supplies:
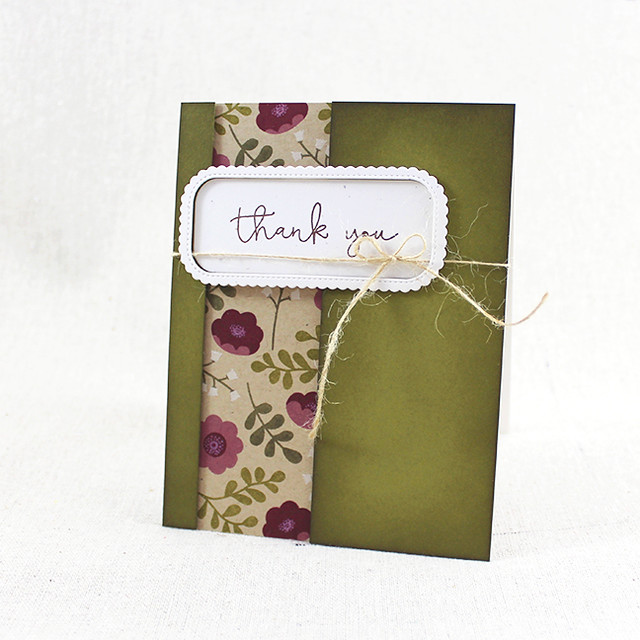
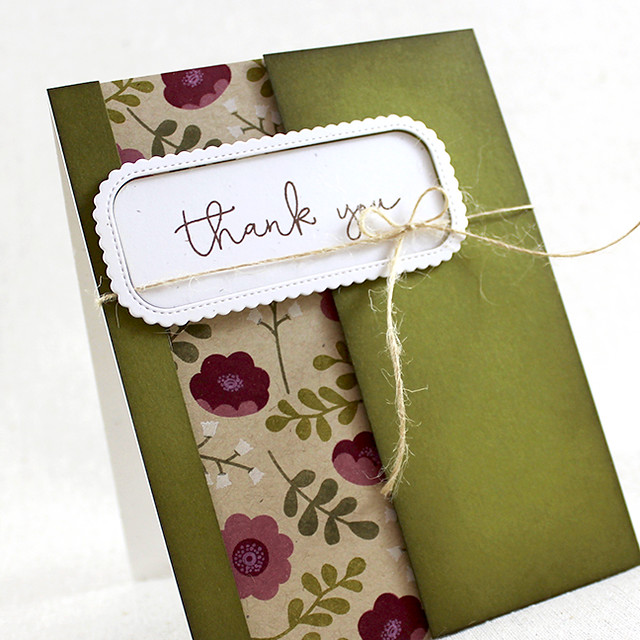
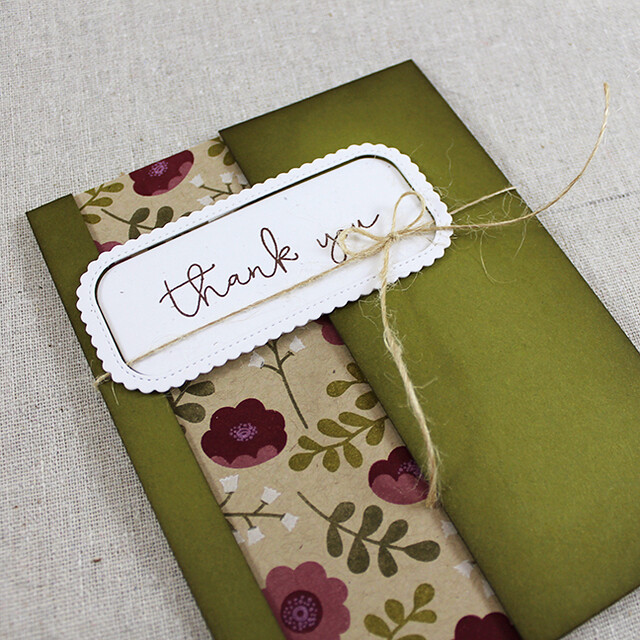
Next up, I have a thank you card to share. I paired the Ivy & Bloom set with the new Keep It Simple: Thank You II set to create this card.
I began by stamping a floral pattern onto Classic Kraft cardstock using the Ivy & Bloom flowers and leaves. I used Autumn Rose, Scarlet Jewel, and Fresh Snow for the flowers and Ripe Avocado and Olive Twist for the greenery.
I adhered that patterned strip to a Rustic White card base before adding a split Ripe Avocado card front on top with foam tape. I used Olive Twist ink to add a bit of depth to the Ripe Avocado panels before adhering them into place.
Then I die cut the Keep It Simple Frame from Rustic White cardstock and stamped it with the sentiment in Dark Chocolate ink. I adhered the sentiment section of the frame to the card front and then tied Rustic Jute Button Twine around the card front. Next, I added the frame with foam tape, right over the twine.
Supplies:
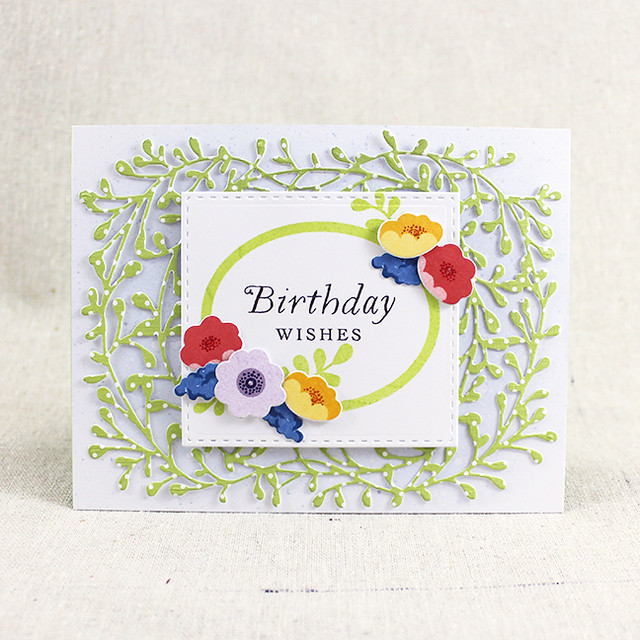
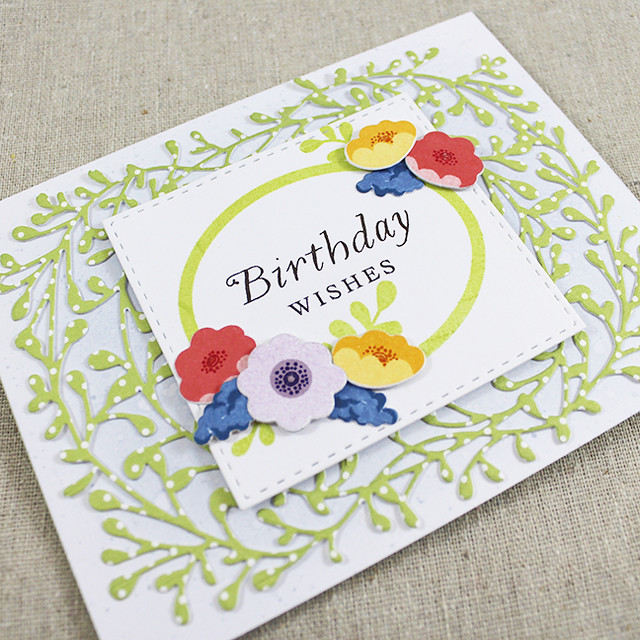
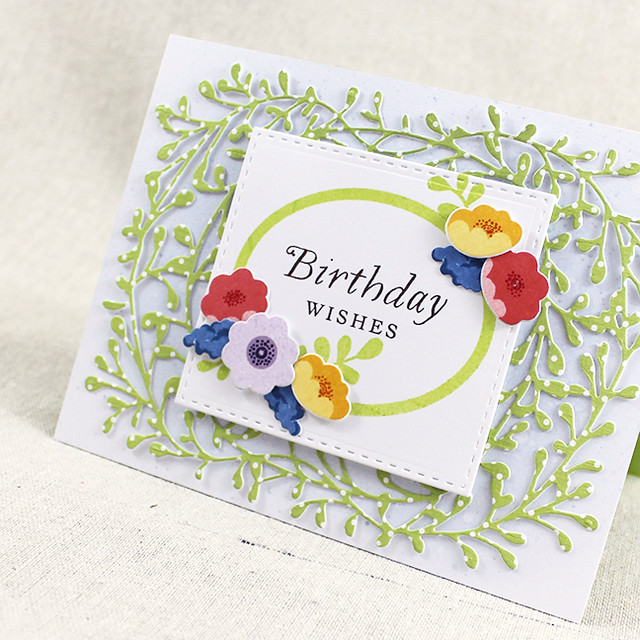
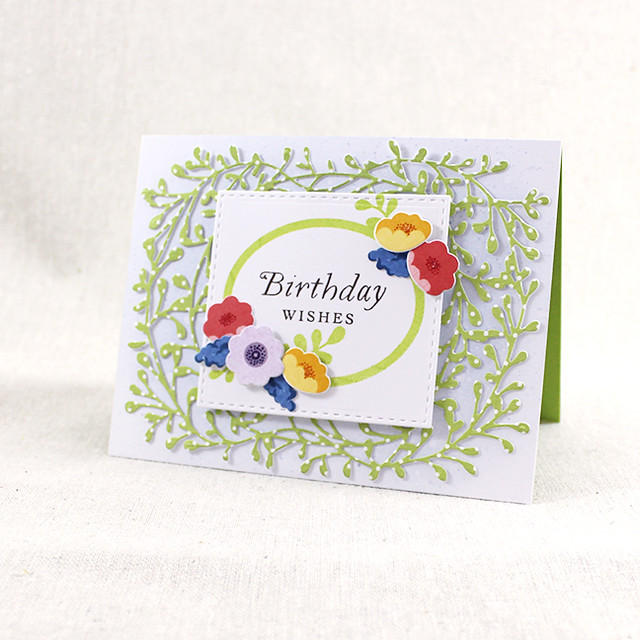
And last but not least I have another birthday card to share.
I began by sponging a white card front with Spring Rain ink. I added speckles with clean water and reinker. Then, I die cut the large frame included in the Ivy & Bloom die collection from polka dotted Green Parakeet paper. I adhered just the very center of the frame to the card front, leaving the edges loose to give texture.
Then, I die cut a stitched rectangle using the Noted: Scalloped Square Die Collection. I stamped the oval using Green Parakeet ink and added a few leafy branches in the same color. Then I stamped the sentiment using Smokey Shadow.
Next, I die cut several of the Ivy & Bloom flowers and stamped them with the coordinating images in the set (the index label has the images all clearly noted so it's easy to see which images go together).
I added the die cut flowers to the sentiment panel using different thicknesses of foam adhesive to give plenty of dimension. As a final touch, I embellished the flower centers with clear glitter for a bit of sparkle.
Supplies:
That's all I have to share with you for right now. I hope you've enjoyed today's post! Make sure to check in with
Nichole,
Betsy,
Heather, and
Stephanie for more of this month's release. Have a great day!












3 comments:
All three of these are lovely but my fave is the second -- that rustic look just draws me in. Such a gorgeous card with that stamped panel! Thanks for the inspiration!!
Lovely projects Lizzie!! Such fun!!
All three cards are very pretty. Love the second one the best.
Post a Comment