Good morning, friends! It's my turn to show you how I'm using my
Moments Inked planner these days, so I thought I'd share the holiday prep section I put together to keep myself organized this yuletide season. I'm a "function over fuss" kind of planner, so my whole system is fairly simple. It works for me though and I'm excited to use it this year.
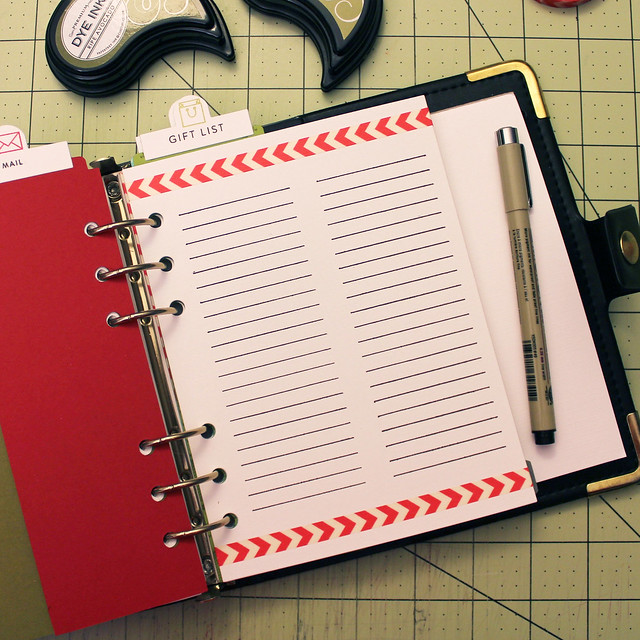
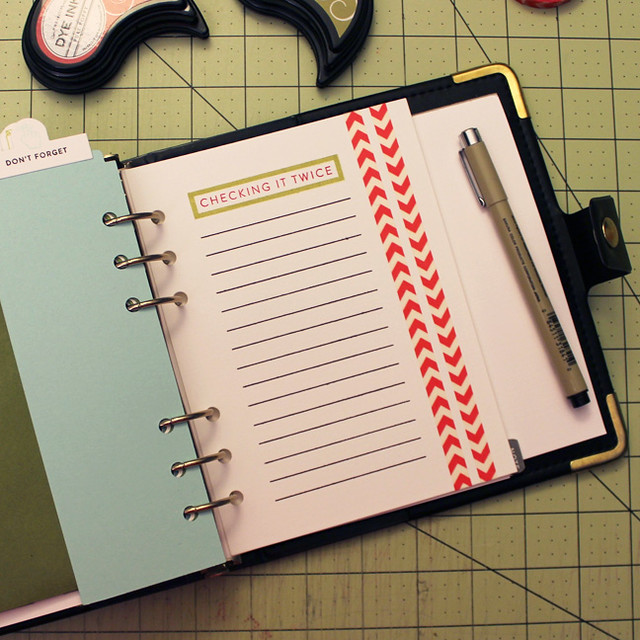
I created a dashboard and broke the section into three categories: Mail (our Christmas card mailing list), Gift List (a place to organize gift ideas for everyone on our list), and Don't Forget (somewhere to keep those ever-important To Do lists).
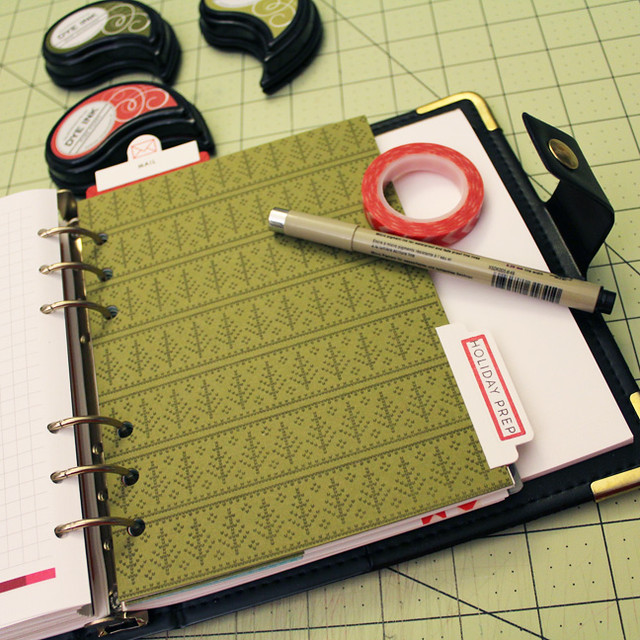
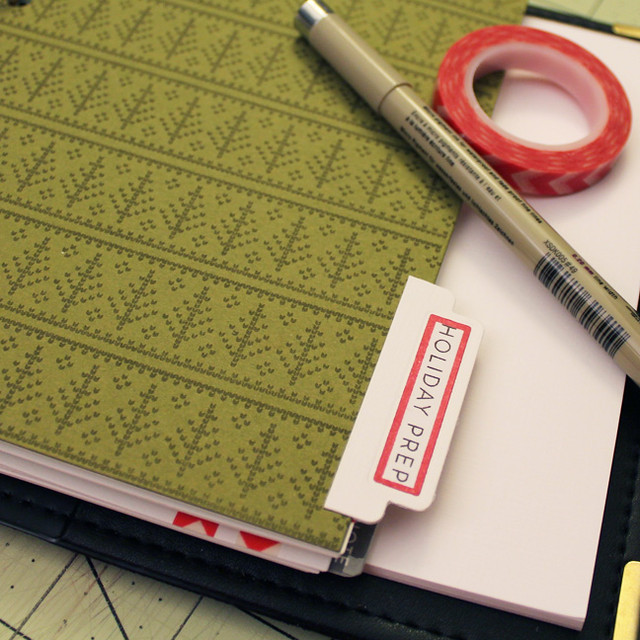
Let's start with the dashboard. I used the large Binder Page Die to cut a full-size page from Ripe Avocado cardstock and stamped it with Fair Isle Borders using Olive Twist ink.
I cut a tab using the Binder Listed Die from Fresh Snow Linen cardstock and added a "Holiday Prep" sticker before adhering it to the Ripe Avocado page.
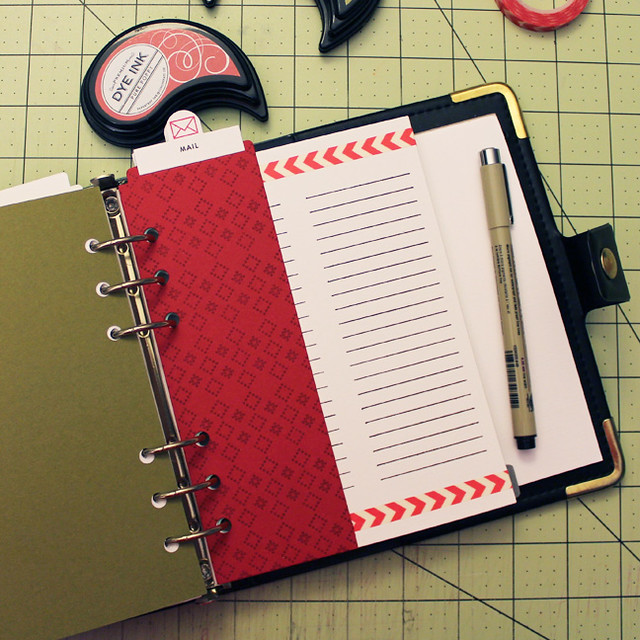
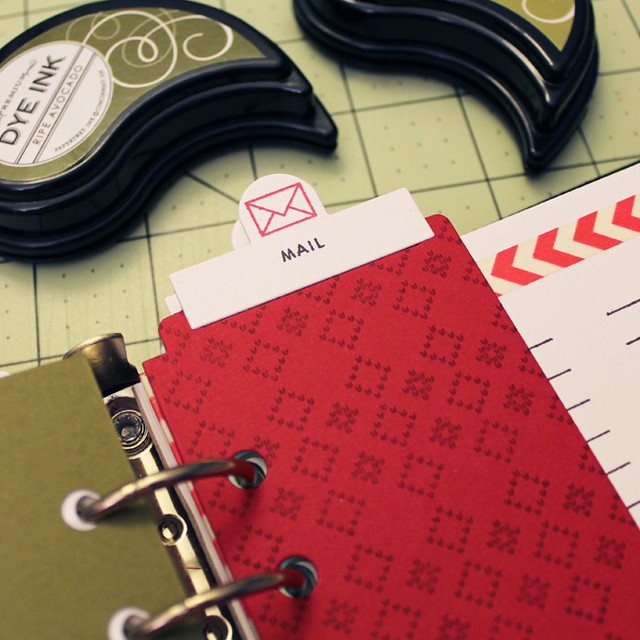
Next comes the "Mail" divider. I used a Binder Listed shape cut from Pure Poppy and again stamped with Fair Isle Borders, this time in Scarlet Jewel.
I used the envelope and sentiment from Everyday Symbols on the label, die cut from Fresh Snow Linen cardstock using the Divided Die.
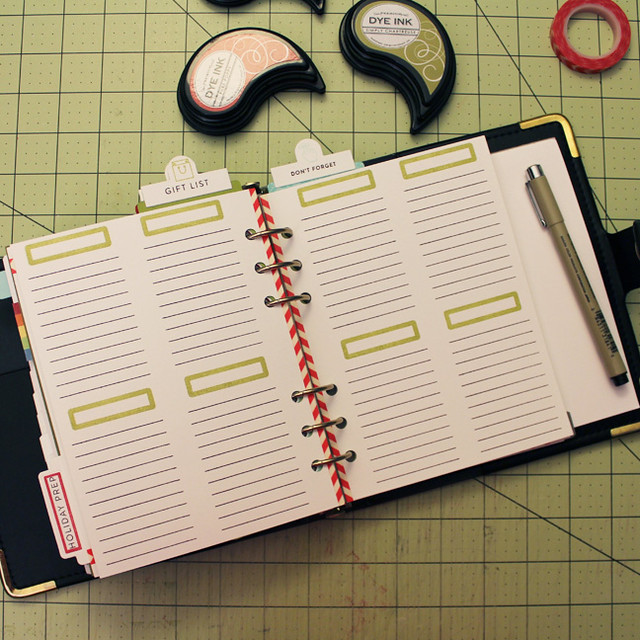
The list page itself was cut from Fresh Snow Linen stock and stamped with the lines from the Listed stamp set using Smokey Shadow ink, masking a few of the lines to make them fit the page. I stamped both sides of the page to make sure I'd have plenty of space to add all of the folks on our list this year. I added a little festive flair to the page using the new Chevron Skinny Washi tape. It's just enough to make things pretty, but it was quick and easy to add.
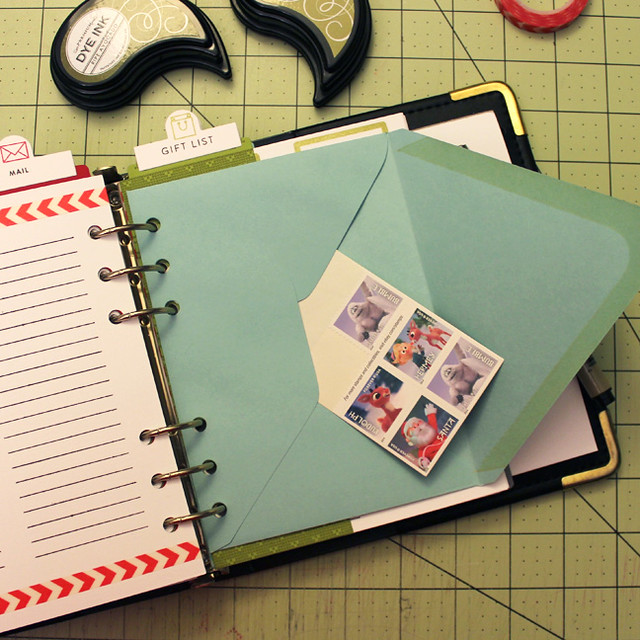
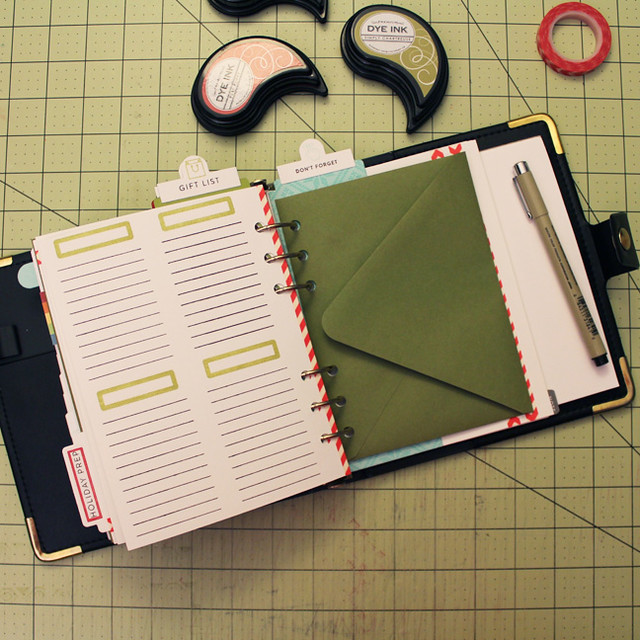
I also die cut an A6 envelope with the large Binder Page. This is such a convenient place to keep my postage. I happened to have some stamps left over from last year, so I tucked those inside the envelope so I wouldn't forget to use them when I'm ready to mail this year.
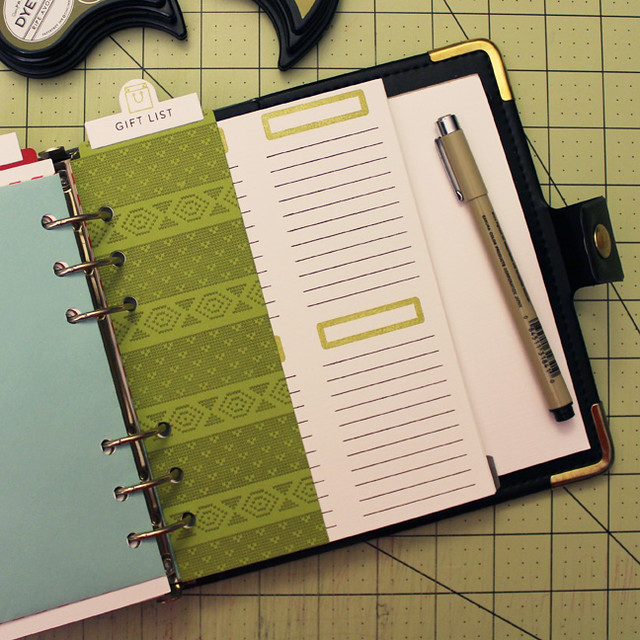
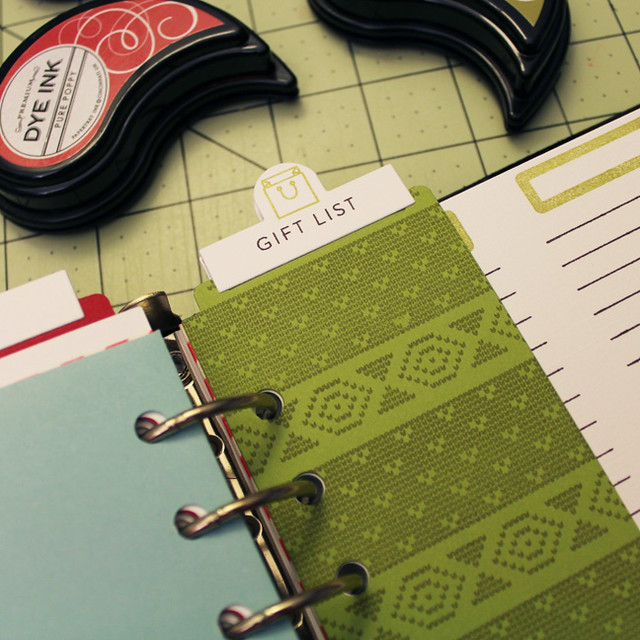
Next is my "Gift List" divider. This time the Binder Listed shape is cut from Simply Chartreuse and stamped with Fair Isle Borders in Ripe Avocado.
The gift bag from Everyday Symbols and the sentiment from Listed paired together to decorate the label.
On these pages (I did a few) I used the Listed stamp set for both the lines, in Smokey Shadow, and the header images, in Simply Chartreuse. I'll use the headers to write the recipient's name and then write down gift ideas on the lines below. Once again, I used the red Chevron Skinny Washi tape to decorate the binder edge. Simple and functional.
I die cut another envelope, this time for receipts, coupons, or other ads that might come in handy while shopping.
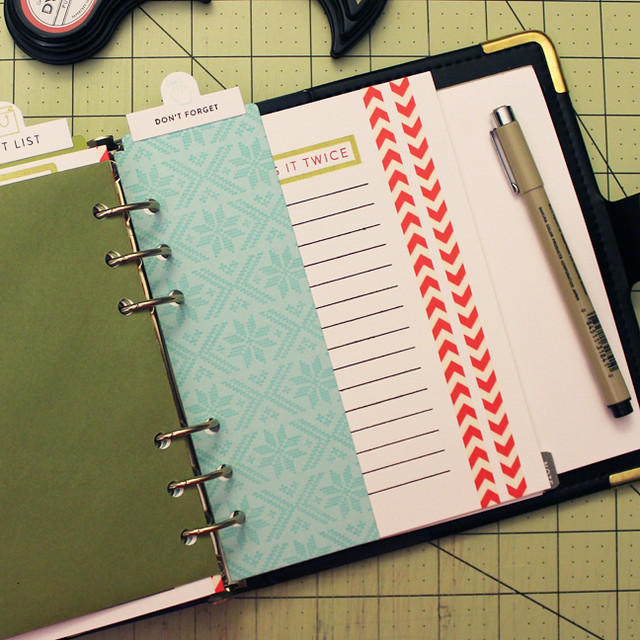
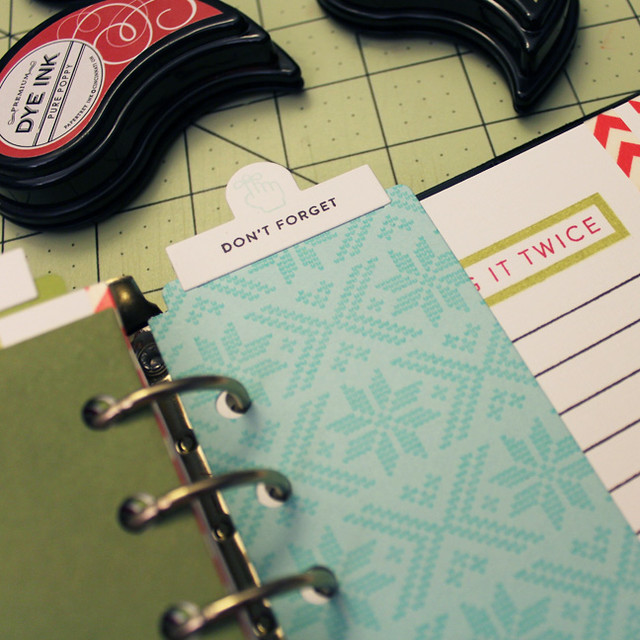
The last category of my Holiday Prep section is a general To Do section. I used an Aqua Mist Binder Listed shape stamped with Fair Isle Borders in Hawaiian Shores ink.
I used the finger tied with string and sentiment from Everyday Symbols to embellish the Fresh Snow Linen tab.
I used the Posted II stamp set on my To Do list page. I stamped the lines in Smokey Shadow and the header in Simply Chartreuse, making and stamping twice to keep the images separate. I added the sentiment, also from Posted II, in Pure Poppy as a nod to the holiday. I also decorated with a bit more Chevron Skinny Washi tape. This section will be perfect for writing down reminders for things like setting up Gus's Pet Palace reservation and stopping newspaper delivery.
I hope my clean and simple approach to holiday planning has been fun for you to see this morning. Thank you so much for joining me and have a great week!


Lizzie, I love your style! I can do this! We are currently planning a big trip next fall, and there are so many details to keep track of that I need something just like this with our trip in mind. Thank you for all of the great ideas!
ReplyDeleteGreat ideas, Lizzie! It definitely is time to get organized for the holidays.
ReplyDeleteLove the envelope idea! Many great looks!
ReplyDelete