Good morning and welcome back for Day 4 of the
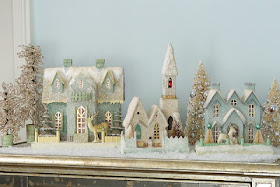
Papertrey Ink September countdown. The sets we're introducing today remind me of classic holiday stories and the tiny vintage town that my grandma would set up on her mantle every Christmas.
I used to love looking at (but never, ever,
ever touching) those delicate little ceramic houses, trees, and people. I could stare at them for hours.
Such nice, warm memories that keep me smiling all through the busy holiday season. You won't be able to keep from smiling either once you see these beautiful new stamps. Let's get on to a few projects!
My first card today features Nichole's
Christmas Critters and the companion sentiment set.
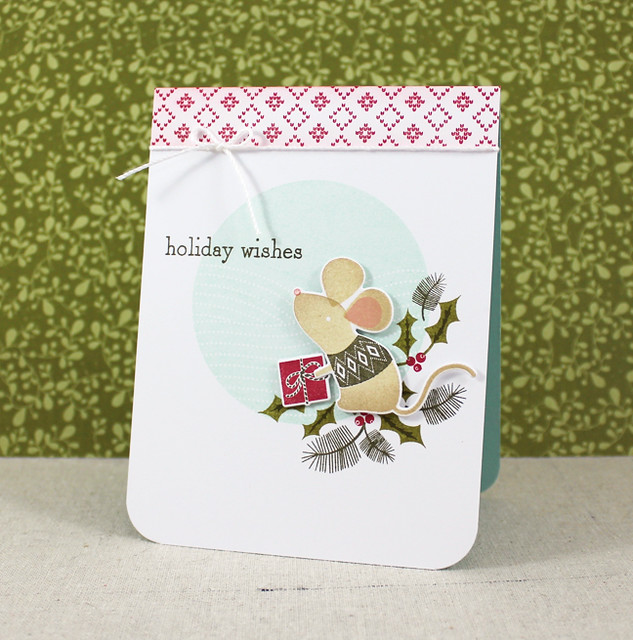
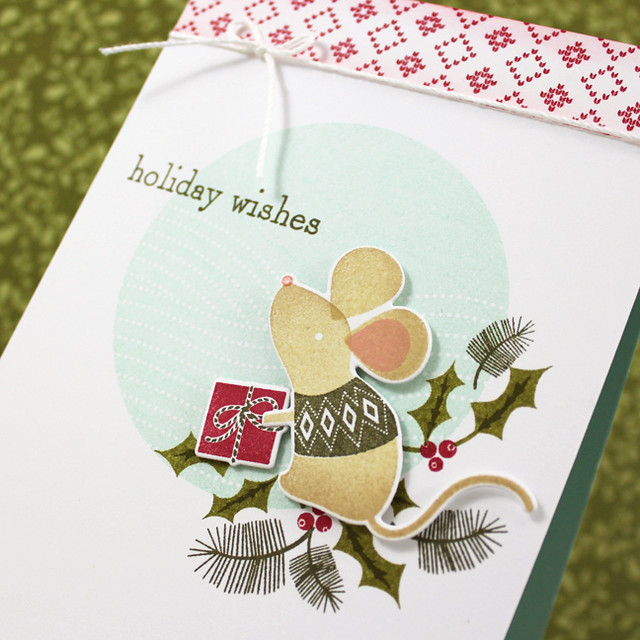
I just love these little mice! I began by stamping the snowdrift circle onto a panel of white cardstock using Aqua Mist ink. I added a little nest of holly (from the Christmas Critters set) and pine boughs (from Christmas Faith) using Ripe Avocado, Olive Twist, and Pure Poppy inks. I added the sentiment, also in Olive Twist, and adhered that panel to an Aqua Mist card base along with a decorative strip that I'd stamped with Fair Isle Borders.
Next, I stamped my mouse. I used Fine Linen and Classic Kraft inks sponged together on his little body and ears. His sweater is Olive Twist and his nose and inner ear are Pale Peony. I mounted him and his gift box to the card front with dimensional adhesives before adding a crochet thread bow and rounded corners. A little Glossy Accents is the perfect embellishment on his sweet little nose.
Next up is a card made with Betsy's new
Winter Village. This set is so charming!
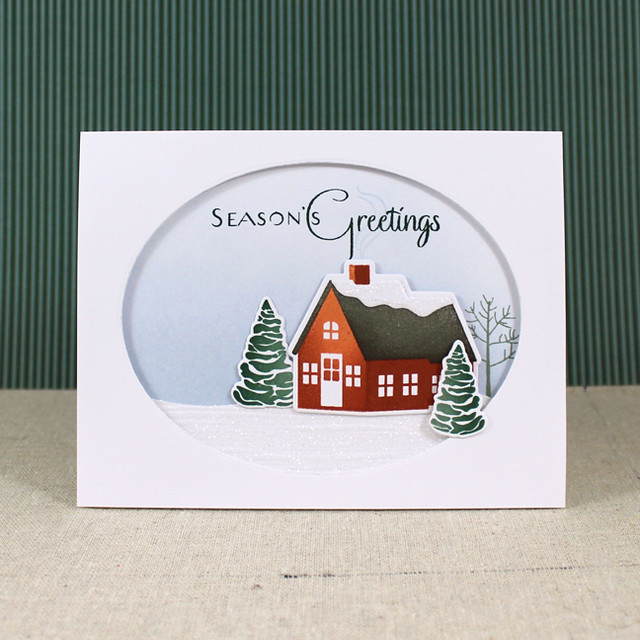
I began by sponging a white card base with a bit of Spring Rain ink. I stamped the sentiment, bare tree, and added a snowdrift that I'd cut using the Split Sentiments: Curve Horizontal Die and textured with the Woodgrain Impression Plate. Before die cutting, I actually ran that white cardstock through a Xyron machine to give it a fully sticky surface so I could add a sugary coating of glitter. Once the excess glitter was brushed away, I attached a frame to the card front that I'd cut with the largest oval in the Noted: Scalloped A2 Die Collection.
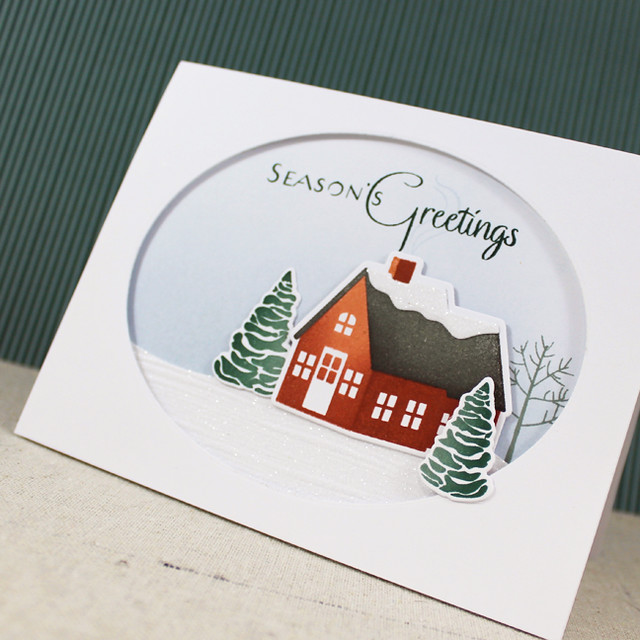
Next, I stamped and die cut the house from the set. I used Melon Berry and Americana inks for the walls and Stormy Sea and Smokey Shadow for the roof. I mounted that into place before adding a glittered snow drift die cut to the roof. Then I stamped the evergreens using Ocean Tides and Pinefeather inks. I die cut those and adhered them into place with flat and foam adhesives. I felt the house could use another tiny detail, so I very carefully stamped the wisp of smoke above the chimney with Spring Rain ink. I was going for a serene scene on this card and I really love how it turned out!
My last card today is a super fun, bold Christmas card pairing
Gifts Of The Season with
Holiday Swoosh.
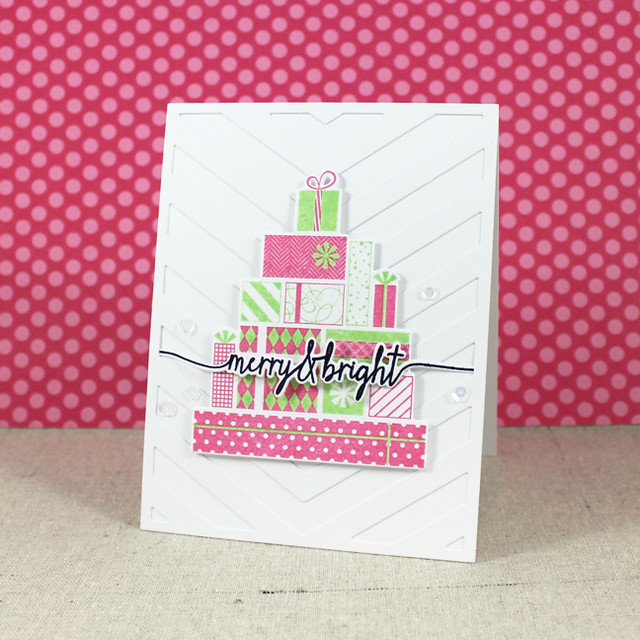
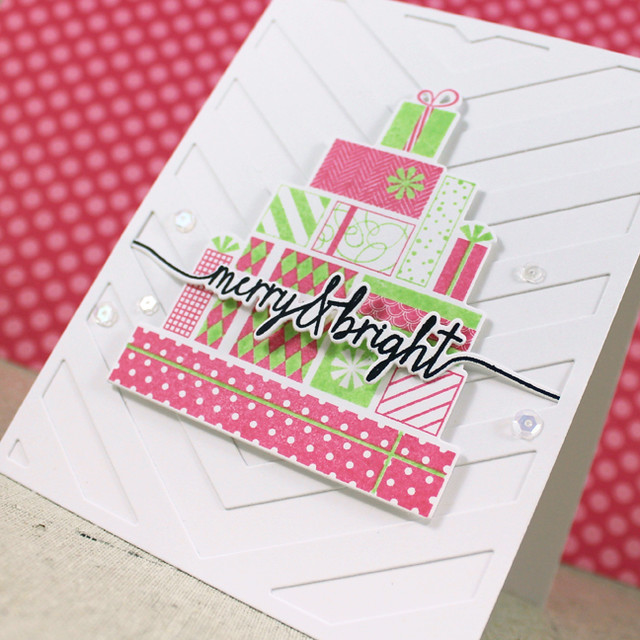
I started by stamping the stack of gifts in Hibiscus Burst and Vintage Jadeite inks. I die cut the image and mounted it to a white card base layered with a Cover Plate: Front & Center die cut. Next, I stamped and die cut the Holiday Swoosh sentiment and positioned it over the presents, using a bit of foam tape to keep the center supported.
I tucked the ends under the Cover Plate shape and trimmed off the excess. I finished up by embellishing with a handful of Sunshine & Rainbows sequins. Isn't it cheerful?!
That's all for me today. Thank you so much for joining me! I'll be back tomorrow with a few more projects. In the meantime,
Nichole,
Amy,
Ashley,
Betsy,
Danielle,
Dawn,
Heather,
Kay,
Laurie, and
Melissa have more Classic Christmas inspiration to share.
Erin and
Maile have more of their new sets for you too, so make sure to pop over for a visit. See you soon!
Recipes:
Holiday Mouse Card
Stamps: Christmas Critters, Christmas Critters Sentiments, Christmas Faith, Fair Isle Borders - Papertrey Ink
Cardstock: Aqua Mist - Papertrey Ink; white
Ink: Aqua Mist, Pure Poppy, Ripe Avocado, Olive Twist, Pale Peony, Fine Linen, Classic Kraft - Papertrey Ink
Other: Christmas Critters Die - Papertrey Ink; Foam Tape - Scotch; White Crochet Thread; Glossy Accents - Ranger; Corner Chomper
Season's Greetings Card
Stamps: Winter Village - Papertrey Ink
Cardstock: white
Ink: Spring Rain, Melon Berry, Americana, Stormy Sea, Smokey Shadow - Papertrey Ink
Other: Winter Village Die, Woodgrain Impression Plate, Noted: Scalloped A2 Die - Papertrey Ink; Fine Crystal Glitter - Martha Stewart Crafts; Foam Tape - Scotch; Xyron
Merry & Bright Gifts Card
Stamps: Gifts Of The Season, Holiday Swoosh - Papertrey Ink
Cardstock: white
Ink: Hibiscus Burst, Vintage Jadeite, True Black - Papertrey Ink
Other: Gifts Of The Season Die, Holiday Swoosh Die, Cover Plate: Front & Center Die, Sunshine & Rainbows Sequins - Papertrey Ink; Foam Tape - Scotch



Loving your mouse card design!
ReplyDeleteThree beautiful cards- The church is simply beautifully and simply done!
ReplyDeleteYou can do anything and everything and do it all so well! Magical cards this morning, Lizzie.
ReplyDeleteBeautiful projects!!!!! Thanks for sharing such wonderful inspiration!
ReplyDeleteI absolutely LOVE the card you did with the Winter Village set - it's gorgeous!
ReplyDeleteThe mouse card is charming, Lizzie. Love the Fair Isle border and was happy to be reminded of how fabulous that stamp set is.
ReplyDeleteWowzer! So many cute ideas and beautifully made!
ReplyDeleteWhisks me right to December!