Good morning, friends! It's Day 5 of the
Papertrey Ink July Countdown and today we're sharing new products from Heather and Betsy that you can use for all of your memory keeping needs. I love to travel and at the end of my journeys I always have little odds and ends to complement my memories. This new travel collection that Heather has designed is perfect for creating mini books to keep both safely in one place. And the super cute map mini set that Betsy has created is such a charming complement! Let's get on to some projects, shall we?
Let's begin by taking a look at Heather's Travelers' Journal collection.
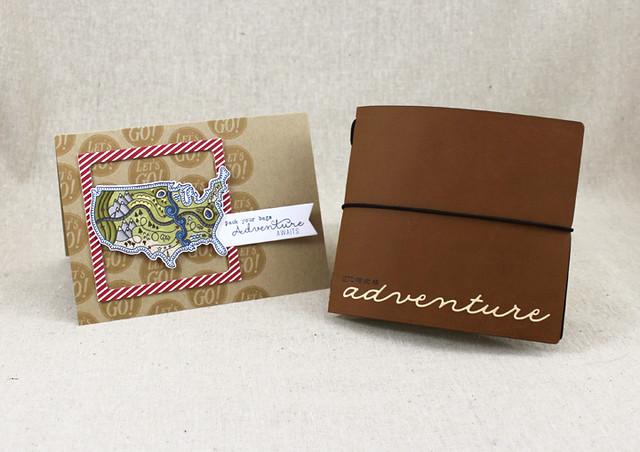
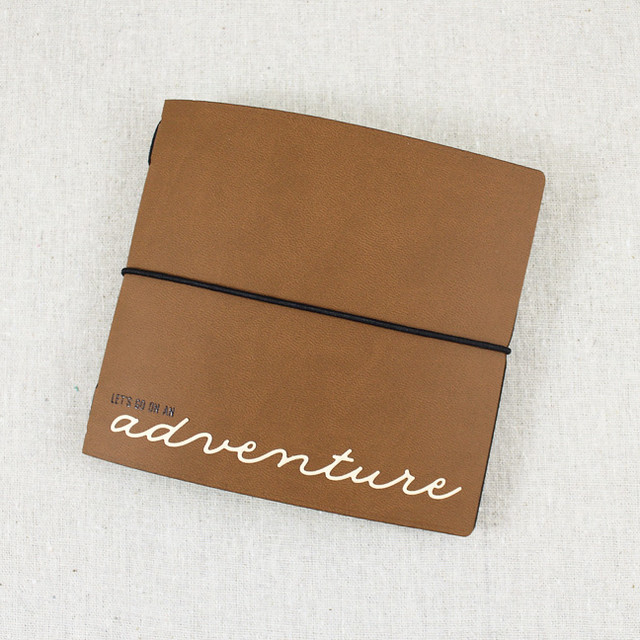
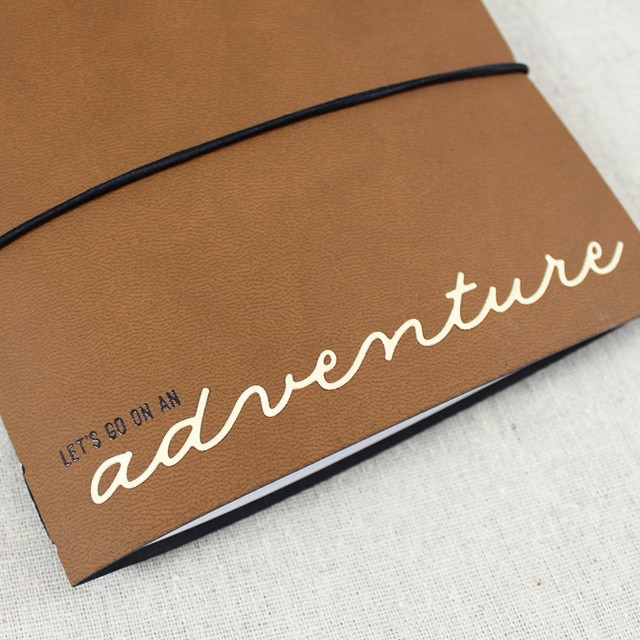
I created the outer cover for my little book with faux leather designer paper. The paper is a little on the thin side, so I lined the inside with cardstock and it looks like a mini journal you might pick up in a boutique. I love it!
I embellished the cover with a bit of heat embossing and wood veneer paper. The sentiment is from the new Traveler's Journal: Adventure and the die cut word is part of the Traveler's Journal: Outer Cover Die. I used black Traveler's Journal Elastic Cord to bind the cover and create a closure.
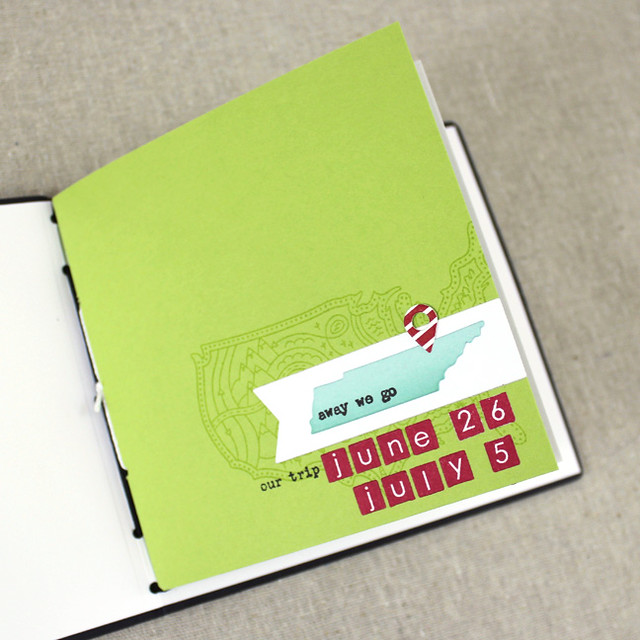
Inside the cover is a mini book I put together about a recent trip to Tennessee. I created a cover for the mini book from Green Parakeet cardstock. I stamped the cover with the What The Doodle: Map image and layered on a Number The Stars Banner shape as a base for a die cut Tennessee. I added the dates of the trip with Type Strips letters and numbers. The sentiments are from Traveler's Journal: Typed Notes set. I filled the cover with handy, pre-cut Traveler's Journal Pages. I'm still working on the book, but I have a few spreads to share with you.
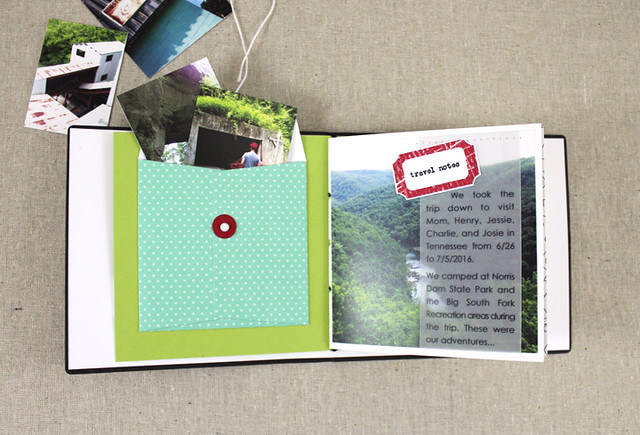
Inside the front cover I have a Traveler's Journal Envelope. It's the perfect size for hanging onto small, flat trinkets from trips (like ticket stubs) or photos yet-to-be added to the book. The first page features a single large photo and some journaling I printed onto vellum. The ticket embellishment is from Traveler's Journal: Adventure and the sentiment is from Traveler's Journal: Typed Notes.
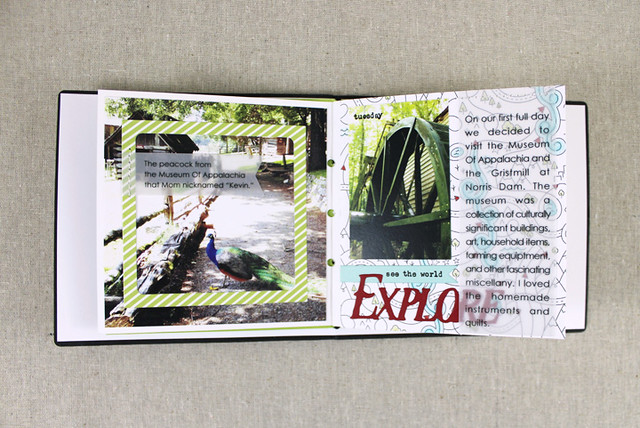
On the next spread I have a photo that I've framed with the square from the Traveler's Journal: Outer Cover Die. I printed, die cut, and stitched on the caption before adhering the frame into place. On the next page I colored a piece of What The Doodle: Map patterned paper and used it for my background. I added more journaling on vellum along with a photo and die cut sentiment. I chose to keep my coloring spare so it wouldn't compete with the photos too much.
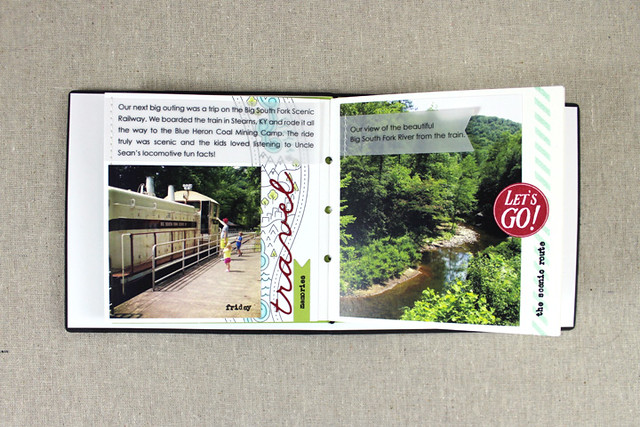
The next spread has more colored What The Doodle paper and another die cut sentiment from the Traveler's Journal: Outer Cover Die. The small, typed sentiments on the first page are from the Traveler's Journal: Typed Notes set. On the next page I used images from Traveler's Journal: Adventure to embellish my photo. I have stitched vellum journaling on both pages.
I'm not much of a scrapbooker, so my layouts are fairly simple. But that's what's so great about this collection that Heather has designed. Even if you don't do much scrapbooking, she makes it a snap!
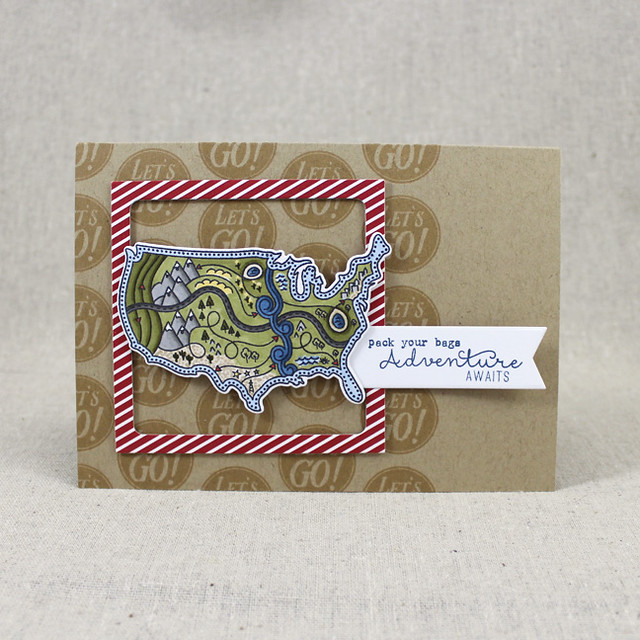
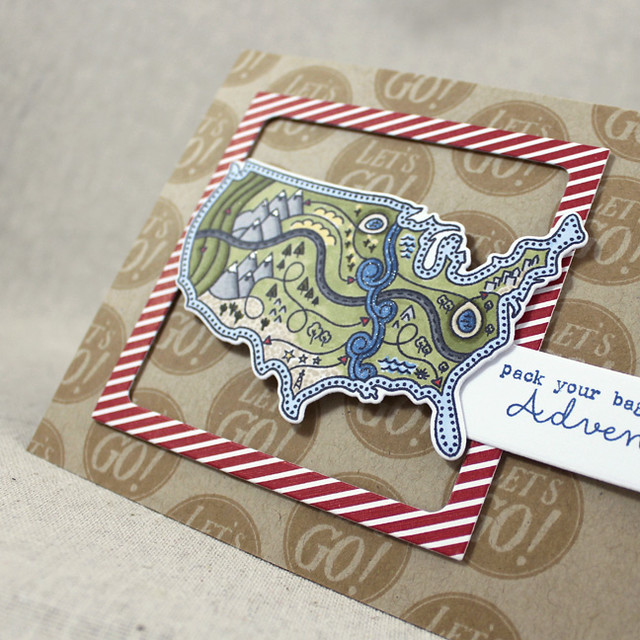
Next up, I have a card using What The Doodle: Map and Traveler's Journal: Adventure.
I started by stamping the What The Doodle: Map image and coloring it with Copic markers. I love all of the little details in this image! I die cut the map and embellished with a bit of Clear Spica pen on the waterways and snowcaps. Next, I die cut a frame from Pure Poppy + White patterned paper and adhered it to a Classic Kraft card base that I stamped with one of the circular sentiment images from Traveler's Journal: Adventure.
I added my map to the center of the frame with foam tape. I die cut a white banner using the new Number The Stars Banner Die and stamped it with sentiments from Traveler's Journal: Adventure and What The Doodle: Map before tucking it in there next to Florida. Cute! I can't wait to use this card to invite my husband on an adventure.
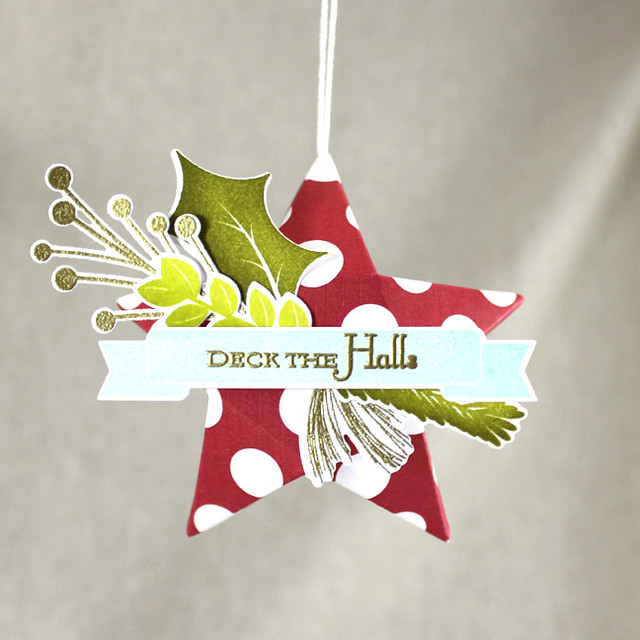
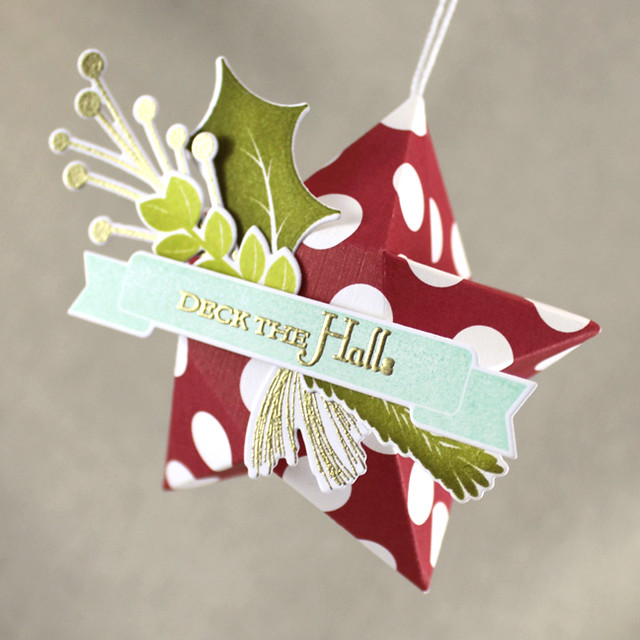
Finally this morning, I have one more Favor It: Star Box project to share. I thought this box would make a great holiday ornament and I'm happy to report that it works beautifully.
I began by die cutting the box from Pure Poppy + White patterned paper and assembling largely as normal. The only difference is that I pulled a loop of white crochet thread through the top point before sealing it up tight.
I embellished the box with greenery from Spruce & Sprigs, a banner from Bountiful Banners, and a sentiment from Holiday Lights. I used sponging to give the greenery depth and gold embossing to add a bit of shine.
Well, that's all for me today. Thank you so much for joining me! Make sure to pop over and visit
Nichole,
Amy,
Ashley,
Betsy,
Danielle,
Dawn,
Heather,
Kay,
Laurie, and
Melissa to see more of this month's release.
Erin and
Maile are also sharing a few more peeks, so make sure to visit them, too! See you tomorrow for this month's release wrap-up!
Recipes:
Let's Go On An Adventure Mini Book
Stamps: Traveler's Journal: Typed Notes, Traveler's Journal: Adventure, What The Doodle: Map, Type Strips - Papertrey Ink
Cardstock: Green Parakeet, Pure Poppy, Aqua Mist, Green Parakeet + White Patterned Paper, Pure Poppy + White Patterned Paper, Aqua Mist Bitty Dot Patterned Paper, What The Doodle: Map Coloring Sheets, Vellum Cardstock, Traveler's Journal Pages - Papertrey Ink; white; Wood Veneer Paper - Creative Imaginations; Faux Leather Paper - Recollections
Ink: Pure Poppy, Aqua Mist, Green Parakeet, True Black - Papertrey Ink
Other: Traveler's Journal: Outer Cover Die, Traveler's Journal Envelope Die, Traveler's Journal Elastic Cord, Type Strips Die, Number The Stars Banner Die, Tag Sale #10 - Papertrey Ink; White Brads - American Crafts; Xyron
Adventure Awaits Card
Stamps: What The Doodle: Map, Traveler's Journal: Adventure - Papertrey Ink
Cardstock: Classic Kraft, Pure Poppy + White Patterned Paper - Papertrey Ink; white
Ink: Classic Kraft, Enchanted Evening - Papertrey Ink; Tuxedo Black - Memento
Other: Traveler's Journal: Outer Cover Die, Number The Stars Banner Die, What The Doodle: Map Die - Papertrey Ink; Clear Spica Pen - Zig; Foam Tape - Scotch; Copic Markers
Star Holiday Ornament
Stamps: Spruce & Sprigs, Bountiful Banners, Holiday Lights - Papertrey Ink
Cardstock: Pure Poppy + White Patterned Paper - Papertrey Ink; white
Ink: Ripe Avocado, Simply Chartreuse, Limeade Ice, Aqua Mist - Papertrey Ink; VersaMark - Tsukineko
Other: Favor It: Star Box Die, Spruce & Sprigs Die, Bountiful Banners Die - Papertrey Ink; Gold Embossing Powder - Filigree; Foam Tape - Scotch; Crochet Thread; Scor Tape

Hey Lizzie,
ReplyDeleteGreat job on the travel journal however that favor it box ornament is gorgeous! Pure genius. It might also
be used as placeholders on the Christmas dinner table. Loving all of your creativity. Keep it coming.
This to me is the timeless, classic version of a Traveler's Journal, and you can't beat that. And I love your idea for a star ornament - it's fab in the striped paper.
ReplyDeleteYour travel journal is very cool and I'm loving the color combinations you chose. This would certainly be fun to place some of your travel momentos in, at the end of an adventurous day! Love it!
ReplyDeleteEnjoying all of your 'Traveler's Journals' you've created! Truly inspiring! My inquiry is where to find this 'Faux Leather' card stock you've used for this cute project cover? I'd appreciate any help in locating this paper?
ReplyDeleteT.F.S.
I think it came from Michaels, but it's been awhile so I don't know if it's still something they carry. I hope that helps!
DeleteThank-you for your timely & helpful response. Most appreciated. Loved your TN creation!
ReplyDelete