Good morning, everyone, and welcome to the first group post for this month's
Papertrey Ink countdown. I love any excuse to celebrate, but birthdays are my favorite! And no birthday would be complete without cake. I'm a big cake fan (which is why I have to go to the gym five days a week), so today is right up my alley.
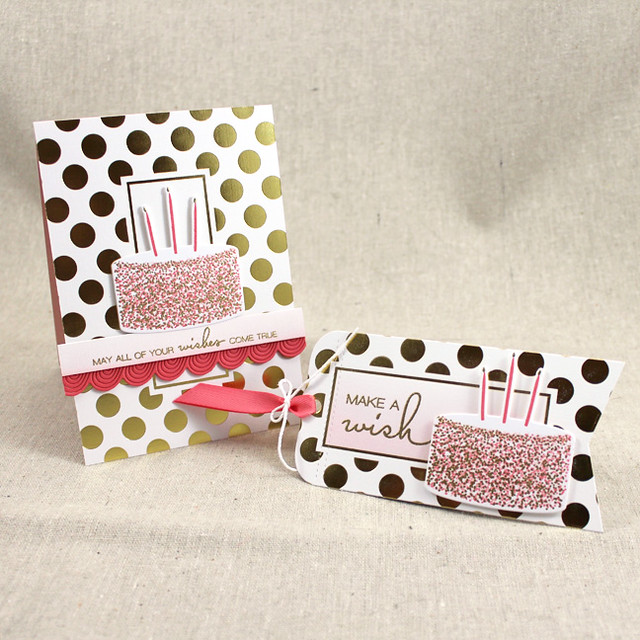
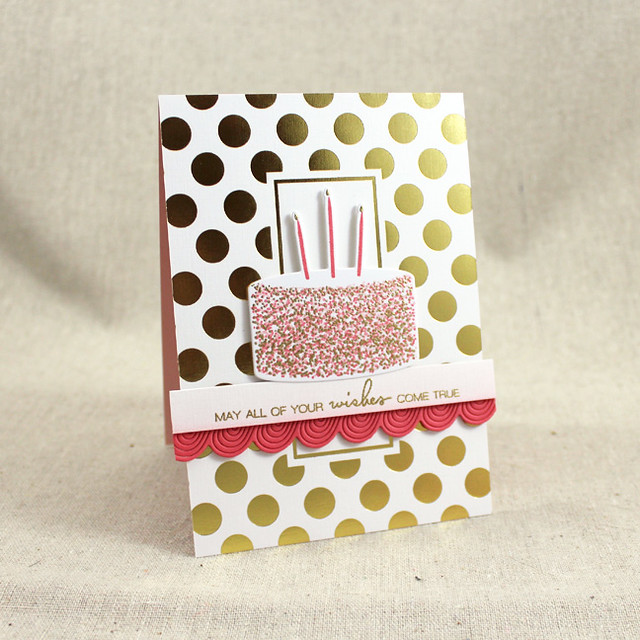
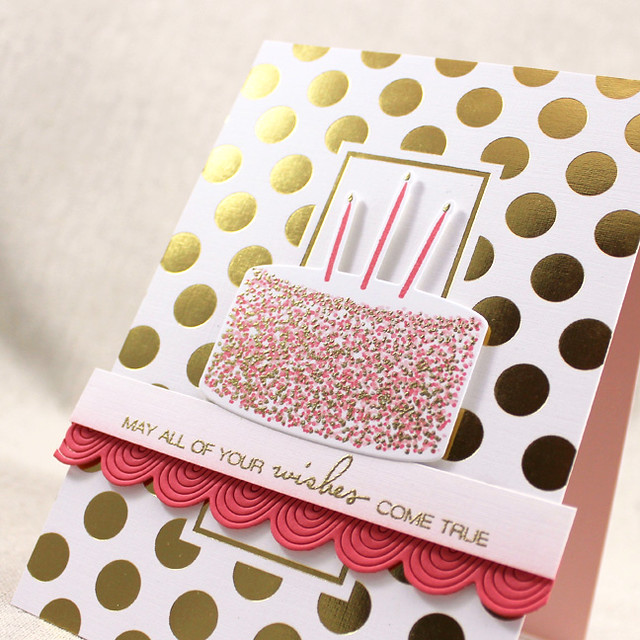
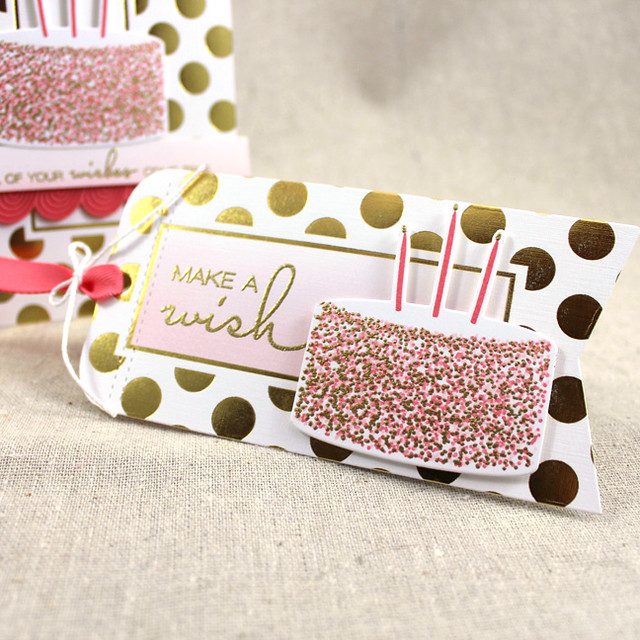
My first set of projects is another card and tag ensemble. I played around with the sprinkle cake again, but this time I gold embossed one of the sprinkle layers to give the whole package a much more luxe feel.
Let's start with the card.
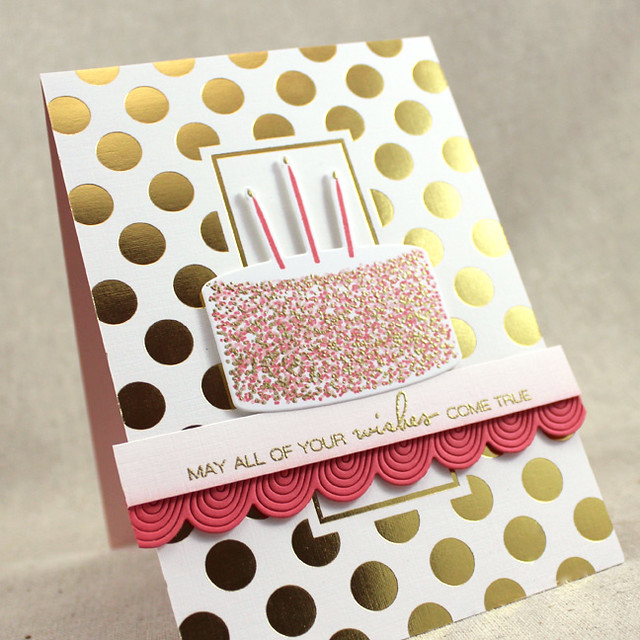
I began by die cutting the cake from white cardstock. I stamped the sprinkles in Berry Sorbet, Sweet Blush, and the gold embossing. The candles were added with Berry Sorbet before I heat embossed the flames with gold powder, too.
Next, I sponged a strip of Fresh Snow Linen cardstock with Sweet Blush ink and heat embossed that with my sentiment (this one is from Just Desserts Sentiments). I die cut one of the new Frosted Border shapes from Berry Sorbet cardstock and adhered it behind my sentiment strip.
I chose one of the Luxe Gold Foil papers to use as my card front. I trimmed down the sides a bit to allow my sentiment strip and piped border to hang over the edges. I adhered the gold foil layer to a Sweet Blush card base and then attached my sentiment strip. The cake came last, mounted with foam adhesive.
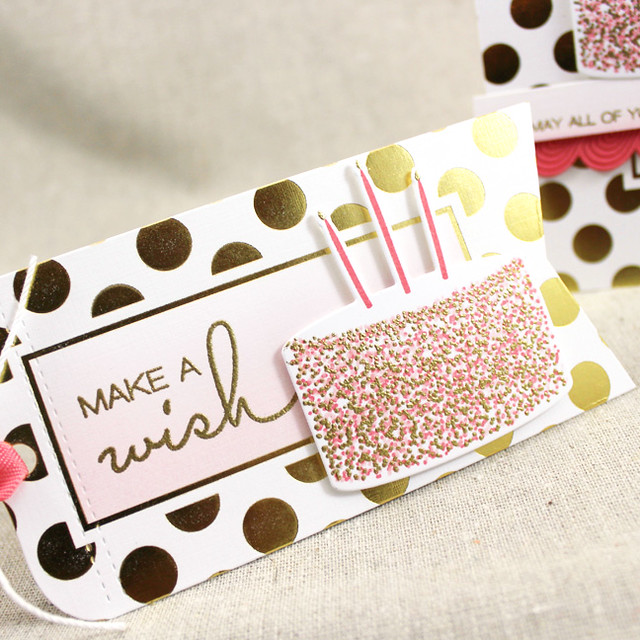
The coordinating tag was made in a similar fashion.
I die cut the tag base from another sheet of the same Luxe Gold Foil patterned paper using the Basic Bookmark 2 Die. I masked off the inner rectangle and sponged it with Sweet Blush ink before heat embossing my sentiment.
I added another cake, stamped the same way as the one on the card. A bit of Berry Sorbet Twill and some white crochet thread were the perfect finishing touch.
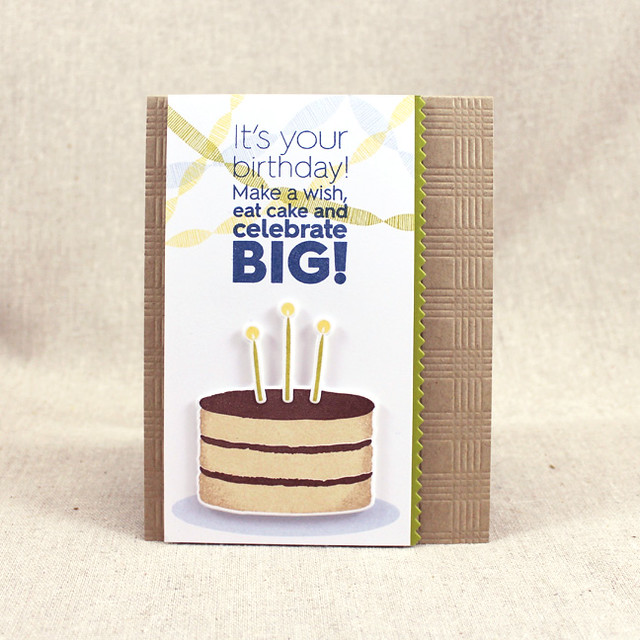
Next up is a more masculine ensemble.
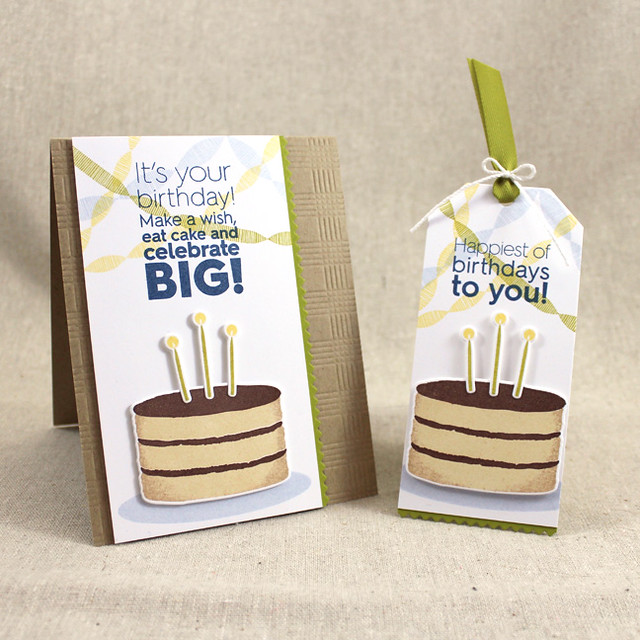
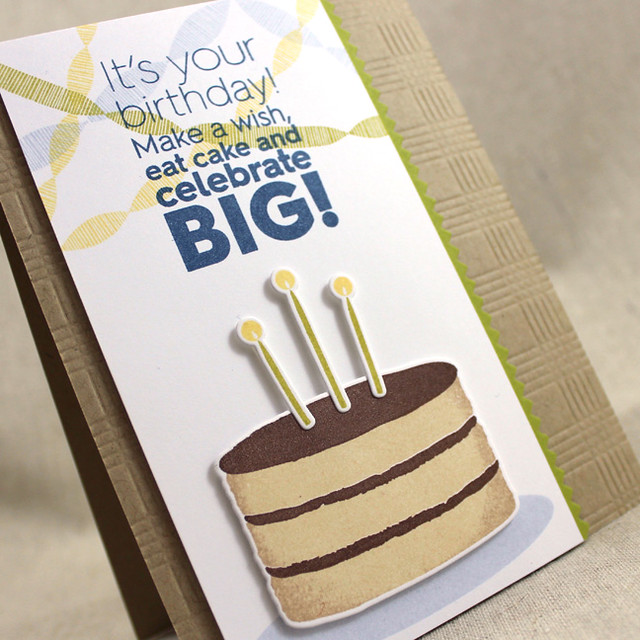
Again, I began with the card. I stamped a panel of white cardstock with the streamers from Hooray in Spring Rain, Harvest Gold, and Simply Chartreuse inks. Next, I stamped the sentiment from Dawn's new Ombre Birthday Sentiments set in Enchanted Evening.
I also added a grounding oval using the putting green image from On The Links using Spring Rain ink. Then, I die cut a layer cake shape from white cardstock and stamped it with Fine Linen rolled in a bit of Classic Kraft. The frosting was then added in Dark Chocolate. I die cut the candles and stamped them with Simply Chartreuse and Harvest Gold inks. I found it easiest to stamp them by keeping them in the negative while doing my stamping. It just keeps them all nice and lined up for you.
I adhered the cake to the panel with foam tape and the candles followed in the same way. I added a pinked border of Simply Chartreuse cardstock before mounting that whole panel to a Classic Kraft card base that I'd textured with the Picnic Plaid Impression Plate. Sufficiently dudely, I think.
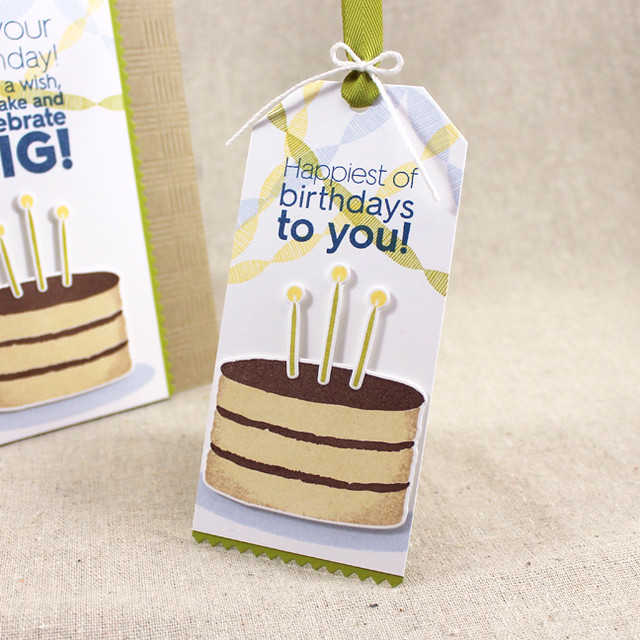
The coordinating tag is very similar.
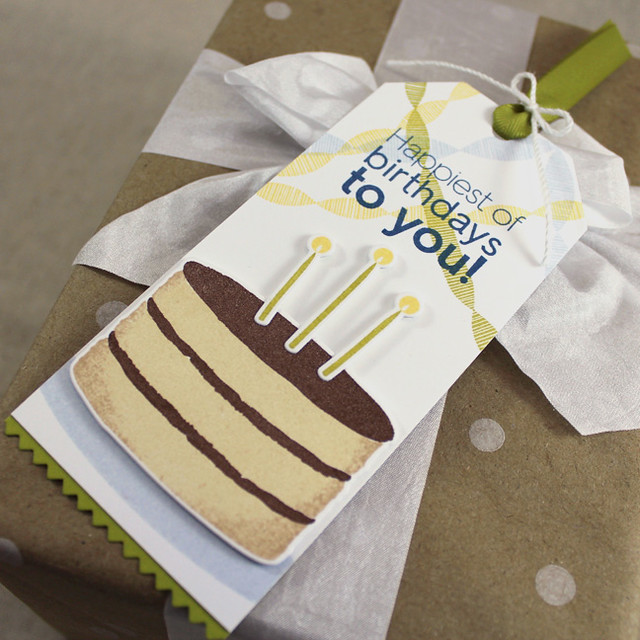
In order to get the extra-long tag I cut a strip of cardstock to the width of the Tag Sale 7 die and just used the very top edge of the die to make my cut. I stamped the same streamers, but this time went with one of the shorter sentiments from Dawn's set.
The grounding oval and the cake were stamped in the same way. I added a pinked strip of Simply Chartreuse cardstock along the bottom to mimic the card. The last step was adding a bit of Simply Chartreuse Twill and a bit of crochet thread to the top of the tag.
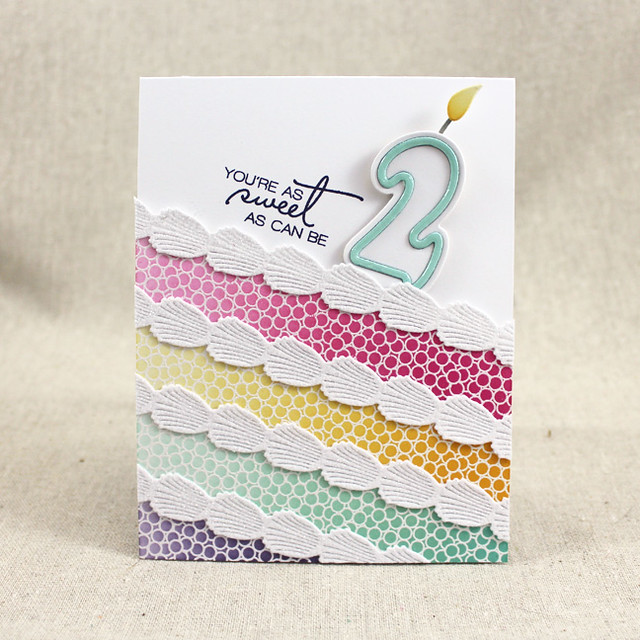
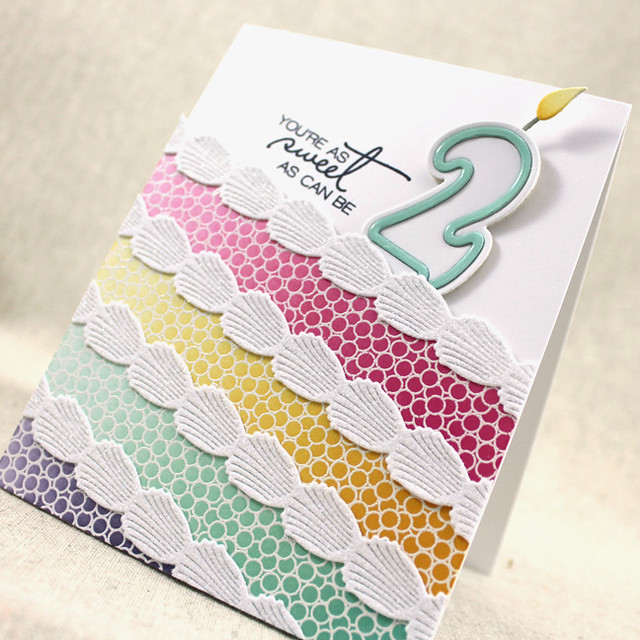
My next card features Erin Lincoln's new Sprinkles On Top set along with her Frosted Border Die and Big Birthday Candles.
These sets are so fun! You can actually transform your card front into a cake. I began by white heat embossing the round sprinkles from the Sprinkles On Top set onto a piece of white cardstock. Next, I sponged stripes of color over the sprinkles to make the embossing pop and trimmed that panel to fit a standard card front.
I xyroned another piece of cardstock and die cut the Frosted Border shapes (still covered) sticky side up. I adhered those to the sponged panel and trimmed off the edges. Next, I stamped a sentiment, this one from Just Desserts Sentiments, onto a white card base using True Black ink. I mounted my sprinkle panel to the card front using foam tape and then peeled off the adhesive backing from the Frosted Borders. I sprinkled the card front using fine crystal glitter, making sure to really burnish the borders to get nice coverage.
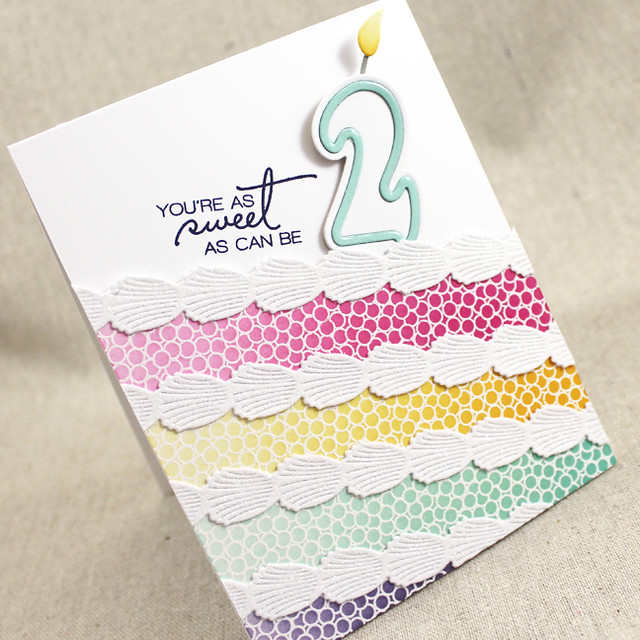
I then die cut the Big Birthday Candle from coaster board, white cardstock, and Aqua Mist cardstock. I adhered the white layer to cover the entire coaster layer and added the Aqua outline on top of that. I used Glossy Accents to give the Aqua layer a shiny coating and set it aside to dry. In the meantime, I die cut the wick and flame, giving both a sponged treatment. Once the candle was dry, I assembled the pieces and adhered them to the card front. I can't wait to give this to my niece on her birthday in a few weeks!
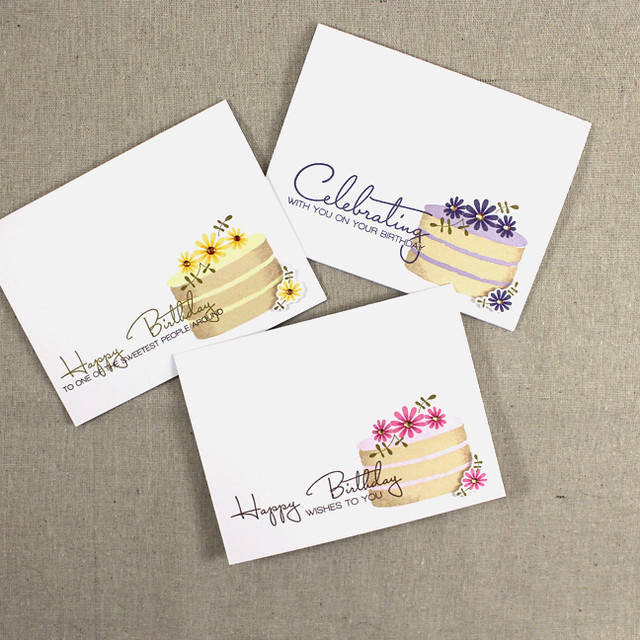
And last but not least, I have a quickie set of birthday cards to share. These came together really quickly, so they'd be great for bulking up your stash.
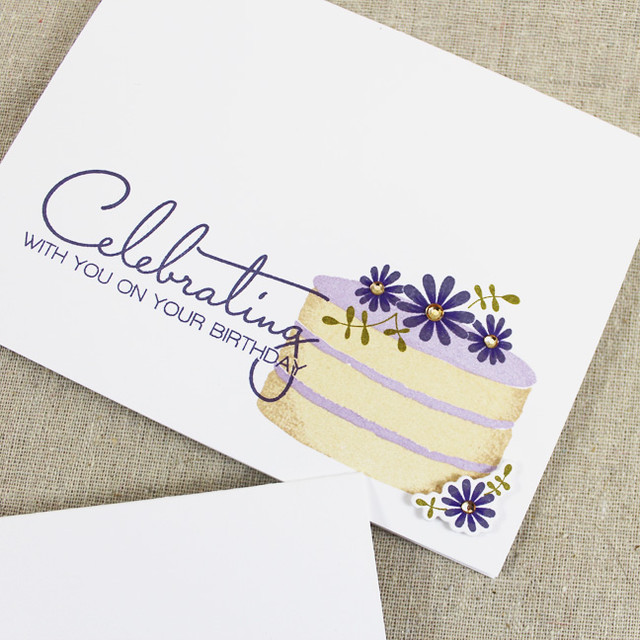
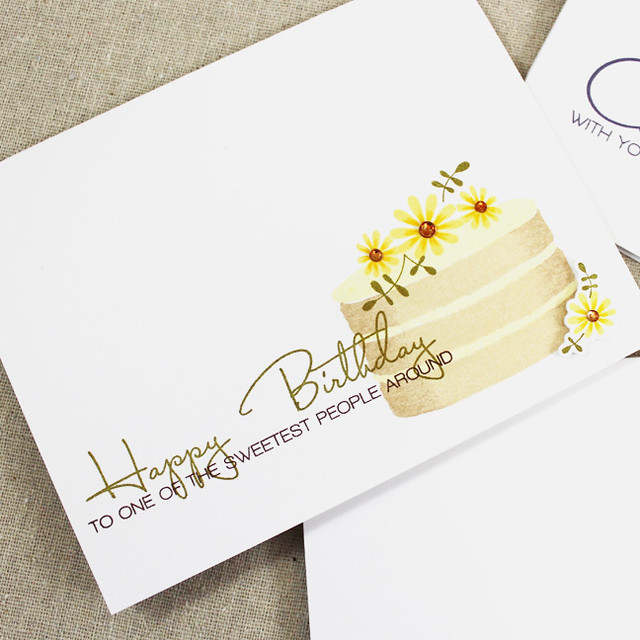
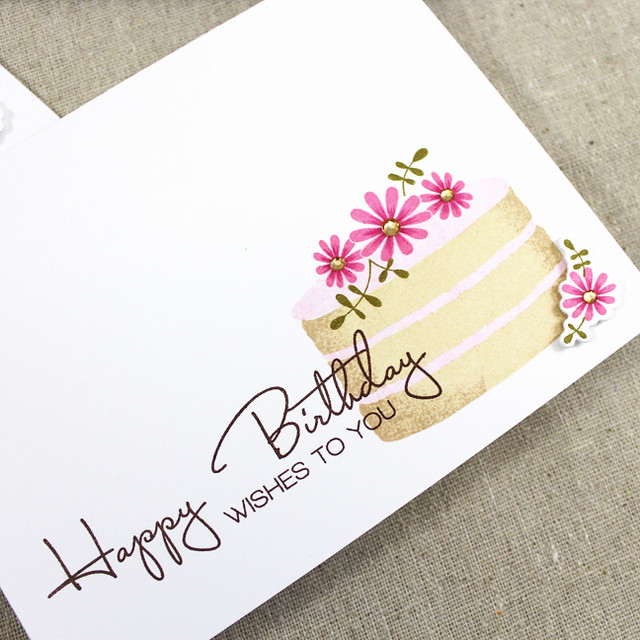
On each card I stamped the layers, frosting, and top flowers flat on the card base. Then, I used a colored pencil to add shading to the center of the flowers and give them a bit of extra dimension.
I added the sentiments, all from the main Just Desserts set, using coordinating colors.
The small flower clusters were die cut and stamped before getting the same shading treatment as the top flowers. Those were mounted to the card fronts using foam tape.
The final touch was adding colored-to-match rhinestones to the flower centers. Seriously easy yet still so lovely.
That's all for me today. I hope you've enjoyed today's post! Make sure to check in with
Nichole,
Amy,
Ashley,
Betsy,
Danielle,
Dawn,
Heather,
Kay,
Laurie, and
Melissa to see more of these fun new products.
Erin and
Maile also have more to share with you, so be sure to pop over and check them out too. See you tomorrow!
Recipes:Pink & Gold Birthday Wishes Ensemble
Stamps: Just Desserts, Just Desserts Sentiments - Papertrey Ink
Cardstock: Sweet Blush, Berry Sorbet, Fresh Snow Linen, Luxe Gold Patterned Paper - Papertrey Ink; white
Ink: Sweet Blush, Berry Sorbet - Papertrey Ink; VersaMark - Tsukineko
Other:Just Desserts Die, Frosted Borders Die, Basic Bookmark 2 Die, Berry Sorbet Twill Ribbon - Papertrey Ink; Gold Embossing Powder - Filigree; Foam Tape - Scotch; White Crochet Thread
Masculine Layer Cake Birthday Ensemble
Stamps: Just Desserts, Ombre Sentiments Birthday, Hooray, On The Links - Papertrey Ink
Cardstock: Classic Kraft, Simply Chartreuse - Papertrey Ink; white
Ink: Spring Rain, Harvest Gold, Classic Kraft, Fine Linen, Enchanted Evening, Dark Chocolate - Papertrey Ink
Other: Just Desserts Die, Tag Sale #7, Picnic Plaid Impression Plate, Pinking Shears Border Die, Simply Chartreuse Twill Ribbon - Papertrey Ink; Foam Tape - Scotch; White Crochet Thread
2nd Birthday Card
Stamps: Just Desserts Sentiments; Sprinkles On Top - Papertrey Ink
Cardstock: Aqua Mist, Soft Stone, Coaster - Papertrey Ink; white
Ink: True Black, Aqua Mist, Hawaiian Shores, Winter Wisteria, Plum Pudding, Hibiscus Burst, Raspberry Fizz, Harvest Gold, Summer Sunrise, Stormy Sea - Papertrey Ink
Other: Big Birthday Candles, Frosted Borders Die - Papertrey Ink; White Embossing Powder - Filigree; Fine Crystal Glitter - Martha Stewart Crafts; Glossy Accents - Ranger; Foam Tape - Scotch; Xyron
Floral Cake Birthday Card Set
Stamps: Just Desserts - Papertrey Ink
Cardstock: white
Ink: (purple) Winter Wisteria, Plum Pudding, Ripe Avocado, Fine Linen, Classic Kraft, (pink) Lovely Lady, Hibiscus Burst, Ripe Avocado, Fine Linen, Classic Kraft, Dark Chocolate, (yellow) Lemon Tart, Harvest Gold, Ripe Avocado, Fine Linen, Classic Kraft, Dark Chocolate - Papertrey Ink
Other: Just Desserts Die - Papertrey Ink; Rhinestones - Kaisercraft; Foam Tape - Scotch; Copic Markers


Oh my favorite is the last set of little birthday cards! So simple and sweet! Perfect balance with the sentiments. Just darling!
ReplyDeleteI love your set of quick birthday cards! They are so sweet! Your coloring is awesome!
ReplyDeleteGorgeous cards and tags, Lizzie, and I love them all! Every one a winner in my book, but I'm especially happy to see the masculine card and tag. They're so hard to make and yours is just perfect!
ReplyDeleteI really, really like the small birthday cards done in several colors. The tags really caught my eye too!
ReplyDeleteJust love that you gave your cakes a bit of dimension by rolling the layers in darker inks. All wonderful, Lizzie! Loving the sweet candles too!
ReplyDeleteA sweet set of cards and tags! I really like them all.
ReplyDeletereally pretty cards. i especially like your rainbow sprinkles!
ReplyDeleteI love Just Desserts, Lizzie! All of your cake creations today are so yummy (love the card you made with Erin's borders), but IMHO you saved the best for last. Your birthday set? Amazing! Prettiest little birthday cards, ever!
ReplyDeleteWowza! You may have just convinced me that I need it all plus a few extras. Outstanding! Thanks so much.
ReplyDeleteAll your cards are beautiful, but I LOVE that masculine set. Just perfect!
ReplyDeleteGreat to see a card that is not as girlie. Not that I don't love the girlie, happy ones but it just shows another way to use these dies and stamps.
ReplyDeleteOh wow!! These are STUNNING!!
ReplyDeleteAll of your cards are wonderful but my favorites are the three simple birthday cards. So easy to make a stack of them as a gift or build up my stash of last minute cards. So, so cute.
ReplyDeleteLove all your projects, Lizzie! Definitely getting Just Desserts and Sentiments.
ReplyDeleteWhat a fantastic card set! Love all the color combos!
ReplyDeleteYour projects are all wonderful, beautiful, colorful and inspiring! I can't wait to make some too, and I'm going to incorporate some of your great ideas!
ReplyDeleteWonderful designs.
ReplyDeleteMost of the cards with Just Desserts were a little overdone for me (I guess I'm just a simple cream cheese frosting kind of gal with nothing extra to take away from the flavor of the actual cake.), then I saw your last set of cards. I think that set of quickie cards changed my mind about the set.
ReplyDeleteI've loved the sentiments you included from the start, though, Lizzie.
Great projects love the tags and the sprinkles on the cakes! SO fun.
ReplyDeleteJust love your cards!!! So much that I used it for my inspiration on the Create Along with Us!
ReplyDelete