Good morning, everyone! Welcome back for Day 7 of the Papertrey Ink 9th anniversary countdown! Spring is in the air for today's group post! Or at least it feels like it thanks to the charming new products we're showcasing today. Today is also the annual egg hunt, so your job is to find the hidden Easter eggs in the photo at the top of this post. Add up all of the hidden eggs from each Design Team member's photo and then enter the contest over on Nichole's blog. Good luck!
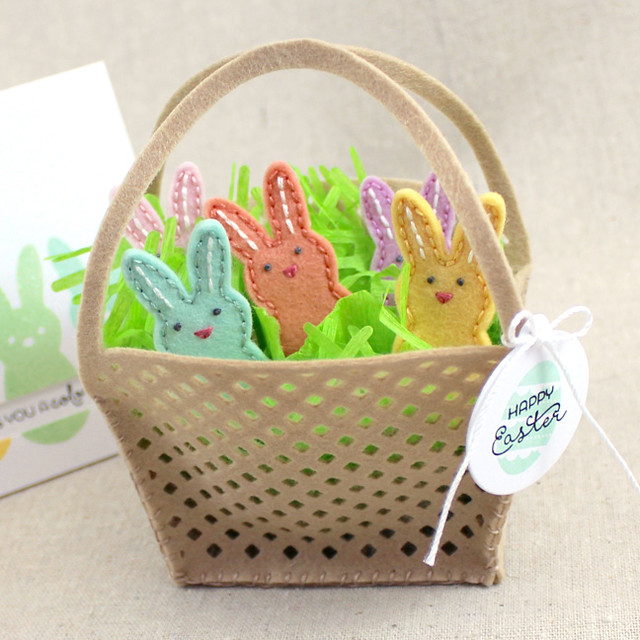
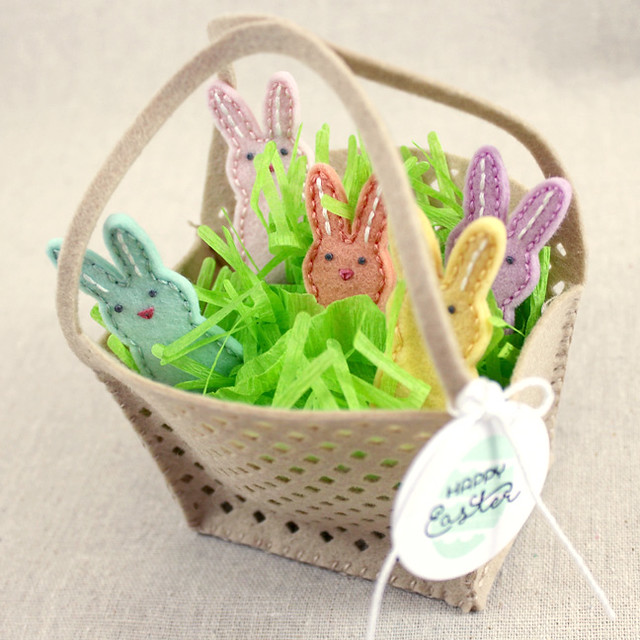
I had a blast busing out my needle and thread to create a little Easter gift for the kiddos in my life. At first blush it just looks like a felt basket full of bunnies, but (as if that wouldn't be cute enough) there's more to it than meets the eye.
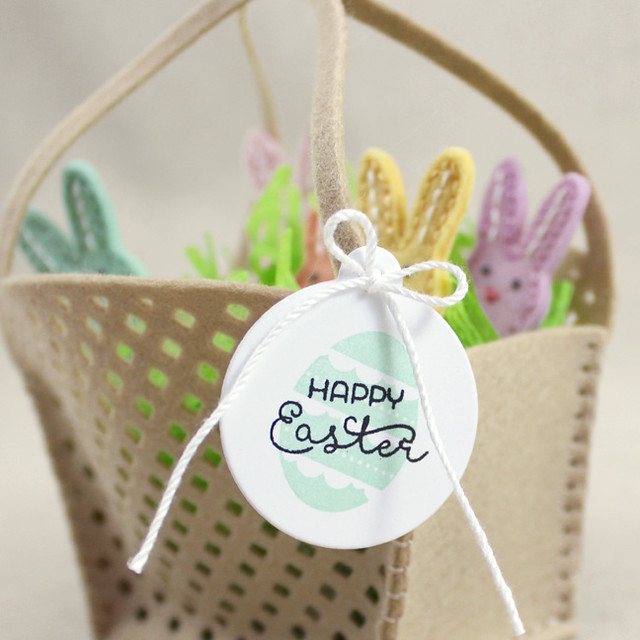
Let's start by taking a look at the basket.
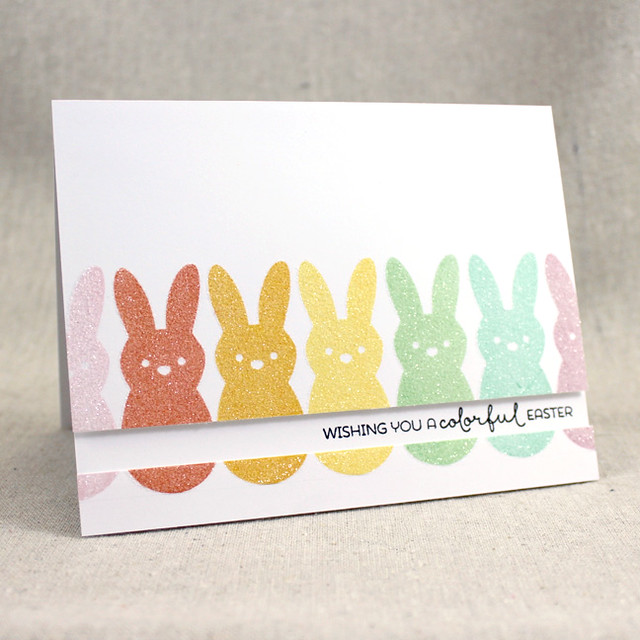
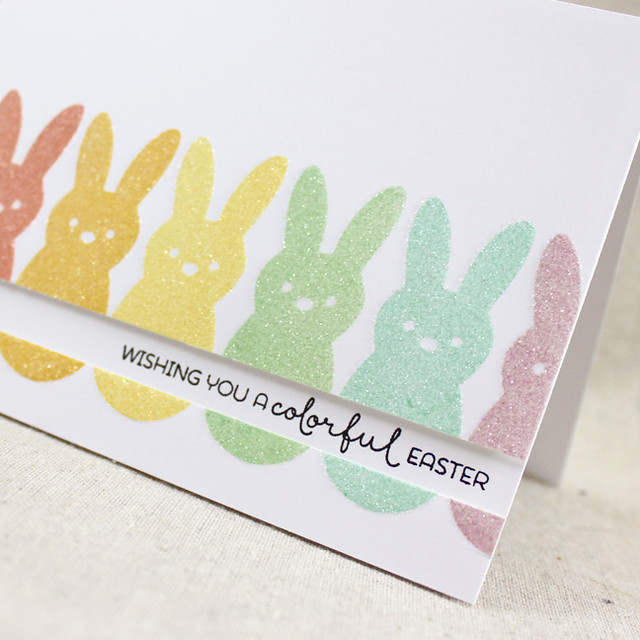
The coordinating card is fairly simple, but I love how much it embraces rainbow peeps.
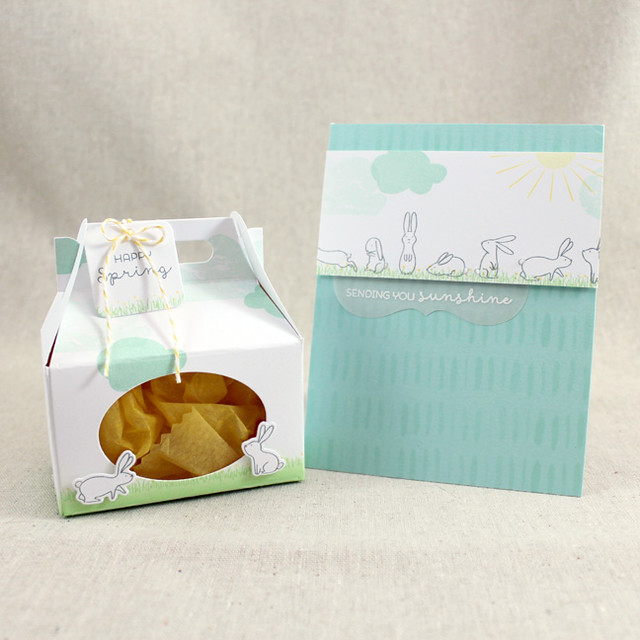
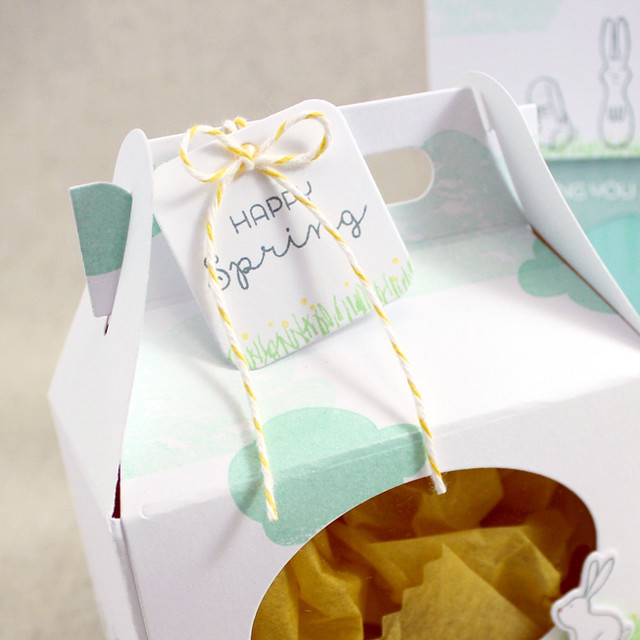
I have one more ensemble to share with you today (no hidden eggs in this one though). I wanted to show you a little more of Simply Spring Borders, so here we go!
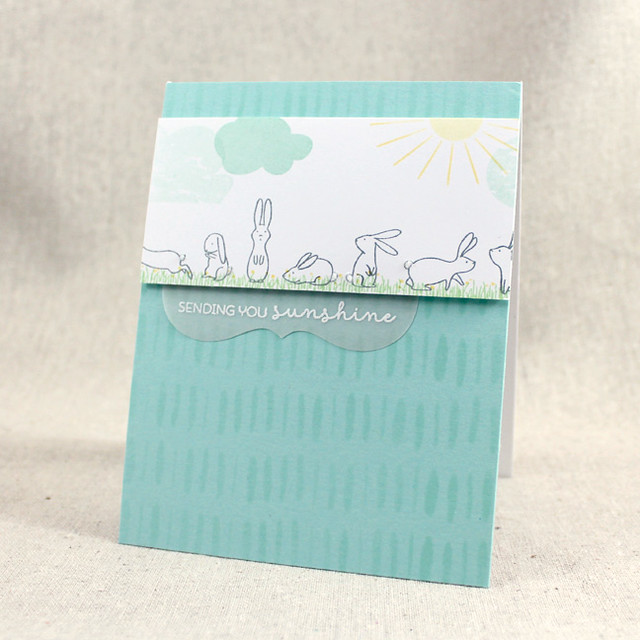
Next up is the coordinating card in the ensemble.
Thank you so much for joining me today. Make sure to pop over to Nichole's blog for all of the details about today's contest and then check in with Amy, Ashley, Betsy, Danielle, Dawn, Heather, Kay, Laurie, and Melissa for more of today's group post. See you again soon!
Recipes:
Felt Bunny Basket
Stamps: Bunny Basket, Simply Spring Borders - Papertrey Ink
Cardstock: white
Ink: Aqua Mist, True Black - Papertrey Ink
Other: Classic Kraft, Harvest Gold, Melon Berry, Sweet Blush, Lavender Moon, and Aqua Mist Felt, Bunny Basket Die, Cover Plate: Basket Die, Easter Grass Die, Stitching Rectangles Die, Tremendous Tags Die - Papertrey Ink; Embroidery Floss - DMC; White Crochet Thread; Crepe Paper; White Pom Poms
Colorful Easter Card
Stamps: Bunny Basket, Simply Spring Borders - Papertrey Ink
Cardstock: white
Ink: Sweet Blush, Melon Berry, Summer Sunrise, Harvest Gold, Mint Julep, Aqua Mist, Lavender Moon, True Black - Papertrey Ink
Other: Glue Pad - Tsukineko; Crystal Glitter - Martha Stewart Crafts; Foam Tape - Scotch
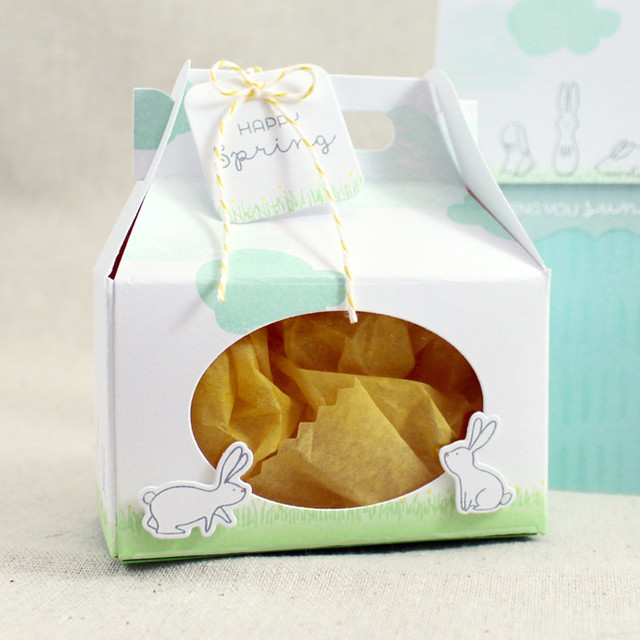
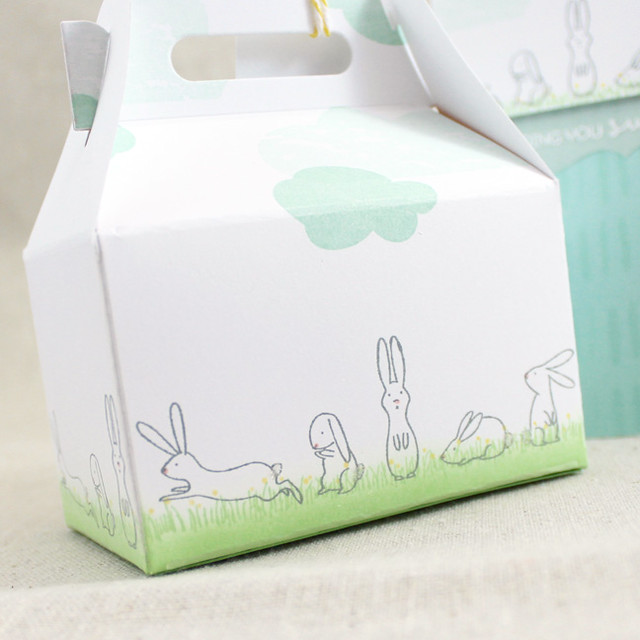
Bunny Gable Box
Stamps: Simply Spring Borders, So Striking - Papertrey Ink
Cardstock: Clear Cardstock - Papertrey Ink; white
Ink: Vintage Jadeite, Aqua Mist, Stormy Sea, Harvest Gold - Papertrey Ink
Other: Gable Box Die, Simply Spring Borders Die, Tremendous Tags Die, Limitless Layers: 2 1/4" Oval Die Collection - Papertrey Ink; Foam Tape - Scotch; White Flocking - Stampendous; Copic; Lemon Baker's Twine - Divine Twine
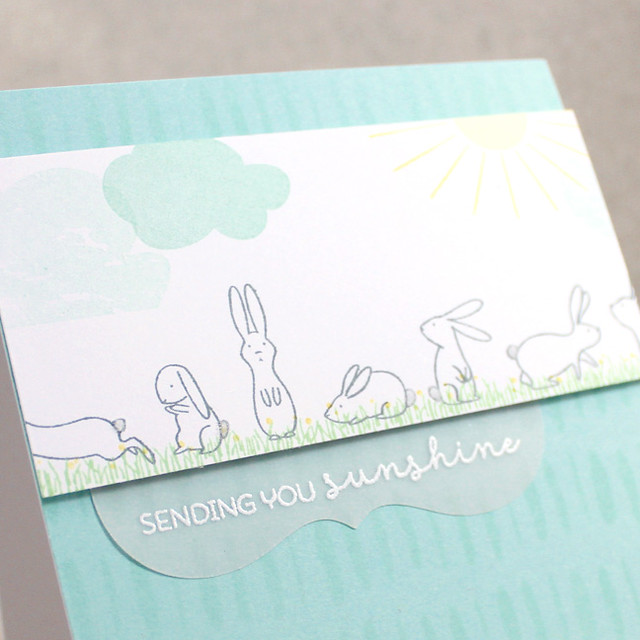
Sending Sunshine Card
Stamps: Simply Spring Borders, So Striking, Blue Skies - Papertrey Ink
Cardstock: Aqua Mist, Vellum - Papertrey Ink; white
Ink: Vintage Jadeite, Aqua Mist, Stormy Sea, Harvest Gold - Papertrey Ink; VersaMark - Tsukineko
Other: Fabulous Frames Die, Modern Basics Stencil Collection - Papertrey Ink; White Detail Powder - Filigree; Foam Tape - Scotch; White Flocking - Stampendous




Your felt basket and bunny puppets are wonderful - so creative and fun for those kiddos!
ReplyDeleteOh my how cute is that felt basket, & I'm sure the kiddos will love the adorable finger puppets, great idea and fabulous hand stitching.
ReplyDeleteI think my favorite though is the adorable box with the clear window, love the way you stamped it!
Too too cute, Those finger puppets are awesome!
ReplyDeleteLoving your cute finger puppets and bunny basket!!
ReplyDeleteThe finger puppets are adorable!
ReplyDeleteI am, however, over-the-moon crazy about your Spring Borders set! Such a simple design; it has a children's storybook look to it. I love the CAS look that you've captured. I hope you will make a few more cards using this set! Totally love it! Thank you!
You were SO creative turning the cover plate into a felt basket!! Love the finger puppets, too. Thanks for sharing your creativity & talent!
ReplyDeleteI just love your felt basket and finger puppet bunnies! so sweet and so creative! lovely card designs too!
ReplyDeleteOMG! Amazing creative designs! Beautiful spring colors, and I adore those finger puppets!
ReplyDeleteLizzie, I almost flipped when I saw your little felt basket and the bunnies!! That is the cutest thing ever!! Love all of your projects!
ReplyDeleteAWESOME! Grandkids will love this!
ReplyDeleteAll of the treats you made are so sweet, Lizzie, but I need to get to the cards. Lisa nailed it when she wrote that your bunnies appear to have hopped off the pages of a children's book. The 'sending you sunshine' card has such a charm to it. And then that Peeps card, which looks like you sliced off a layer from a row of marshmallow Peeps and attached it to the card. Love it.
ReplyDeletePS - Aren't you the tricky one with your placement of the eggs?!
Lizzie, those finger puppets are adorable. And I am completely smitten with your bunny border.
ReplyDeleteSweet post! Love your finger puppets and basket!!!
ReplyDeleteEverything is just so darn cute!! Love your bunny border - those bunnies are so cute:)
ReplyDeleteWow on everything! OMGOSH on the felt basket with finger puppets adorable! Just when I think I don't need something!
ReplyDeleteI adore how you used the Simply Spring Borders!
ReplyDeleteDarling little bunny finger puppets to put in that clever, sturdy felt basket! I love your other Easter projects, too.
ReplyDeleteVery nice set of creations. Thanks for the inspiration.
ReplyDeleteYour colorful Easter card makes me crave Peeps! Seriously, they look like sugary Peeps...I just want to eat them! HA! So cute, Lizzie.
ReplyDeleteTotally, totally amazing design!! LOVE your creations-especially that PEEP card!!
ReplyDeleteOh so cute, Lizzie! From your stitched basket to finger puppets to tissue paper grass to sugared Peeps...simply amazing work.
ReplyDeleteYour sugar bunnies and finger puppets are too cute!!
ReplyDeleteOH MY GOODNESS, LIZZIE! WOW! LOOOOOOOOVE those little finger puppets & basket! SUPER CUTE!!!! AND your PEEPS CARD is ADORABLE TOO!!! GOOD ENOUGH TO EAT! AND your last project is FABULOUS with the frolicking bunnies!!! SUPER JOB!!!! (Wouldn't that be EASTER FUN to find ALL THIS in my Easter Basket???? LOL ) ;)
ReplyDeleteToo stinkin' cute!
ReplyDeleteHi Lizzie,
ReplyDeleteLet me describe the moment........soft music going in crescendo, clouds ascending ,birds chirping and a banner that says......A.D.O.R.A.B.L.E.!
Cariños,
María Alba
Your nephew is very lucky. Your basket and adorable finger puppet bunnies turned out so very nice. Nice showcase of the different products.
ReplyDeleteThose Springtime Border Bunnies are the cutest thing ever. Just love them!
ReplyDeleteAll your projects are so very wonderful! The bunny finger puppets are my favorite, though, especially their adorable fluffy tails!
ReplyDeleteThanks so much for sharing!
Everything is absolutely precious, but the little bunny puppets are beyond adorable--the little tails are so stinkin cute. You nailed this release--I want all these supplies! :)
ReplyDeleteLove the finger puppets!!!! Soooo cute! Great inspiration using felt! I also love the rainbow bunny card they look so good... enough to eat:)!
ReplyDeleteHow adorable I love your little finger puppets.
ReplyDeleteOMG! Your finger puppet bunnies are the cutest! I also love the glittered bunnies..so brilliant! Thanks for the inspiration!
ReplyDeleteI am so impressed by your creativity. Wow!
ReplyDeleteThese products have come to life in your hands Lizzie I'm blown away with inspiration!
ReplyDelete