Good morning, friends, and welcome back for Release Wrap Up day for this month's Papertrey Ink countdown. All of the new products we've been showcasing this week will be available tonight starting at 10pm EST on the Papertrey ink website. I have a couple of additional projects to share with you today, so let's get to it!
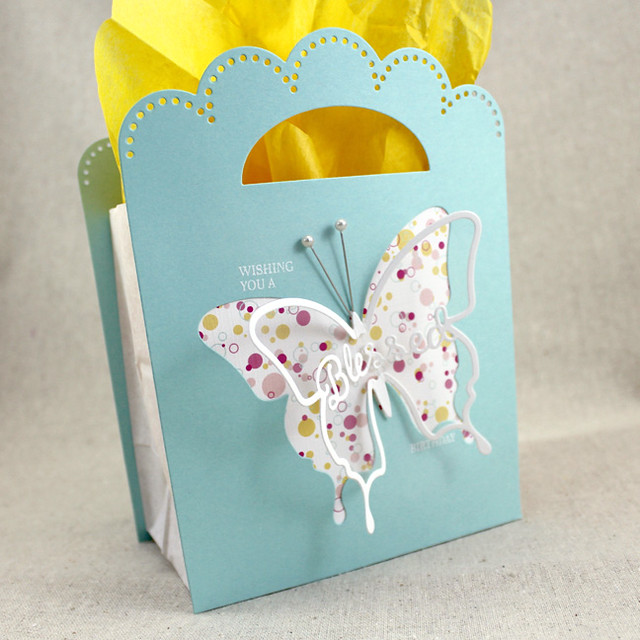
Let's start with a gift bag featuring the Enclosed: Butterfly collection.
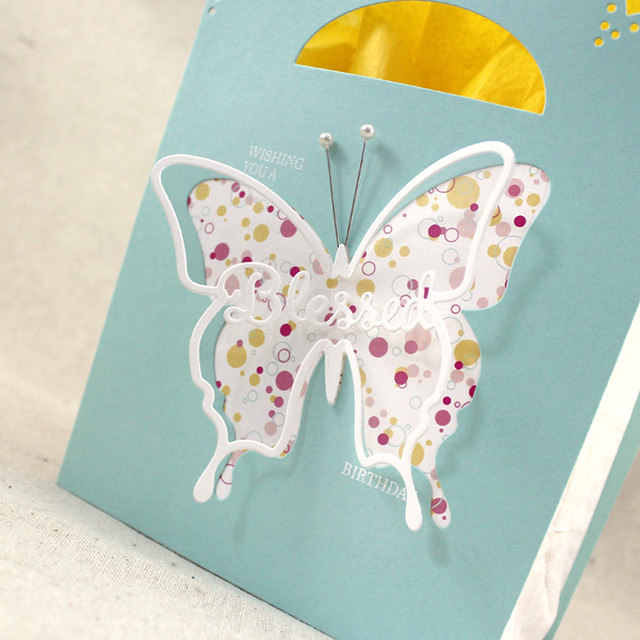
I began by die cutting two Front & Center #2 shapes (one for the front, one for the back) from Aqua Mist cardstock. I used the solid butterfly die to cut a shape from the center of the front piece. I backed the opening with a piece of Confetti Toss patterned paper before adhering both Front & Center pieces to a white lunch sack. Next, I heat embossed the sentiment bits onto the front of the bag using white embossing powder.
Then, I xyroned a piece of Fresh Snow Linen cardstock and die cut it with the outline butterfly die. I die cut a solid butterfly from clear cardstock and adhered the two together. I carefully folded at the wings and adhered the butterfly to the bag using foam tape. A couple of pearl head pins were ideal for antennae. Now, isn't that a festive gift bag?
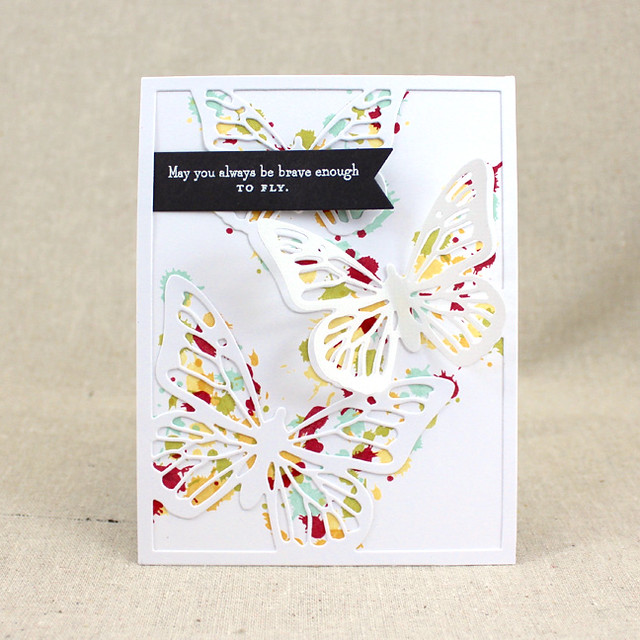
The last project I have to share with you for this countdown features Bitty Butterflies and the Cover Plate: Butterflies Die.
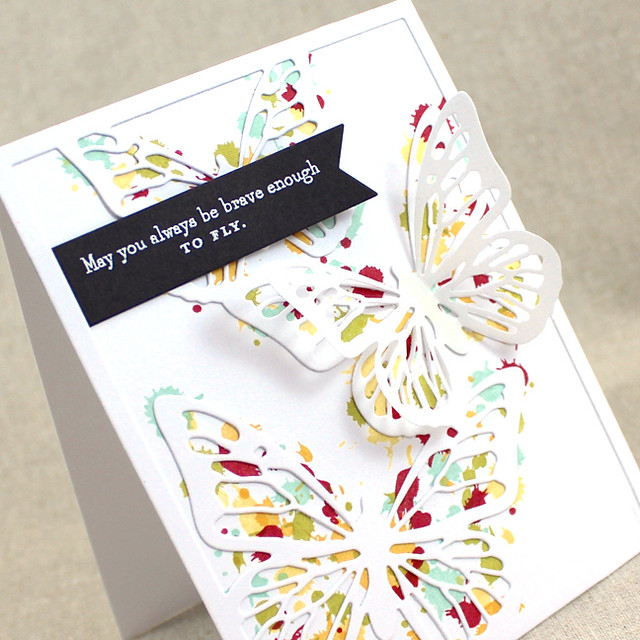
I began by die cutting a scrap of cardstock with the Cover Plate: Butterflies die to make a template. I I lightly traced that template onto a white card base so I would know the approximate location for each of the butterflies. Then I used the splatter images from Drips & Dribbles to randomly stamp inside and slightly overlapping those lines.
Once I was finished with the splatter stamping, I created a sentiment banner. I die cut a First Place banner from Smokey Shadow cardstock and heat embossed the sentiment from Bitty Butterflies using white detail powder. I then die cut a nice, clean version of the Cover Plate from white cardstock and adhered that and the banner to the card front. Next, I die cut a piece of Linen Vellum using the Cover Plate die. I trimmed out the butterfly and adhered it to the card front, folding its wings upward in the process. I love all that white with the pops of color!
That's all I have for you today, friends, but you can check in with Nichole, Amy, Ashley, Betsy, Danielle, Dawn, Heather, Kay, Laurie, and Melissa to see more inspiration using this month's new releases. Have a great day and I'll see you all again here soon!
Let's start with a gift bag featuring the Enclosed: Butterfly collection.
I began by die cutting two Front & Center #2 shapes (one for the front, one for the back) from Aqua Mist cardstock. I used the solid butterfly die to cut a shape from the center of the front piece. I backed the opening with a piece of Confetti Toss patterned paper before adhering both Front & Center pieces to a white lunch sack. Next, I heat embossed the sentiment bits onto the front of the bag using white embossing powder.
Then, I xyroned a piece of Fresh Snow Linen cardstock and die cut it with the outline butterfly die. I die cut a solid butterfly from clear cardstock and adhered the two together. I carefully folded at the wings and adhered the butterfly to the bag using foam tape. A couple of pearl head pins were ideal for antennae. Now, isn't that a festive gift bag?
The last project I have to share with you for this countdown features Bitty Butterflies and the Cover Plate: Butterflies Die.
That's all I have for you today, friends, but you can check in with Nichole, Amy, Ashley, Betsy, Danielle, Dawn, Heather, Kay, Laurie, and Melissa to see more inspiration using this month's new releases. Have a great day and I'll see you all again here soon!
Blessed Birthday Gift Bag
Stamps: Enclosed: Butterfly - Papertrey Ink
Cardstock: Aqua Mist, Fresh Snow Linen, Confetti Toss Patterned Paper, Clear Cardstock - Papertrey Ink
Ink: VersaMark - Tsukineko
Other: Enclosed: Butterfly Die, Front & Center #2 Die - Papertrey Ink; Pearl Head Pins - Dritz; Foam Tape - Scotch; Xyron; White Lunch Bag
Brave Enough To Fly Card
Stamps: Drips & Dribbles, Bitty Butterflies - Papertrey Ink
Cardstock: Linen Vellum, Smokey Shadow - Papertrey Ink; white
Ink: Harvest Gold, Summer Sunrise, Simply Chartreuse, Aqua Mist, Pure Poppy - Papertrey Ink; VersaMark - Tsukineko
Other: Cover Plate: Butterfly Die, First Place Die - Papertrey Ink; Vellum Tape - Scotch


The confetti toss patterned paper behind the butterflies is just wonderful on the turquoise card! Had to pin this one for sure.
ReplyDeleteWonderful projects, a nice gift presentation and a beautiful butterfly card with your confetti stamps and the cover plate!
ReplyDeleteI love that gift bag! So pretty! That lacy edge is a lovely addition.
ReplyDeleteI'm so in love with the last card for today - featuring the Butterfly Cover Plate with the Drips & Dribbles stamp set! You really rocked the release, Lizzie, again.
ReplyDeleteHi Lizzie,
ReplyDeleteGorgeous and well executed projects!!!
Cariños,
María Alba
WOW Lizzie! Love all your projects but especially the one with drips and dribbles! It inspired my Create with Me challenge card.
ReplyDelete