Good morning and welcome to this week's
Papertrey Ink Throwback Thursday feature. This week
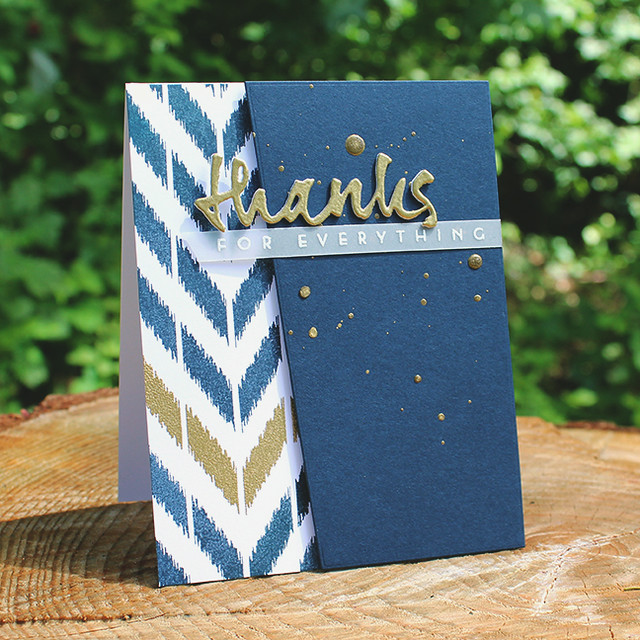
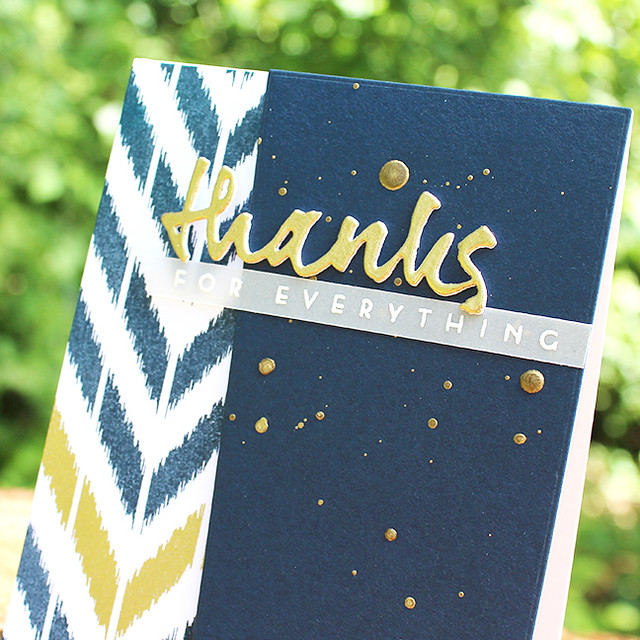
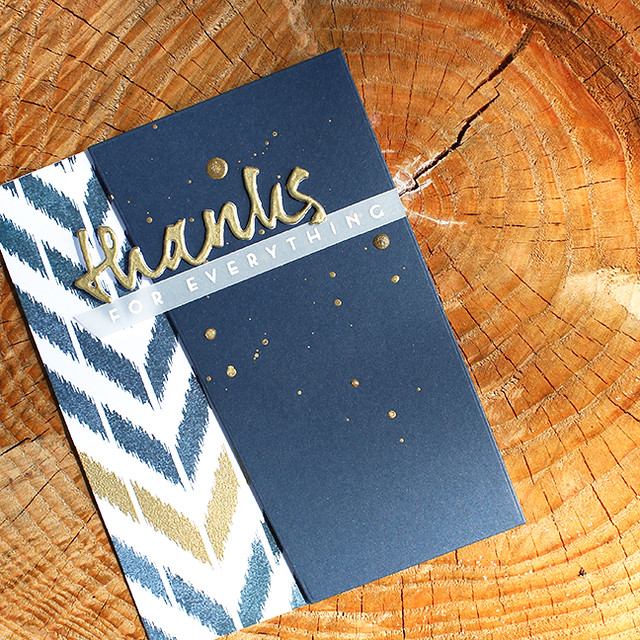
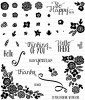
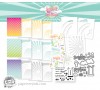
Heather and I are revisiting Irresistibly Ikat. I adore the richness of textiles, so pulling out this set for today was such a joy. These images come together to create patterns ranging from bright and feminine to subdued and even masculine. I decided to try the latter; creating a simple print with a pop of metallic to add a touch of luxury.
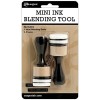
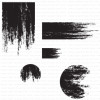
I started today's card by stamping the large "V" shape using heat embossed gold and Dark Indigo inks. A little tip: by flipping the "V" 180º you can create extra large chevrons. It's a really cool, bold look. Next, I splattered some gold watercolor onto a Dark Indigo panel and adhered it to the card base with foam tape once it had dried.
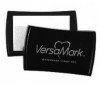
Then I die cut the "thanks" from the original Wet Paint Cuts Collection and smooshed it in the VersaMark pad before sprinkling on gold embossing powder. I did that twice to get nice, smooth coverage. I die cut a couple of additional sentiments and then adhered them together to give depth.
Next, I heat embossed the rest of the sentiment using white powder on vellum. I trimmed out the sentiment and adhered it to the Dark Indigo panel with vellum tape. I finished up by adhering the "thanks" to the card front atop the vellum strip. Isn't it great how that gorgeous ikat pattern pulls the whole thing together? I love it!
Thank you so much for joining me today. Make sure to pop over and see what
Heather has to share with you, too. Have a wonderful and safe holiday weekend, everyone!
Supplies: